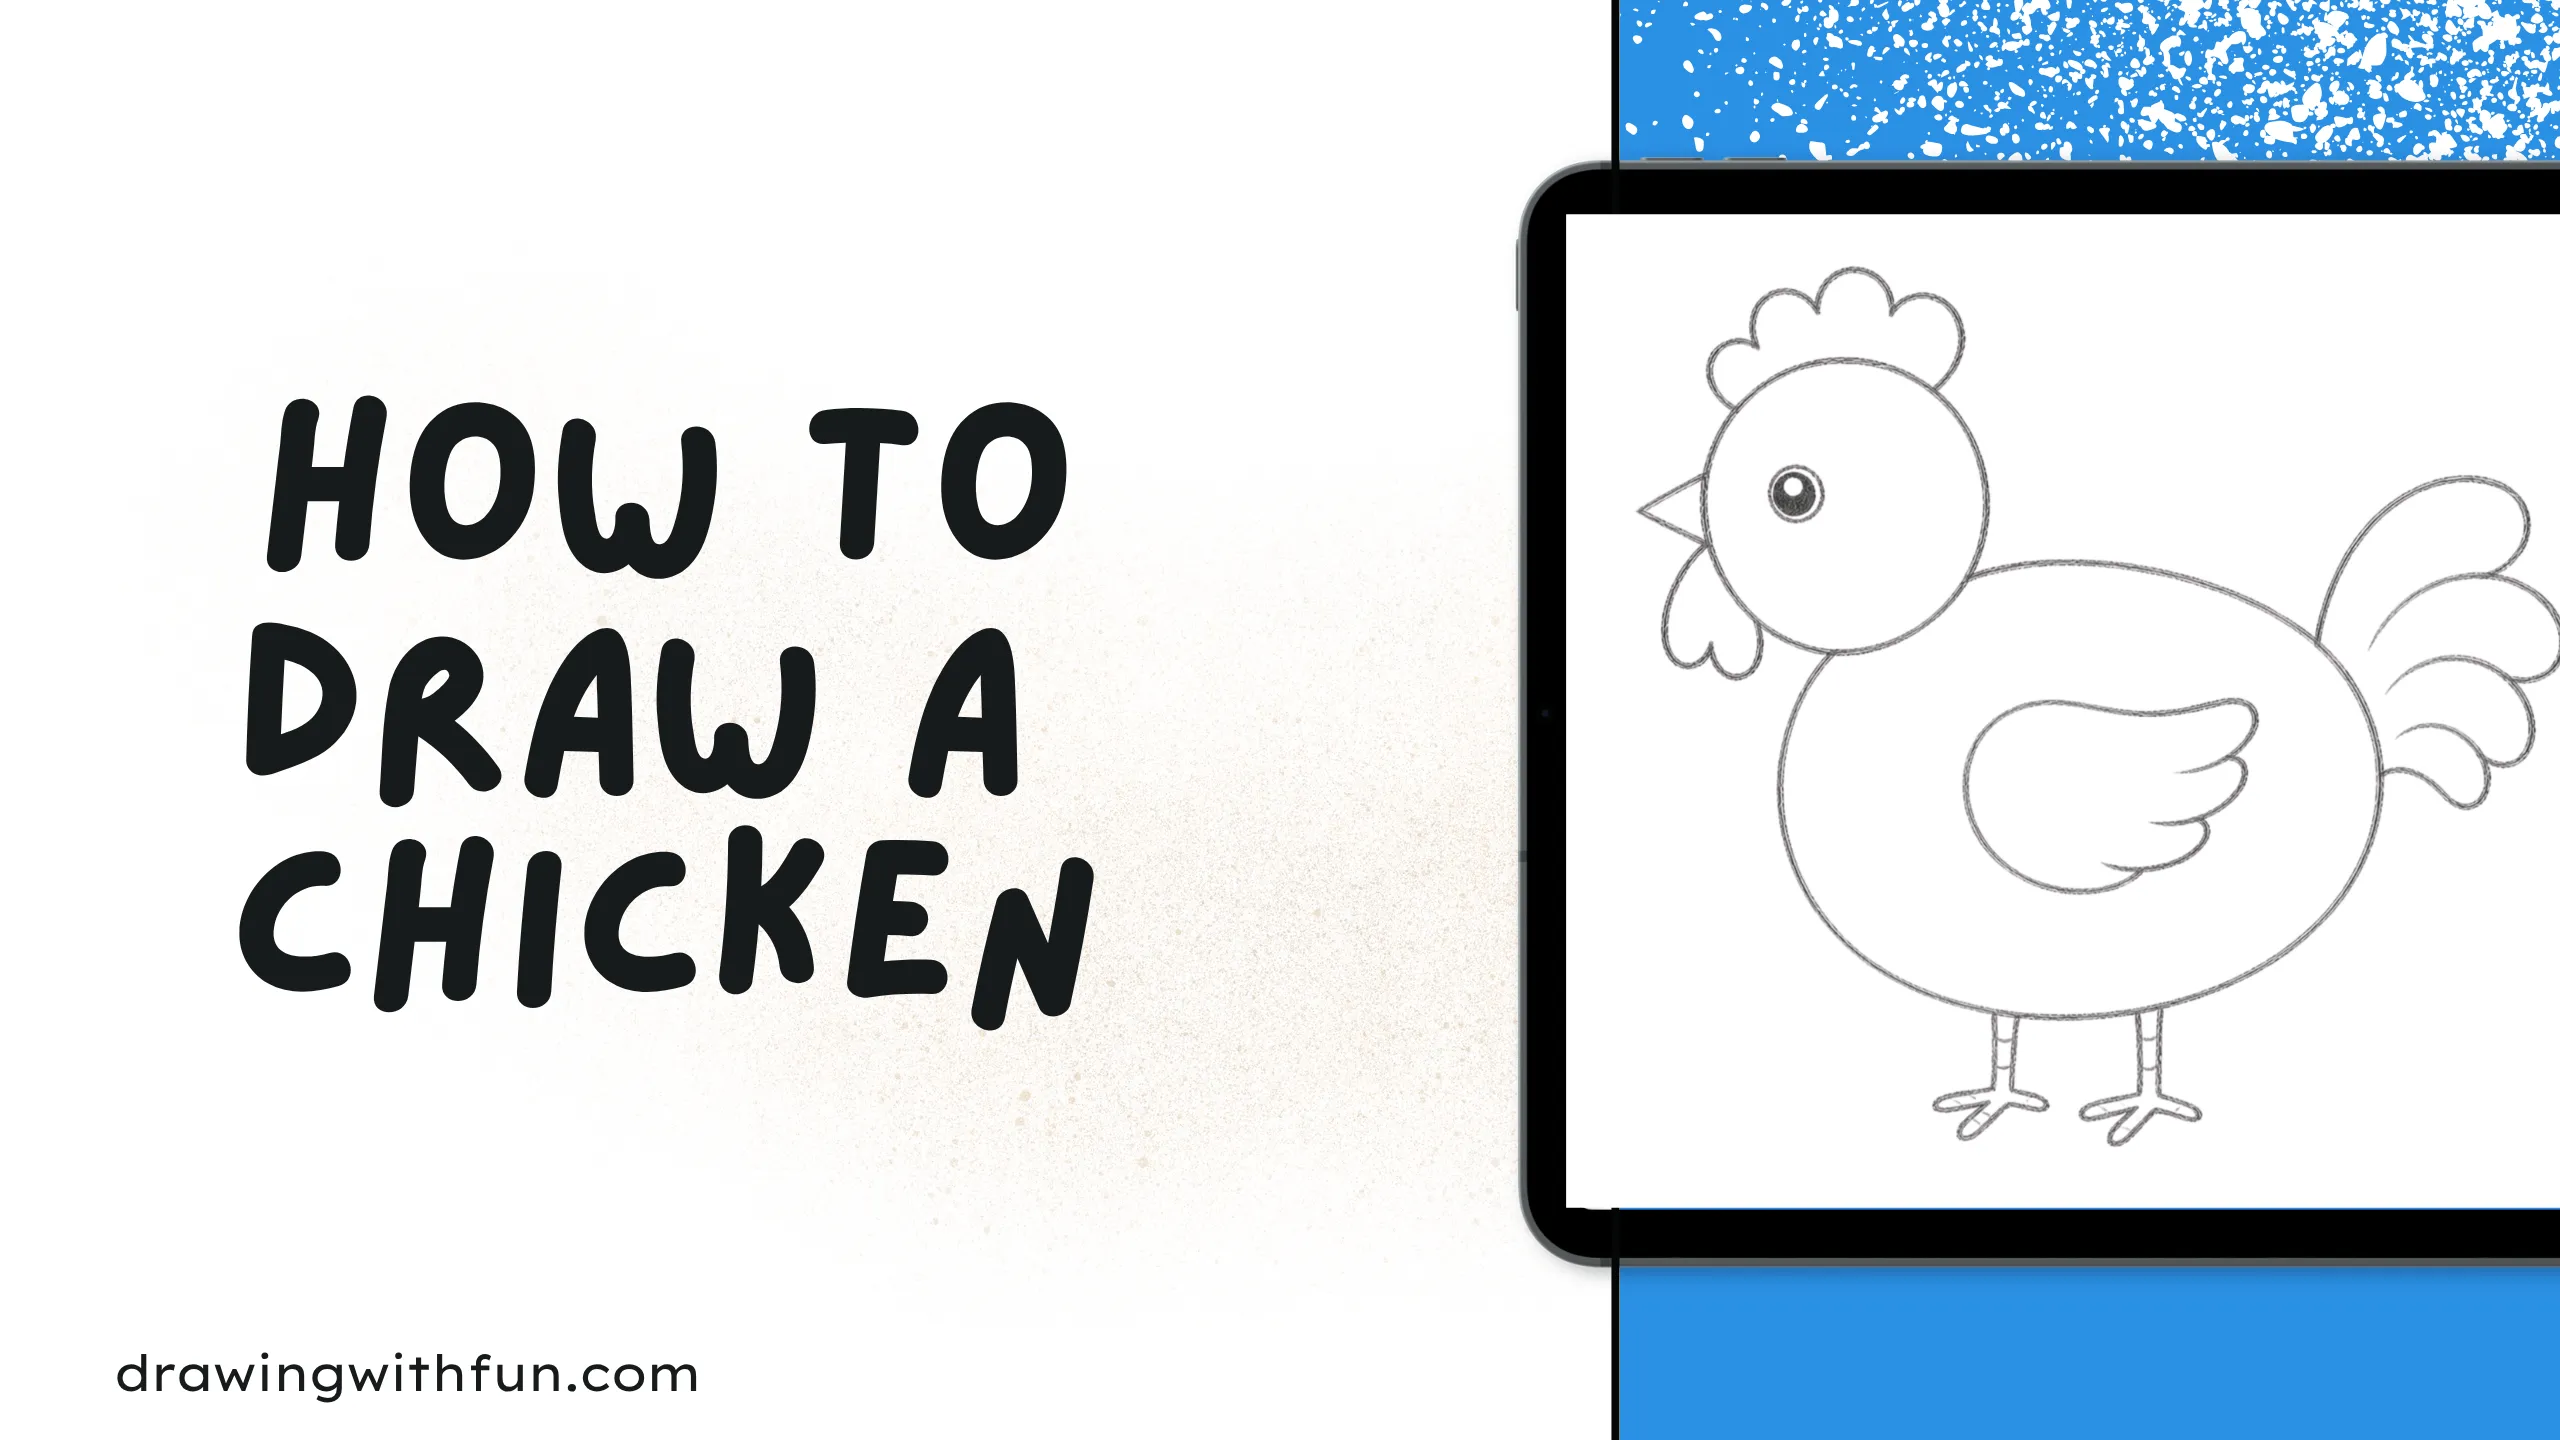
Drawing a chicken can be a fun and easy activity for kids of all ages. In this simple guide, you will learn how to draw a chicken step by step using basic shapes and lines. You don’t need to be an expert artist—just grab a pencil, some paper, and let your creativity begin!
We will start with simple shapes like circles and ovals to form the chicken’s body. Then, we will slowly add details like the beak, wings, feathers, and legs. Each step is easy to follow, so you can draw along without feeling confused.
This guide is designed to be clear, friendly, and easy to understand. By the end, you will have your own cute chicken drawing. Let’s get started and have fun drawing!
How to Draw a Chicken: Start Creating Your Today!
Want to learn how to draw a chicken in a fun and easy way? Let’s draw a chicken! This activity is perfect for kids who love animals and enjoy simple art. You don’t need any special skills—just a pencil, paper, and your imagination.
A chicken can be drawn using easy shapes and a few small details like a beak, wings, and feathers. You can keep it simple or make it as creative as you like. Add funny eyes, a fluffy tail, or even bright colors to give your chicken its own personality.
So why wait? Pick up your pencil and start drawing your chicken now. Have fun, be creative, and enjoy every moment of your drawing journey!
Step 1:Start with Simple Shapes
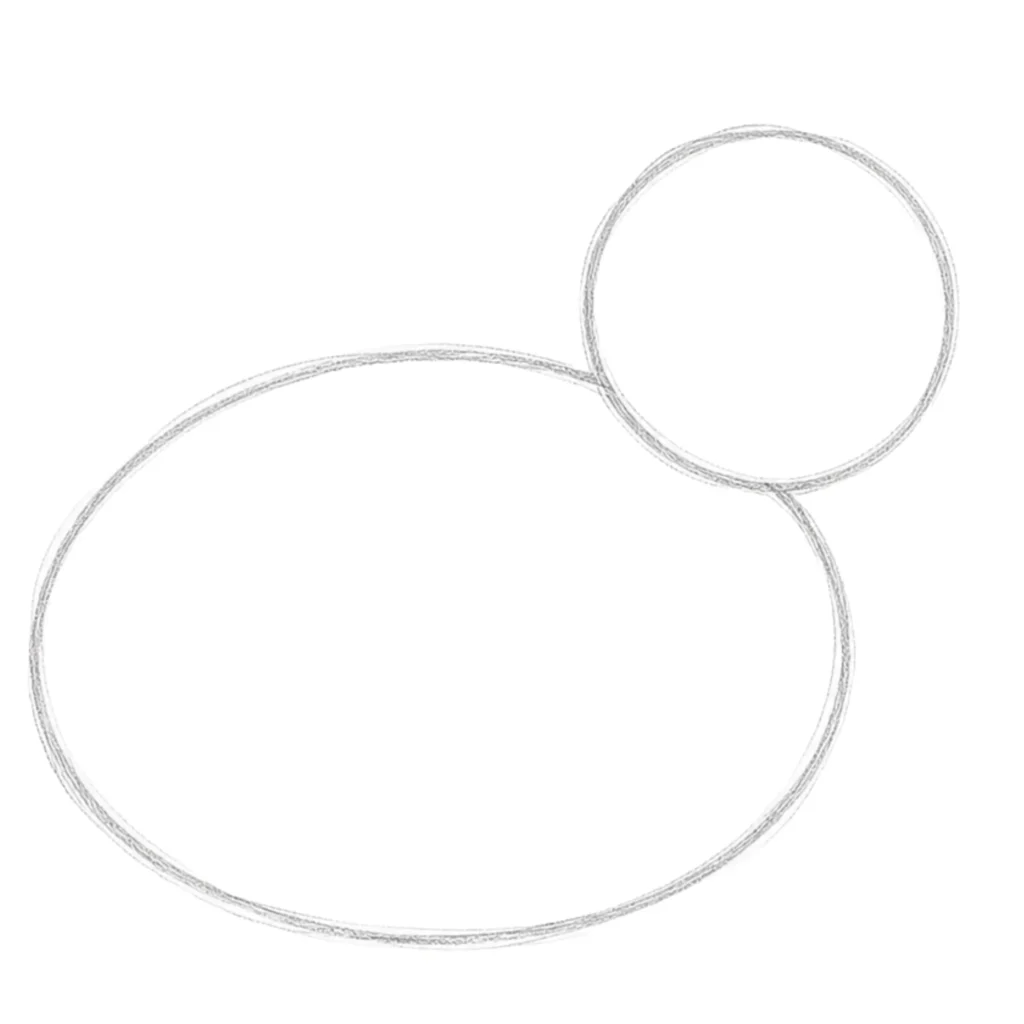
Start by drawing a big oval for the chicken’s body. Then add a smaller circle for the head, slightly above and to the side of the body. Keep your lines light so you can fix them easily.
Step 2: Add the Face
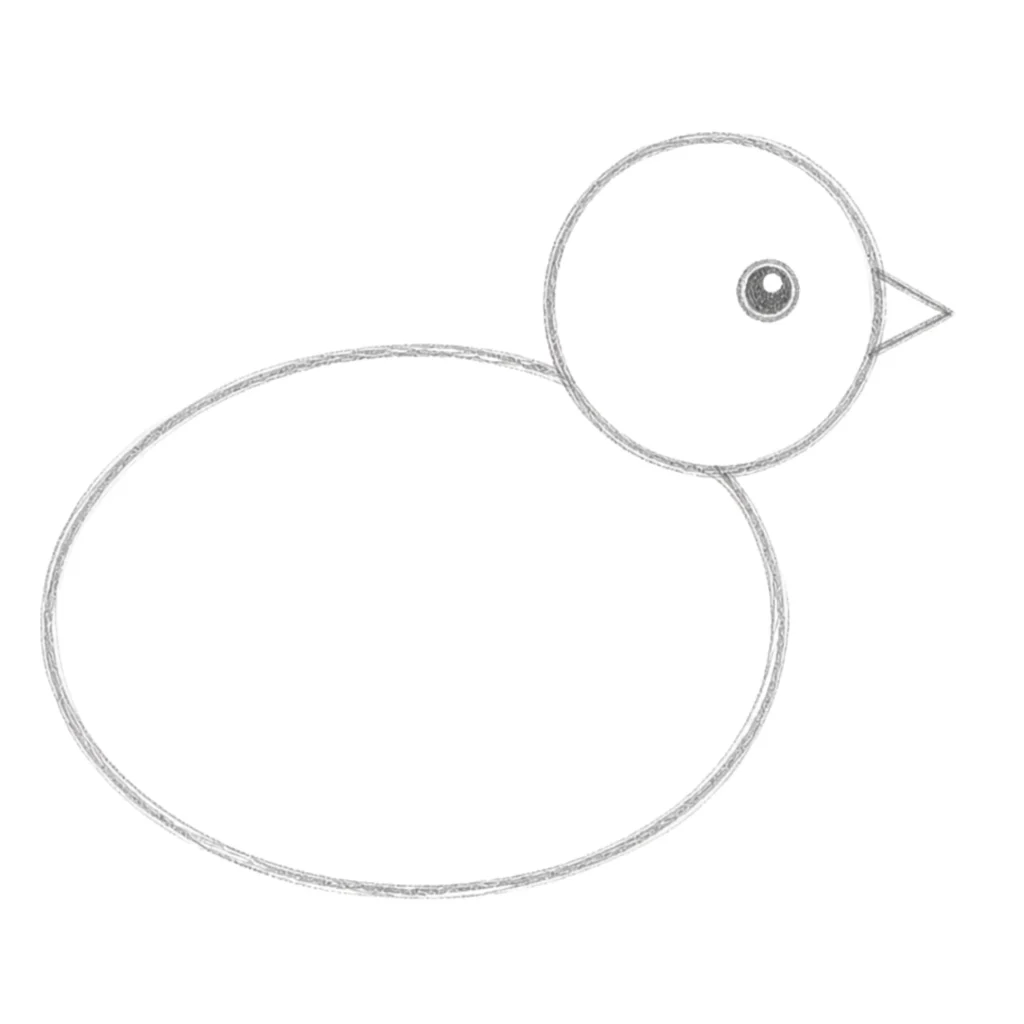
Draw a small triangle for the beak where the head is. Then add a round eye. You can make the eye bigger to give your chicken a cute and friendly look.
Step 3: Draw the Comb and Wattle
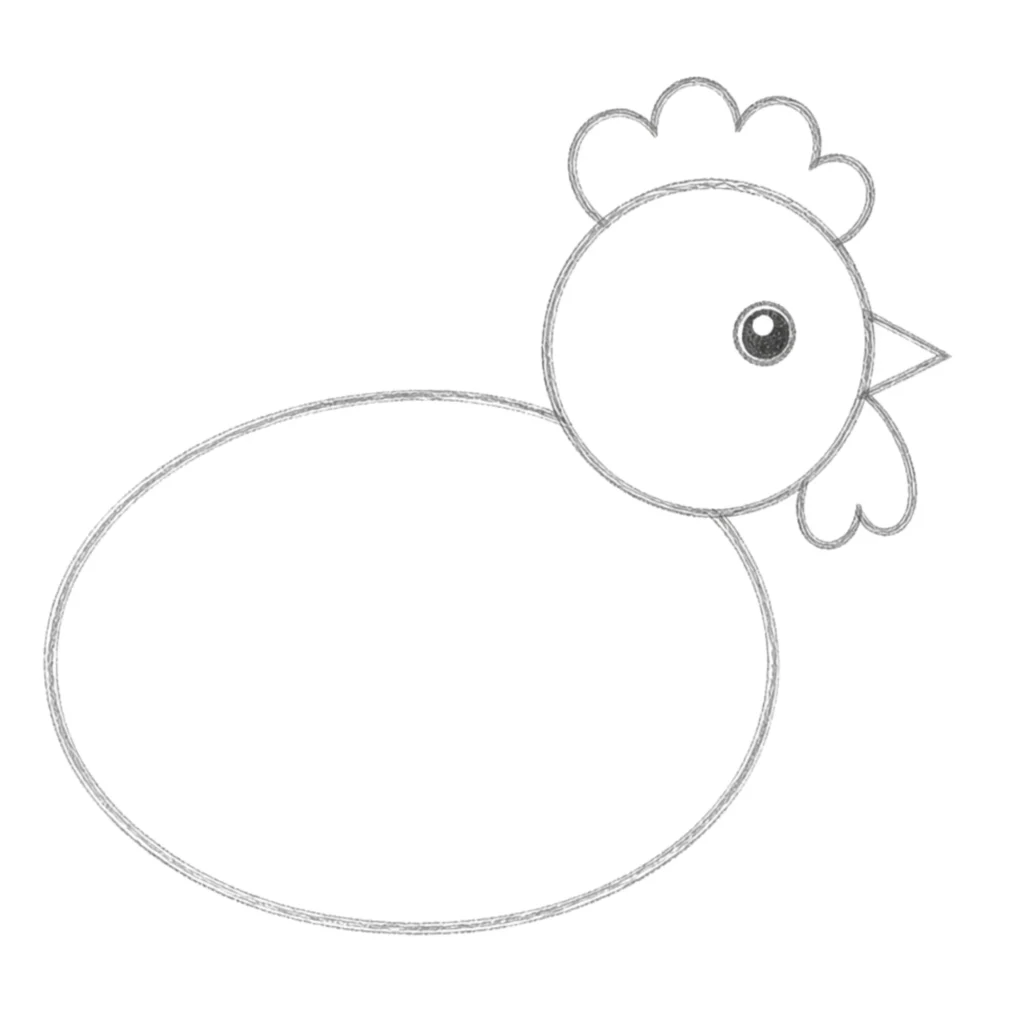
On top of the head, draw a soft bumpy shape for the comb. Under the beak, add a small wavy shape for the wattle. These details make your chicken look more real.
Step 4: Make the Wings and Tail
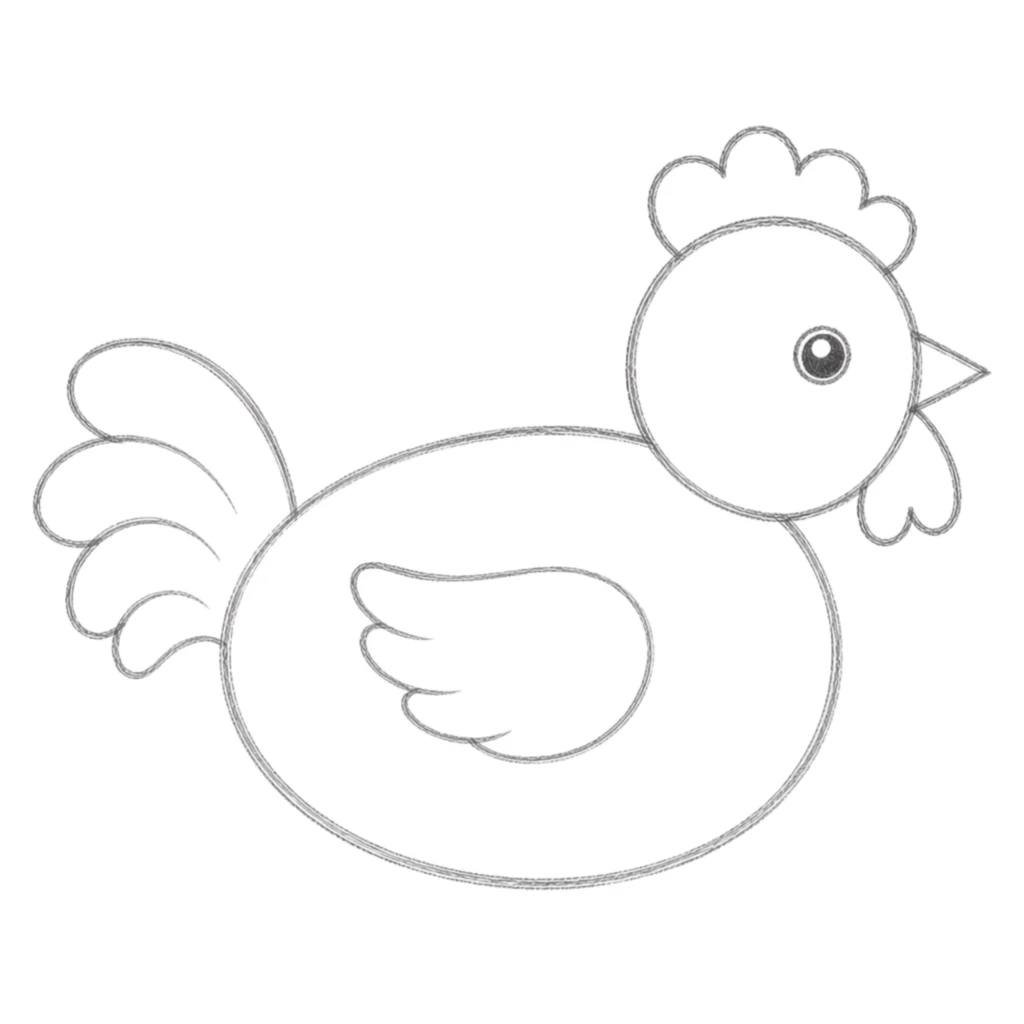
Draw a curved line on the side of the body to show the wing. You can add a few short lines inside it for feathers. At the back, draw some curved lines to create a fluffy tail.
Step 5: Add Legs and Feet
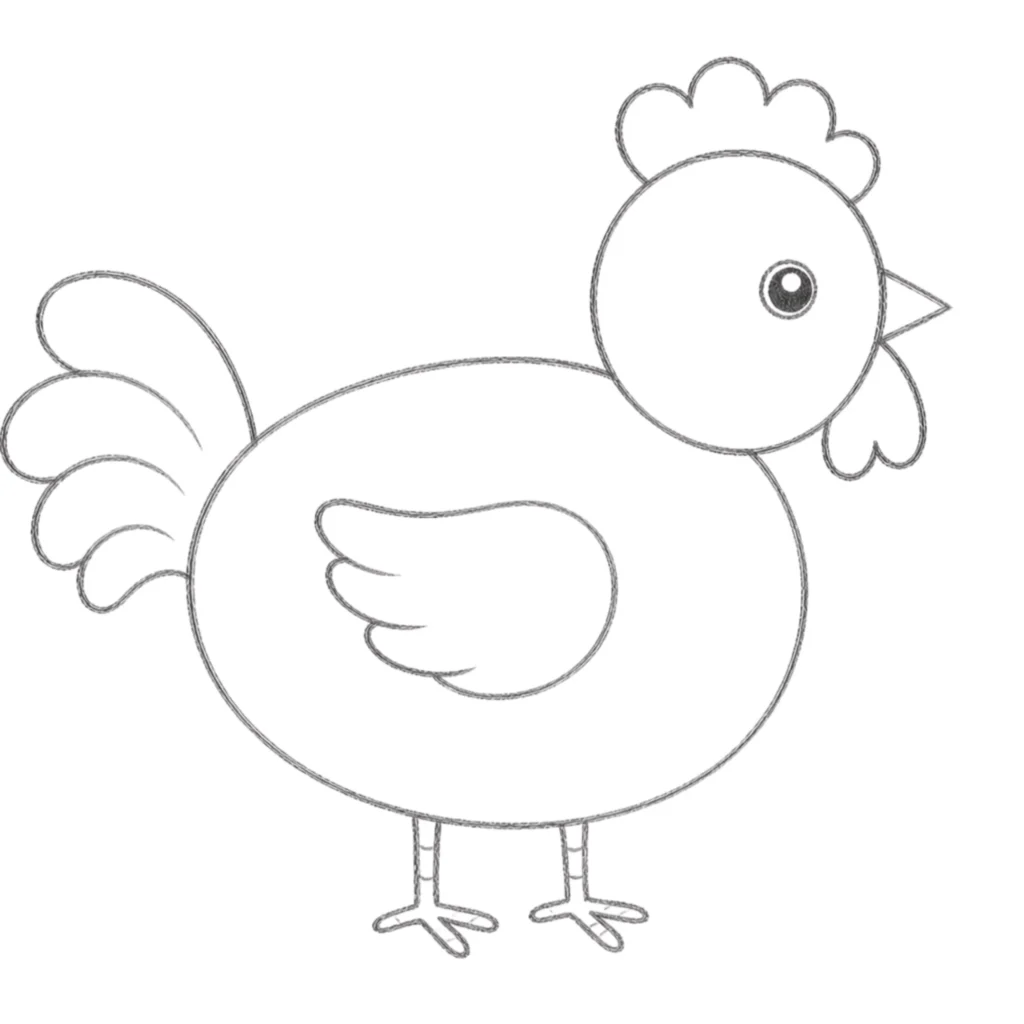
Draw two thin lines under the body for the legs. At the bottom of each leg, draw small toes. You can make three toes in front and one at the back.
Step 6: Outline and Color
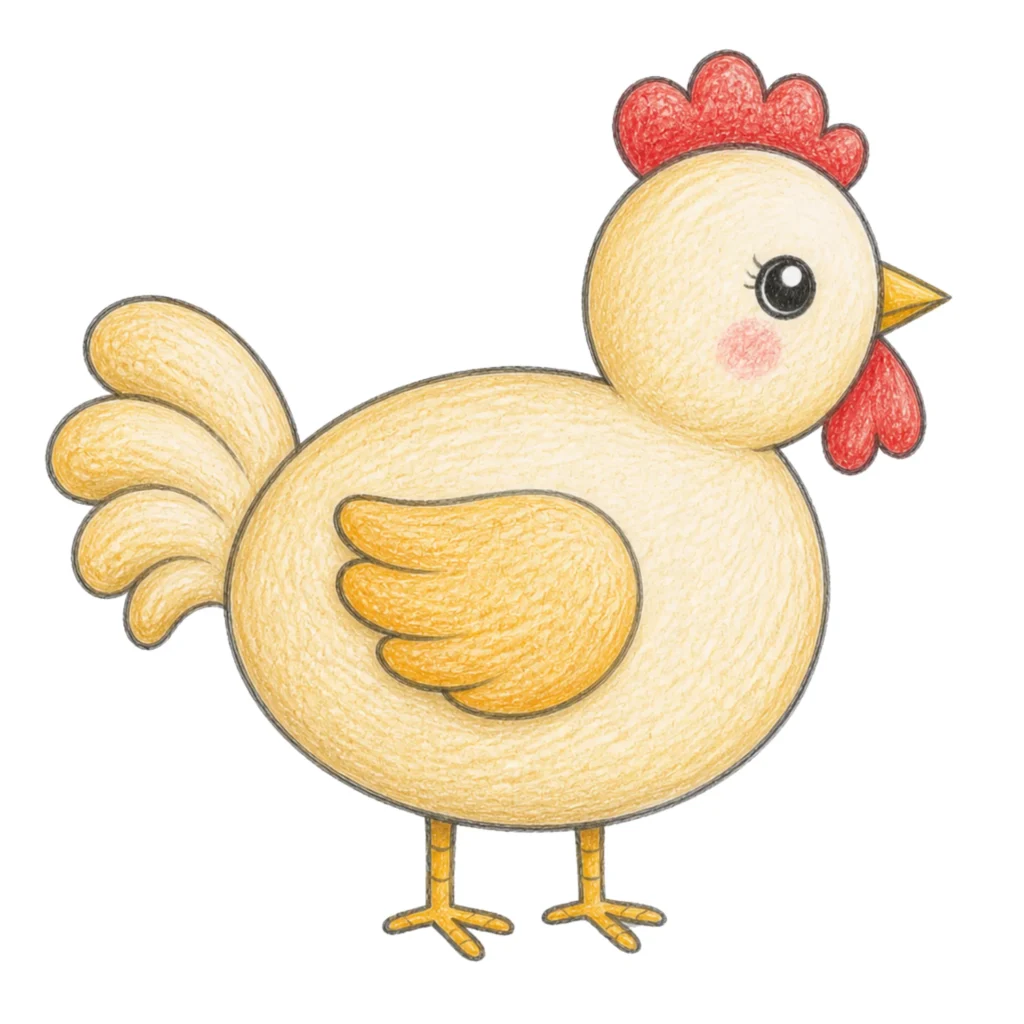
Go over your drawing with darker lines to make it clear. Erase any extra sketch lines. Finally, color your chicken using shades like yellow, brown, or even fun bright colors to make it unique!
🎨 Continue Your Drawing Adventure:
- Sketch a graceful woodland animal with our Easy Deer Drawing Tutorial.
- Draw an adorable reptile using this Step-by-Step Turtle Drawing Guide.
- Practice drawing a fun amphibian with our Simple Frog Drawing Lesson.
- Create a charming farm animal with this Easy Cow Drawing Guide.
Conclusion
Drawing a chicken is a fun and simple way to practice your creativity. By following easy steps and using basic shapes, you can turn a simple sketch into a cute and colorful chicken. Remember, your drawing doesn’t have to be perfect—what matters is that you enjoy the process and keep practicing.
Each time you draw, you will get better and more confident. Try adding your own creative touches like different colors, funny expressions, or unique styles to make your chicken special.
Keep your pencil moving, have fun, and enjoy learning how to draw. Your cute chicken is just the beginning—there are many more fun drawings waiting for you!