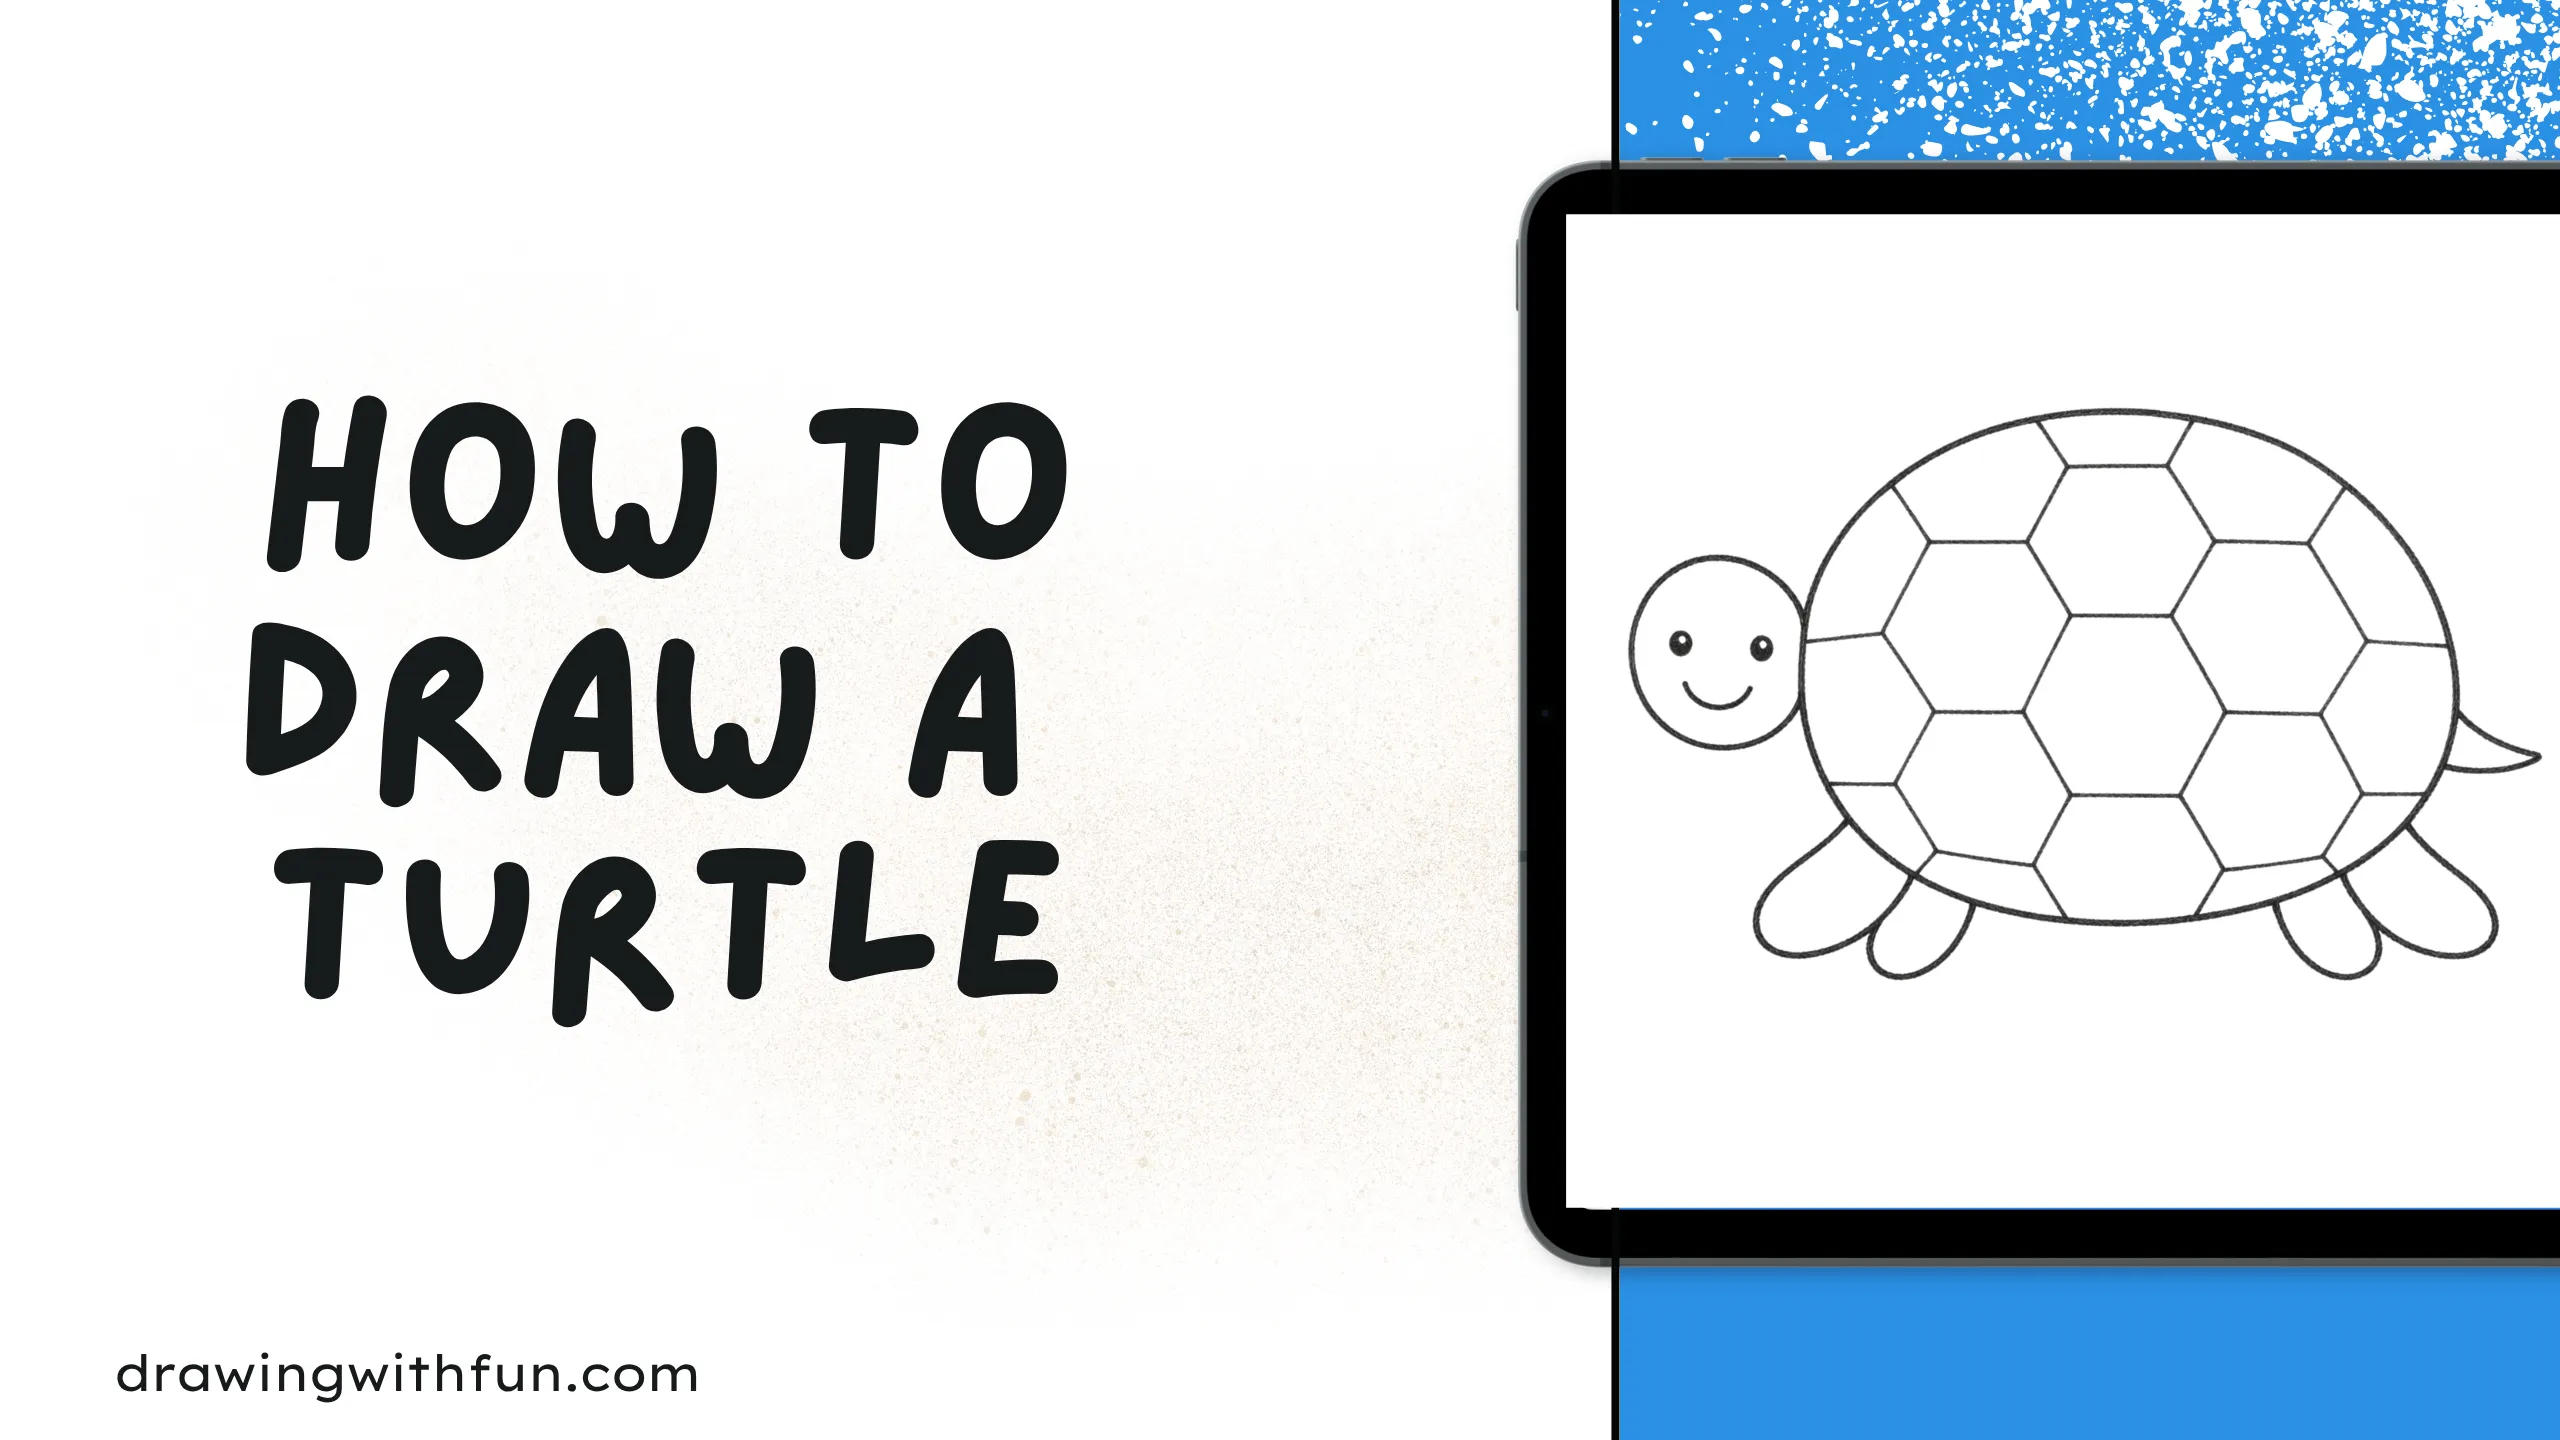
Learning how to draw a turtle is a fun and easy activity that kids can enjoy while learning basic art skills. Turtles have simple shapes, which makes them perfect for beginners. In this guide, you will learn how to draw a cute turtle step by step using easy lines and shapes.
You don’t need to be an expert artist—just grab a pencil, some paper, and your imagination! By following these simple instructions, kids can create their own turtle drawing and even add colors to make it look bright and lively.
Let’s get started and have fun drawing your very own turtle!
Ready to Learn How to Draw a Turtle?
Are you ready to know how to draw a turtle? Grab your pencil, paper, and maybe some colors too! Follow the easy step-by-step instructions below, and you’ll see how simple it is to create your own turtle drawing.
Take your time, have fun with each step, and don’t worry about making it perfect—just enjoy the process. Start now and bring your turtle to life with your creativity!
Step-by-Step Guide: How to Draw a Turtle
Follow these easy and fun steps to draw your own cute turtle. Take it slow, enjoy each step, and remember—practice makes you better!
Step 1: Draw the Turtle’s Shell
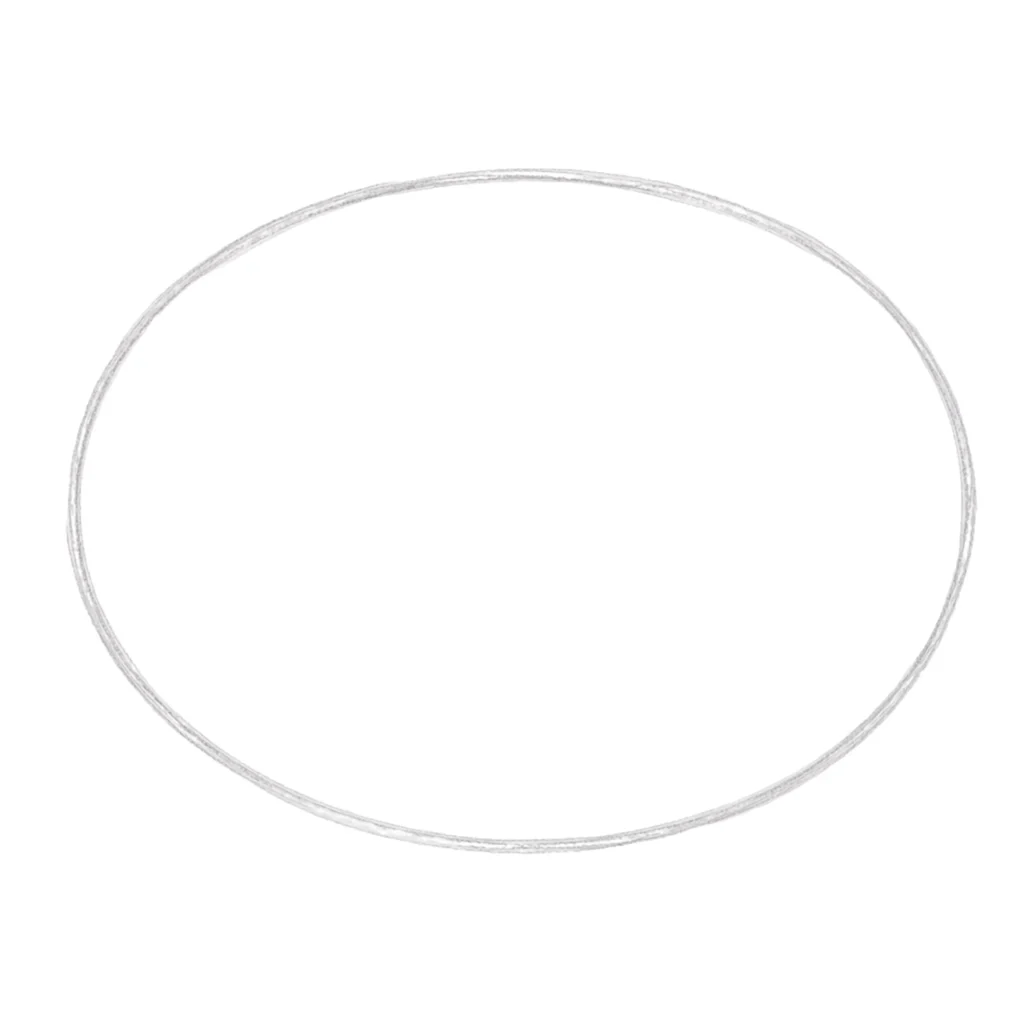
Begin by drawing a large oval shape in the center of your paper. This oval will be the turtle’s shell, which is the biggest part of its body. Try to keep your lines light so you can fix them if needed. Make the oval wide and smooth so your turtle has a nice, round shell.
Step 2: Add the Head

Now, draw a small circle or oval shape on one side of the shell. This will be the turtle’s head. Make sure it slightly overlaps or connects to the shell so it looks natural. Keep the head smaller than the shell so your turtle looks balanced and cute.
Step 3: Draw the Legs
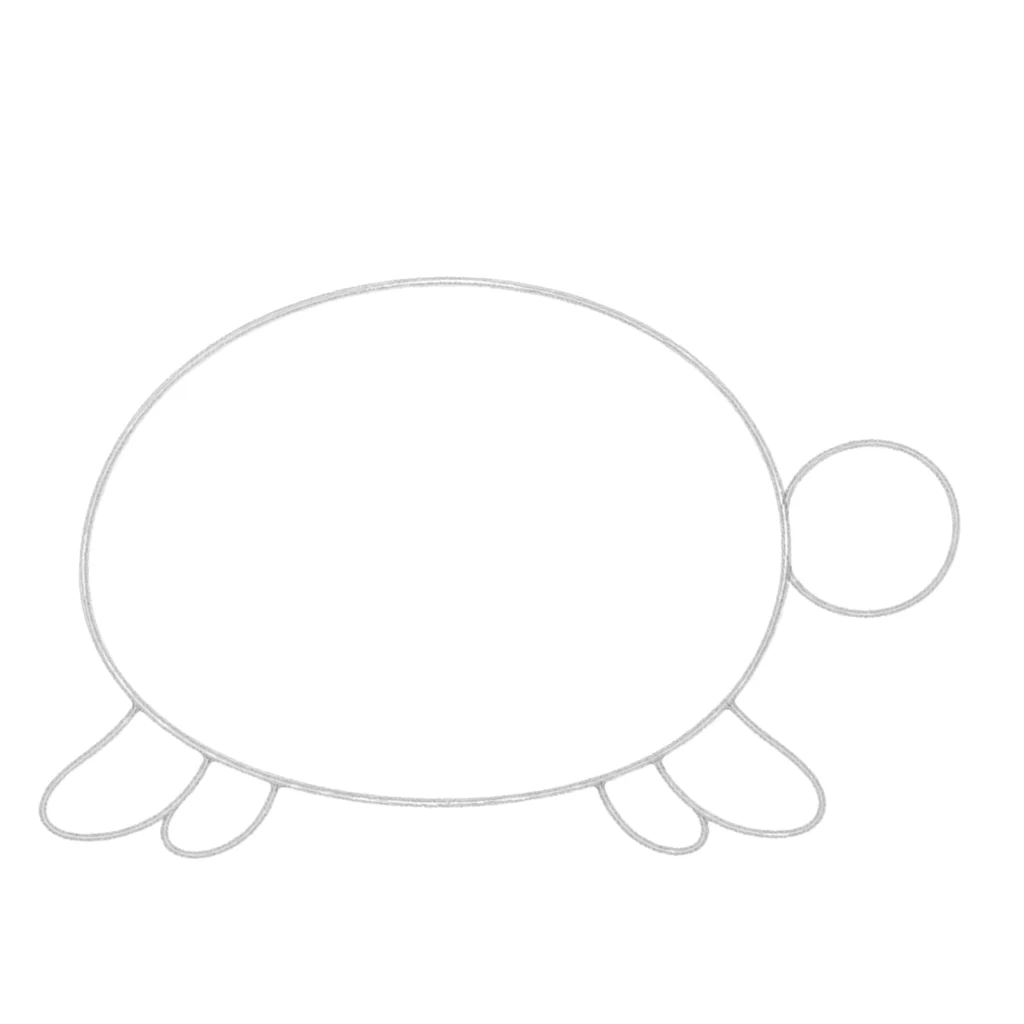
Next, add four legs under the shell. Draw two legs near the front and two near the back. You can make them look like soft, curved flippers or little rounded shapes. Keep the legs simple and not too big. Try to make them look similar in size so your turtle looks neat.
Step 4: Add the Tail

At the back of the shell, draw a small tail. You can make it as a tiny triangle or a short curved line. The tail should be very small compared to the shell, just a little detail to complete the body.
Step 5: Draw the Face
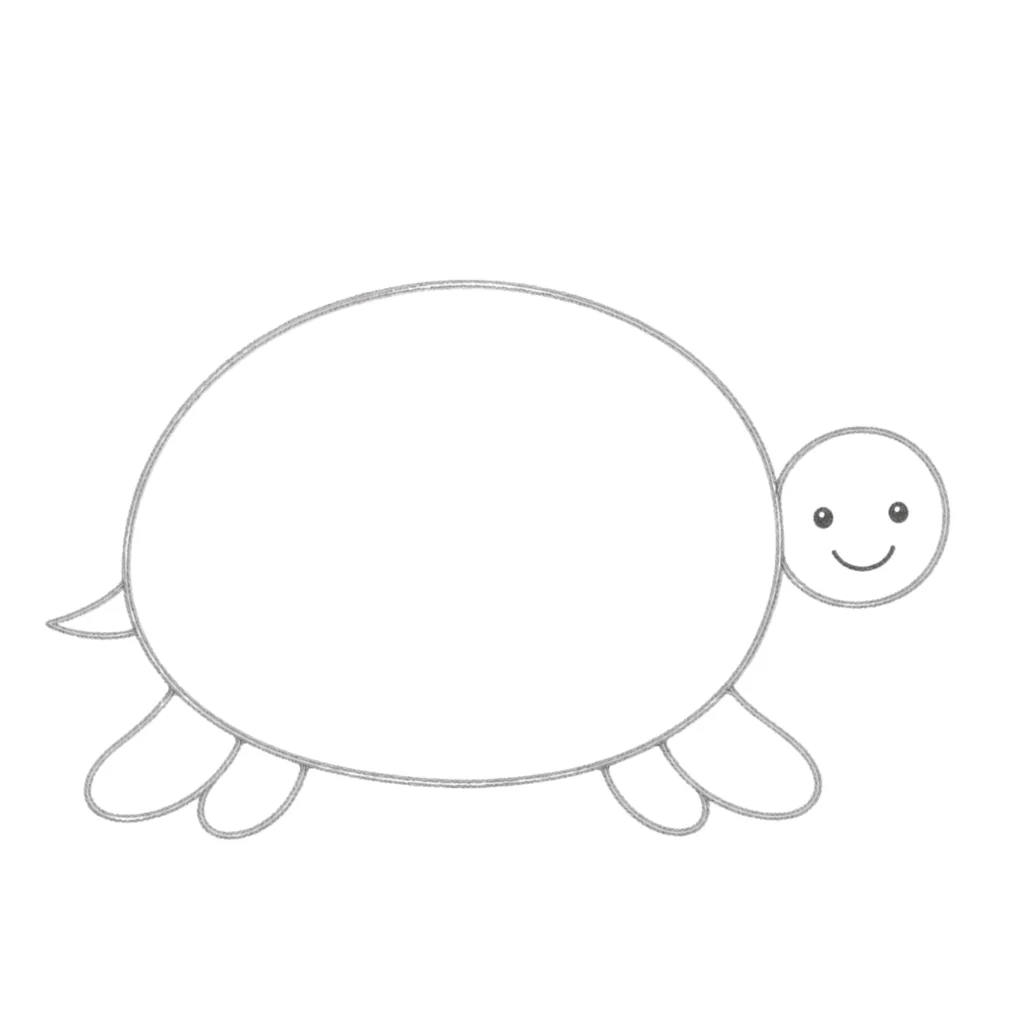
Now it’s time to give your turtle a friendly face! Draw two small circles or dots for the eyes on the head. You can add a tiny circle inside each eye to make them look shiny. Then draw a curved line for a smile. If you like, add small eyebrows or cheeks to make your turtle look even happier.
Step 6: Add Shell Patterns
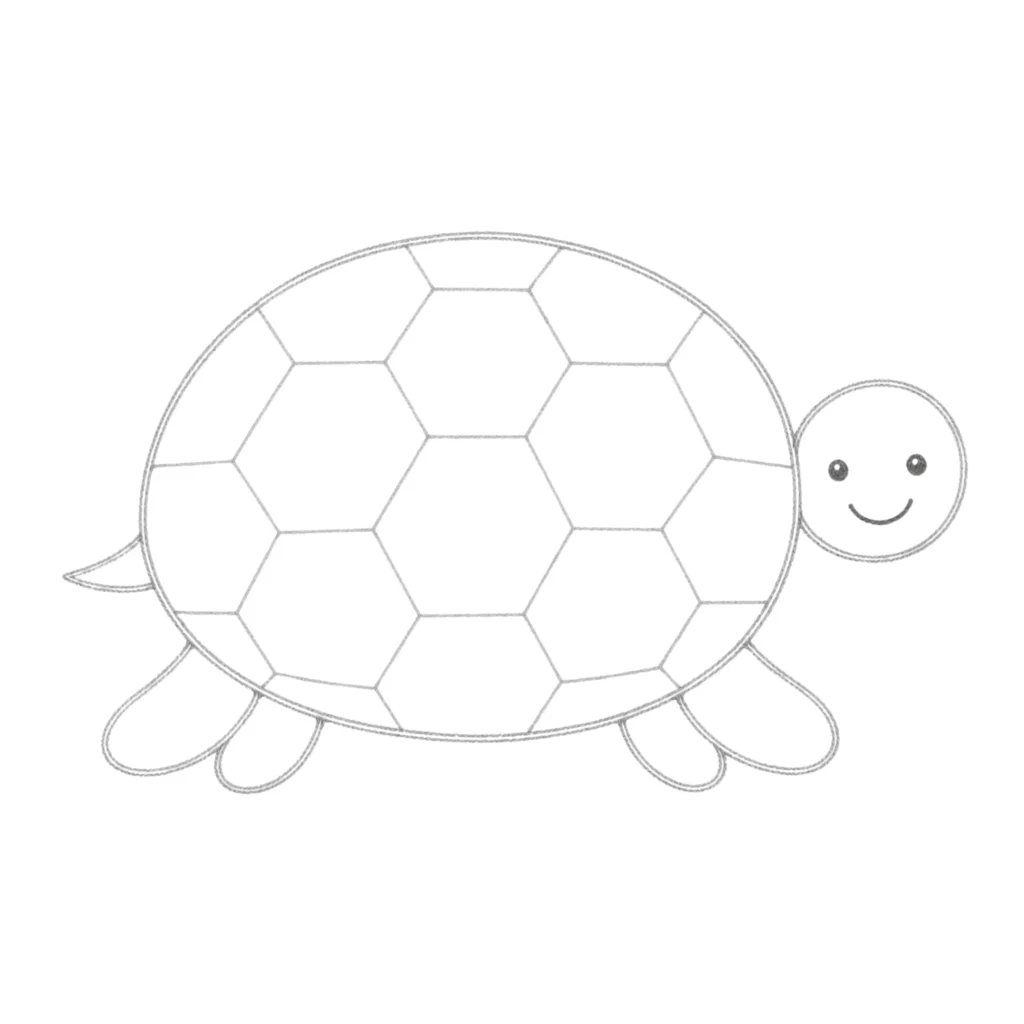
Inside the big shell, draw simple patterns to make it look more interesting. You can draw shapes like hexagons (six-sided shapes), squares, or curved lines. Start from the center and work your way out. These patterns make your turtle’s shell look detailed and beautiful.
Step 7: Outline Your Drawing
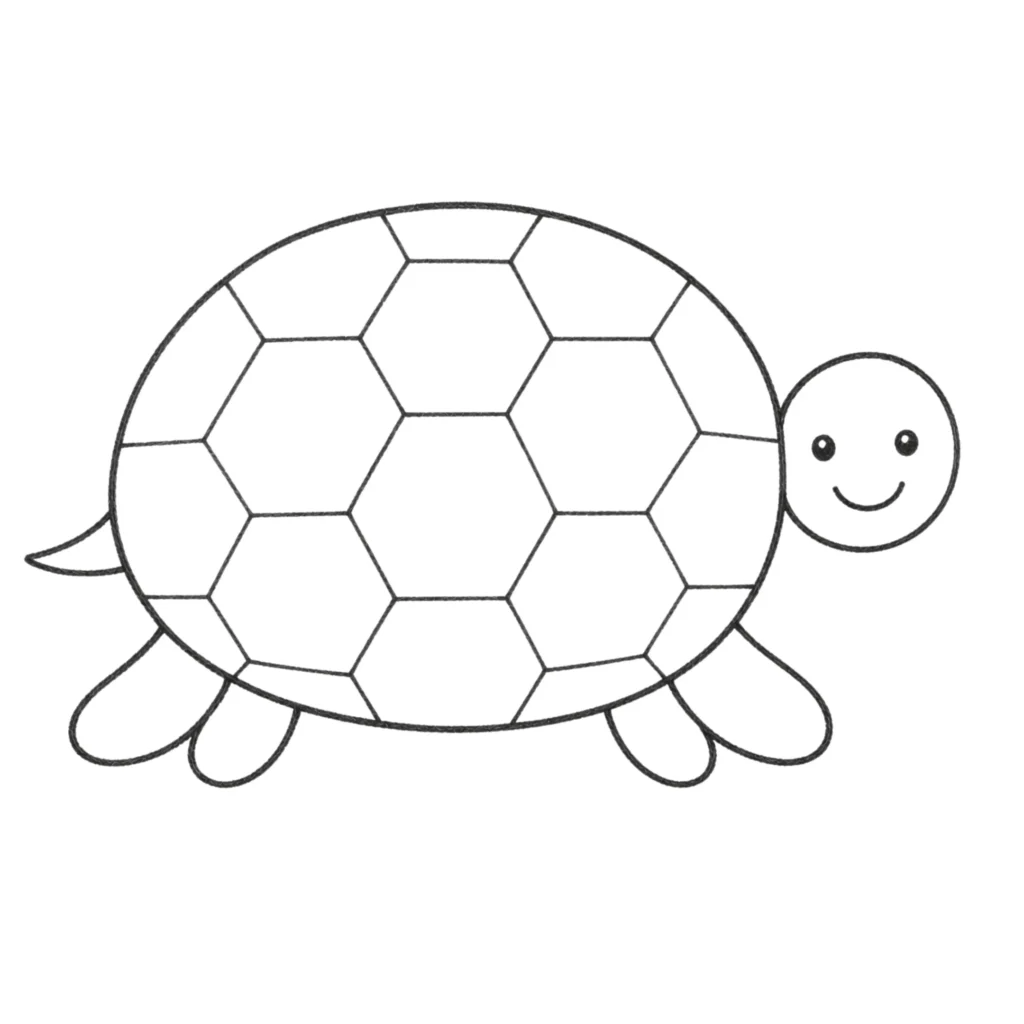
Once you are happy with your drawing, go over all the lines with a darker pencil, pen, or marker. This step is called outlining. It makes your turtle look clear and easy to see. Erase any extra or messy lines after outlining.
Step 8: Color Your Turtle
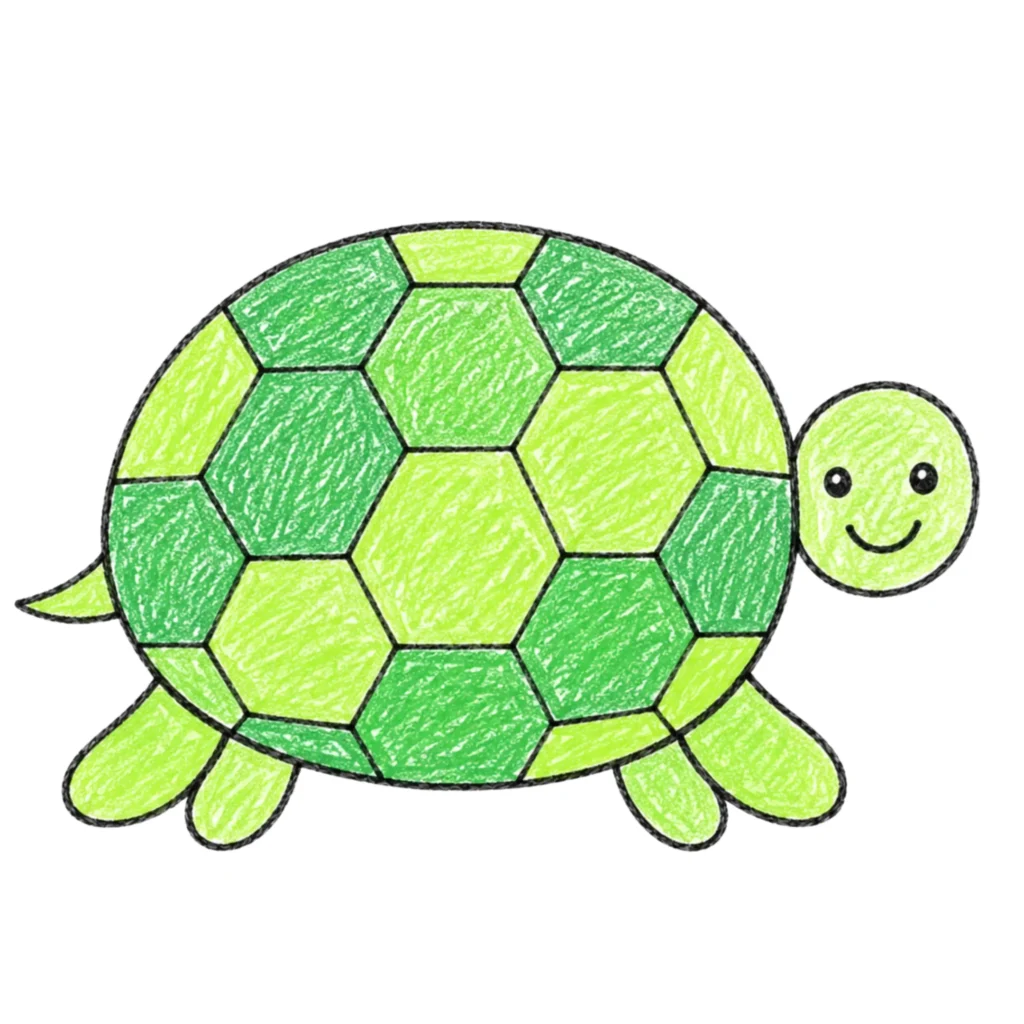
Finally, bring your turtle to life with colors! Use green for the head and legs. For the shell, you can use brown, yellow, orange, or even mix colors to make it unique. Color slowly and try to stay inside the lines. You can also add a blue background for water or green grass around your turtle.
Awesome work! You’ve created a lovely turtle drawing. Keep practicing and have fun drawing more animals!
🎨 Discover More Fun Animal Drawing Tutorials:
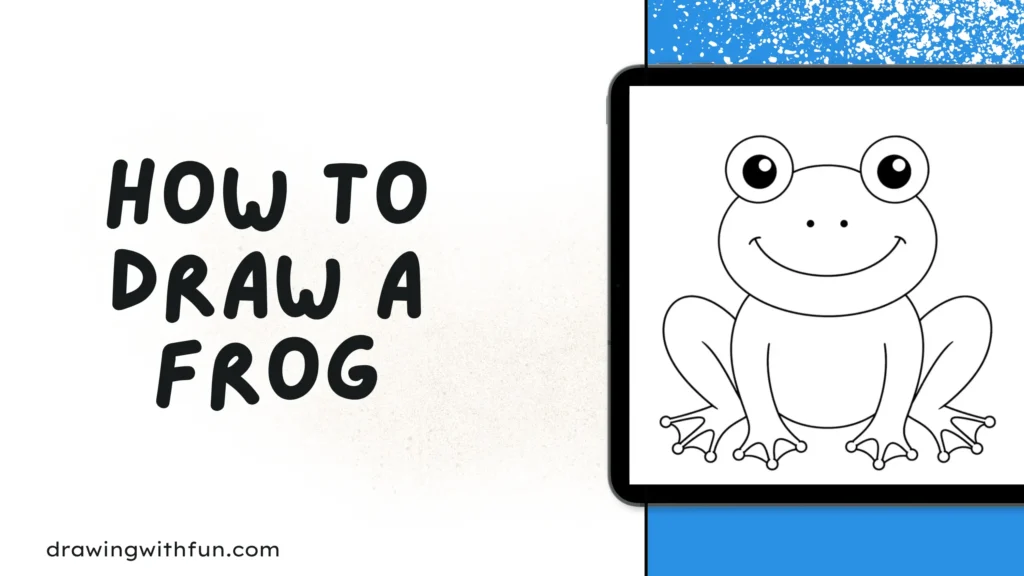
- Hop into creativity with our Easy Frog Drawing Tutorial.
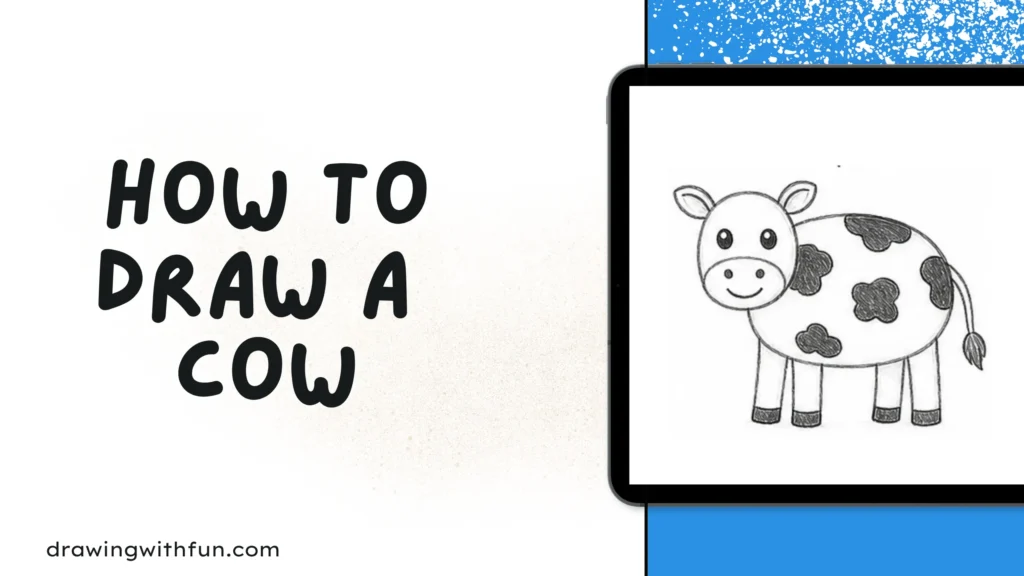
- Create a friendly farm animal using our Step-by-Step Cow Drawing Guide.
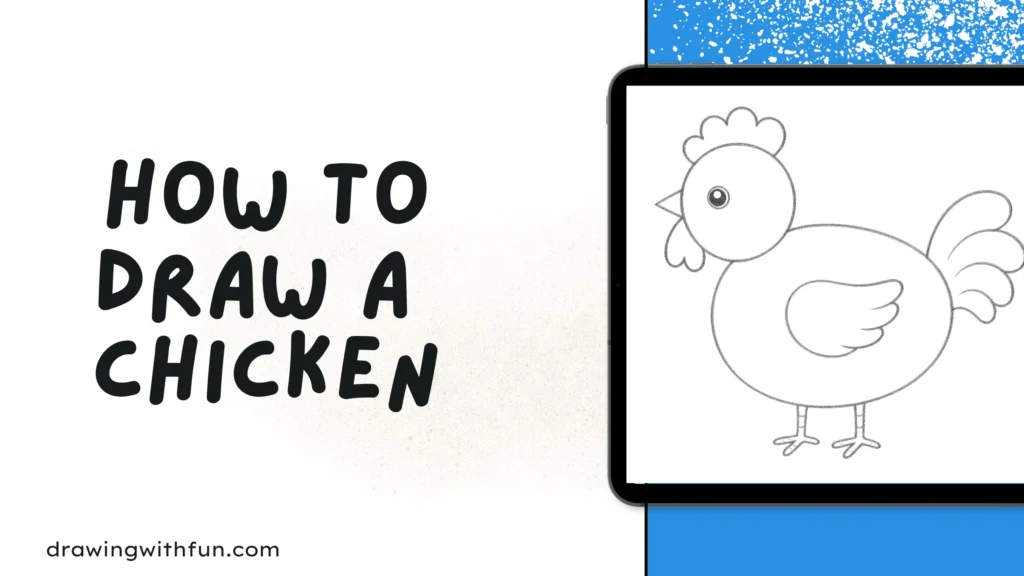
- Sketch a cute farm bird with this Simple Chicken Drawing Lesson.
- Learn to draw a cuddly forest friend with our Easy Bear Drawing Guide.
Conclusion
In conclusion, how to draw a frog is easy and enjoyable when you follow a simple, step-by-step process. Begin with basic shapes, gradually refine the outline, and then add important details like the eyes, legs, and skin texture. Consistent practice will help you improve your drawing skills and build confidence over time.
Whether you want to create a realistic frog or a cute cartoon version, this method provides a clear and effective way to achieve great results. Keep practicing, stay creative, and enjoy the process of learning how to draw a frog.