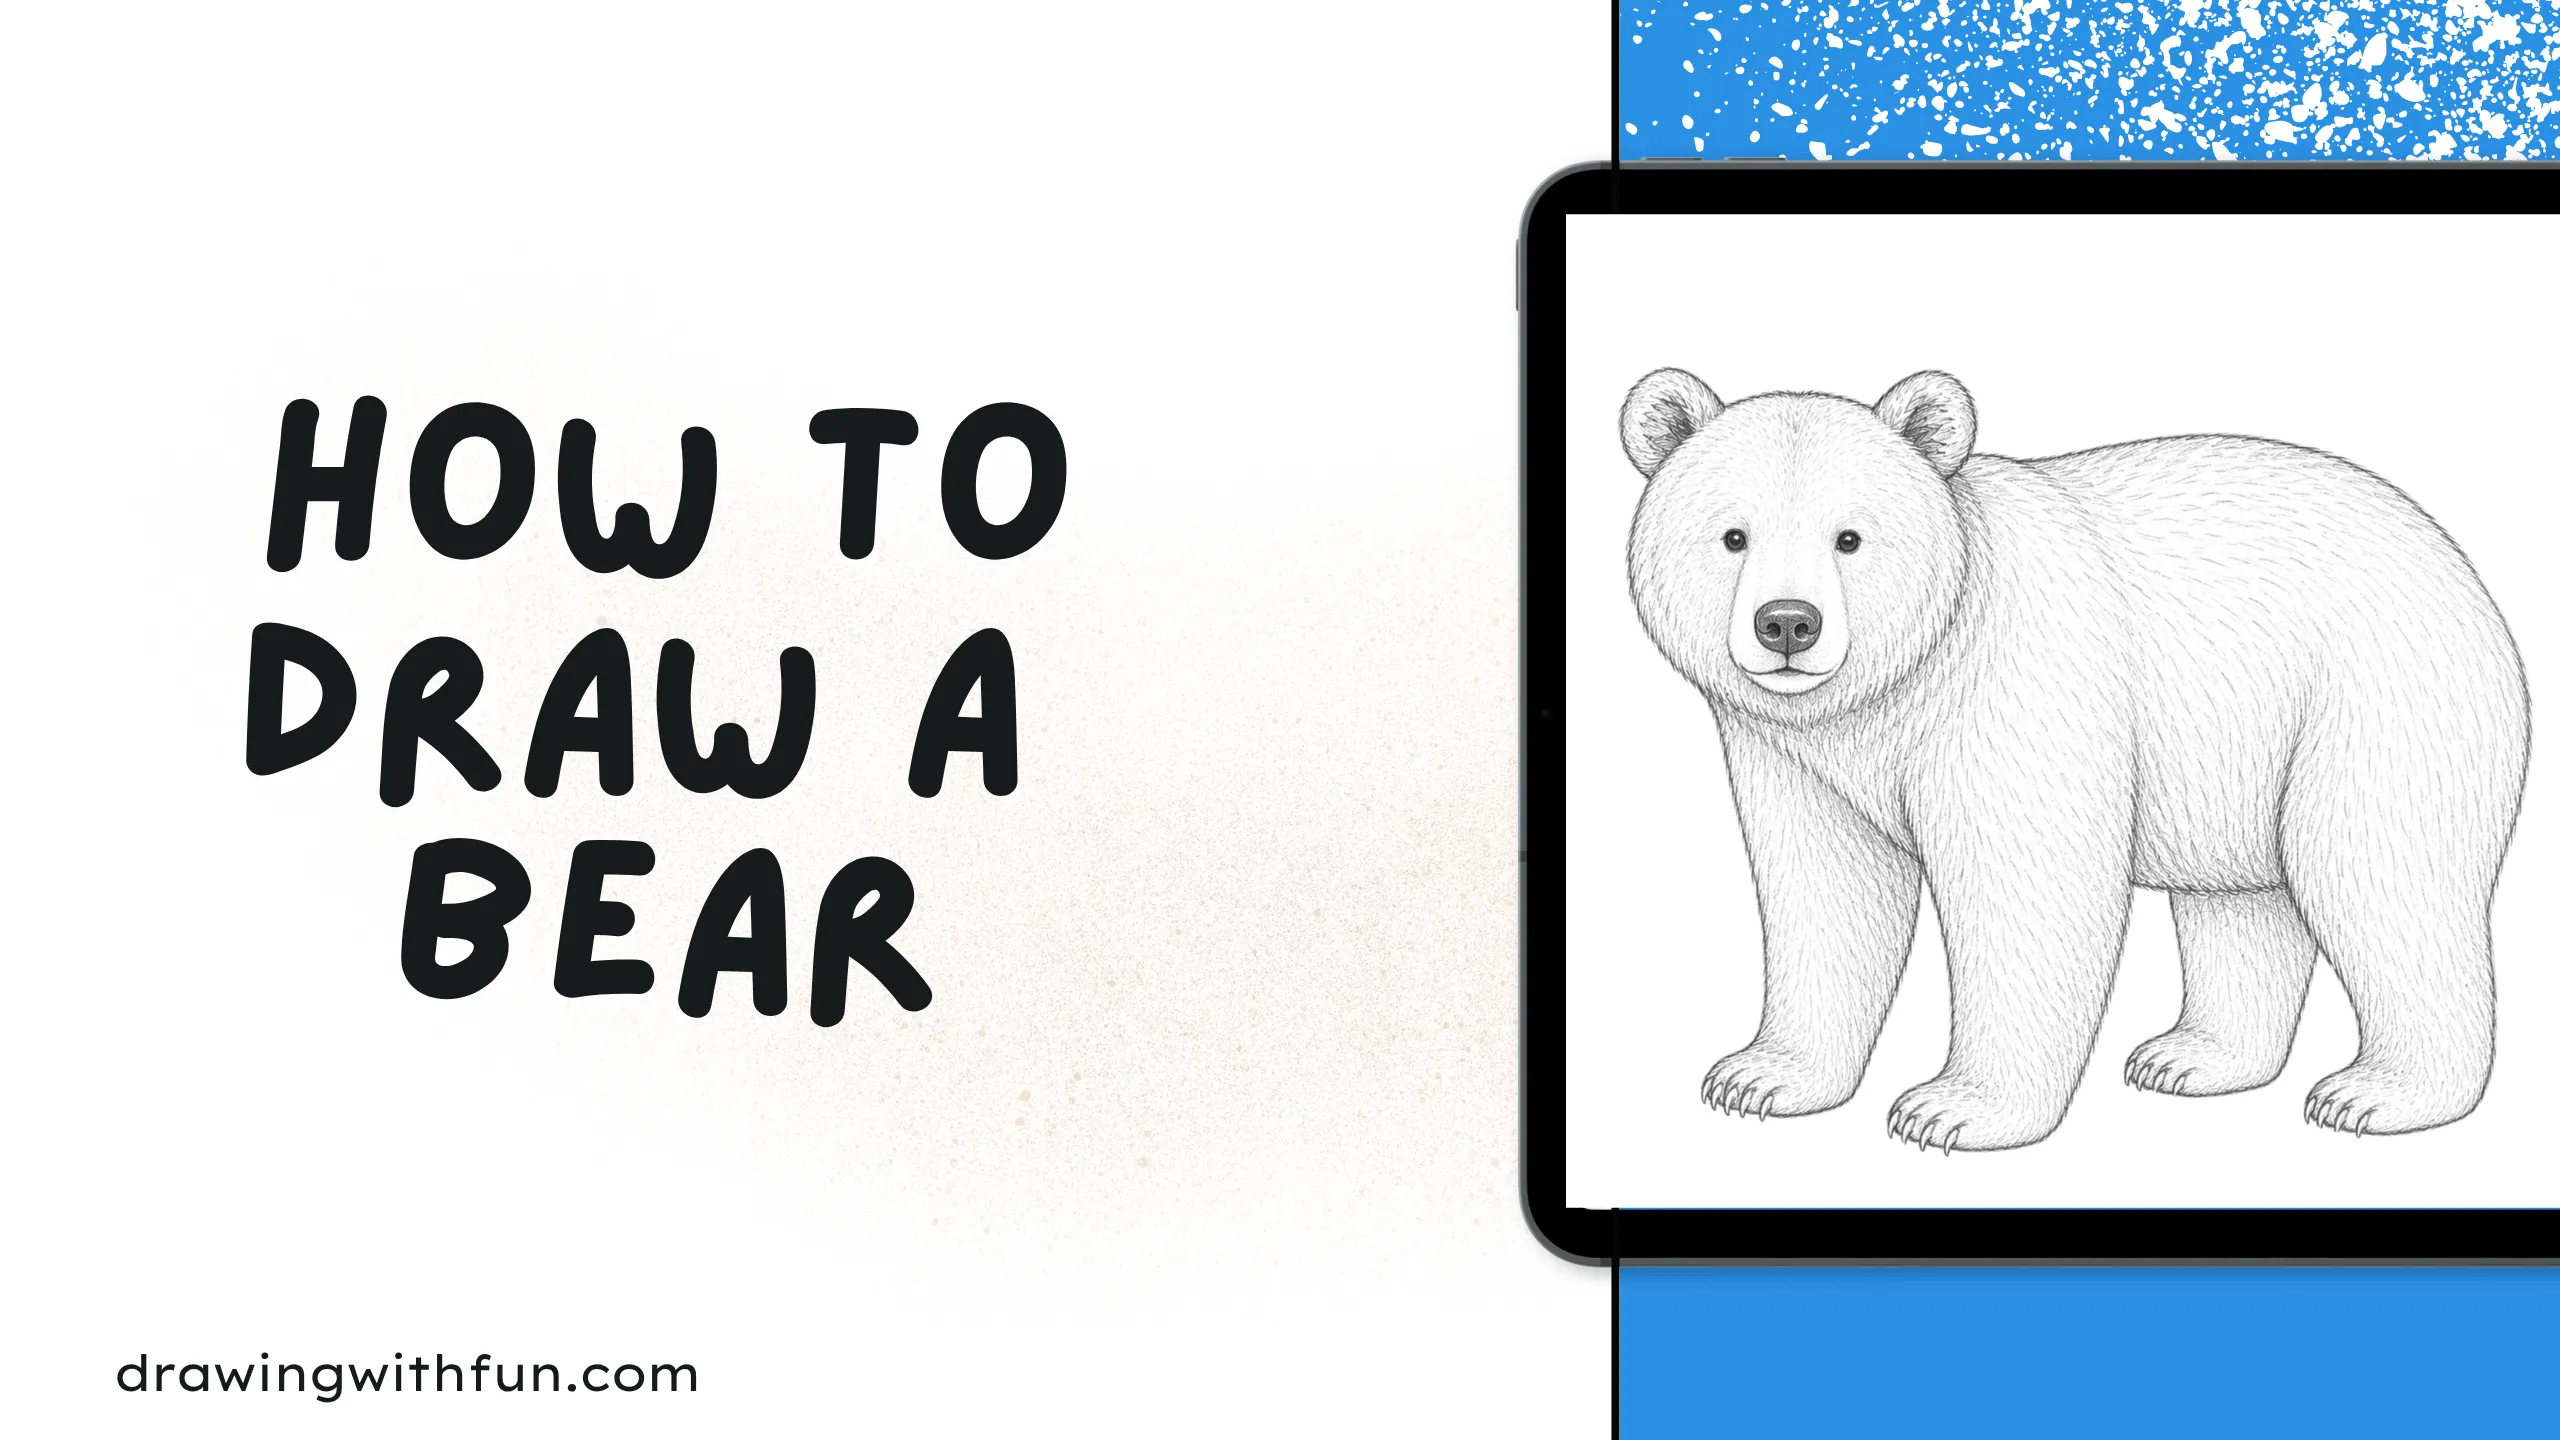
Learning how to draw a bear is a fun activity for kids who love animals and nature. Real bears are big, strong, and covered with thick fur, but they can still be easy to draw when you follow simple steps.
In this drawing guide, you will learn how to make a realistic bear using easy shapes, lines, and small details. This tutorial is perfect for beginners, students, and young artists. So grab your pencil, eraser, and paper, and let’s start drawing a cool real bear step by step!
Learn How to Draw a Bear Step by Step:
Are you ready to learn how to draw a bear step by step? This fun and easy drawing guide is perfect for kids, beginners, and anyone who loves wild animals. By following simple steps, you will learn how to draw a bear’s large body, round head, small ears, strong legs, big paws, and fluffy fur details. Each step is easy to understand, so young artists can follow along without feeling confused.
You do not need to be a professional artist to make a great bear drawing. Just grab a pencil, eraser, paper, and your favorite colors, then follow the guide one step at a time. Keep practicing, have fun, and soon you will create an amazing realistic bear drawing all by yourself!
Step 1: Draw the Bear’s Head

Begin by drawing a large round circle in the middle of your paper. This circle will be the bear’s head. Try to keep your lines light and smooth so you can erase mistakes easily later.
Step 2: Draw the Body Shape

Next, draw a big oval shape connected to the head. This will form the bear’s large and strong body. Make the body much bigger than the head because real bears have heavy bodies.
Step 3: Add the Ears
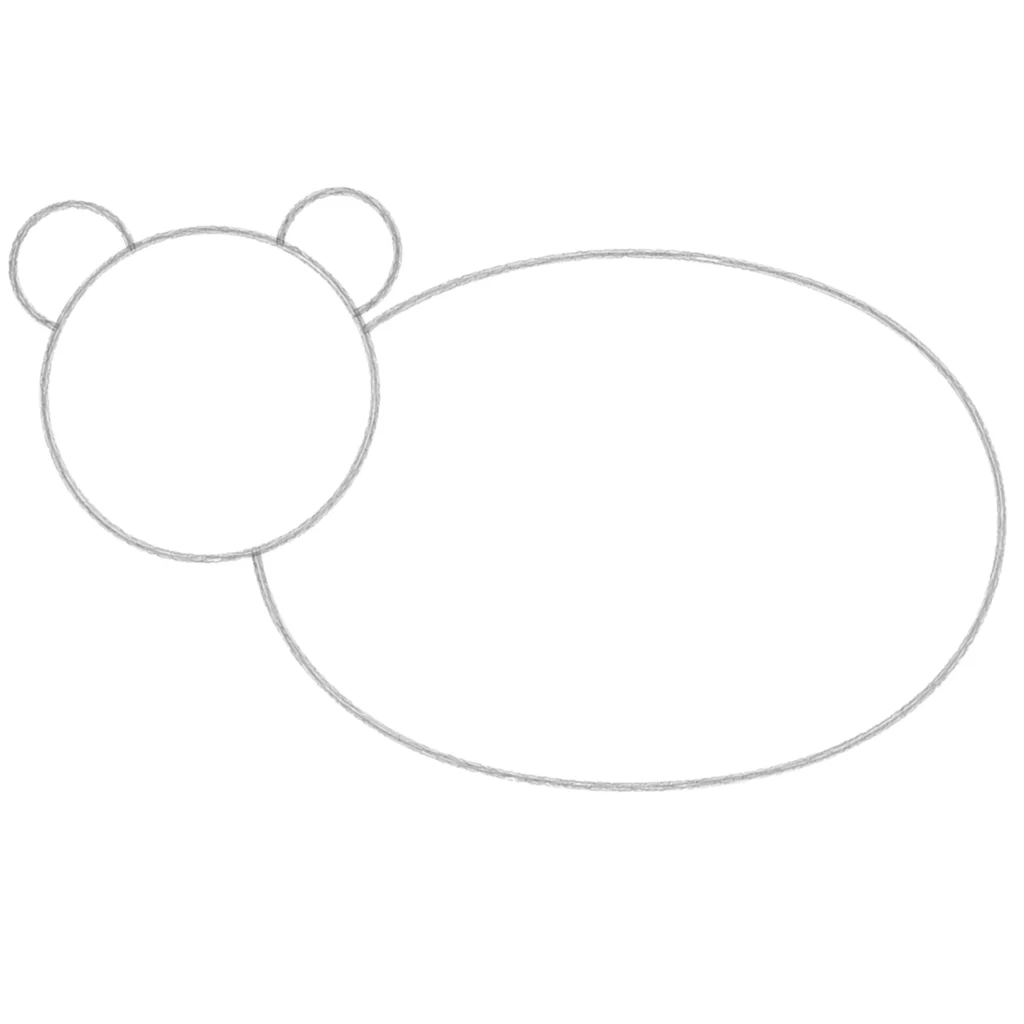
Draw two small round ears on top of the head. Place one ear on each side. Bears have short, rounded ears, so keep them soft and curved.
Step 4: Draw the Bear’s Face
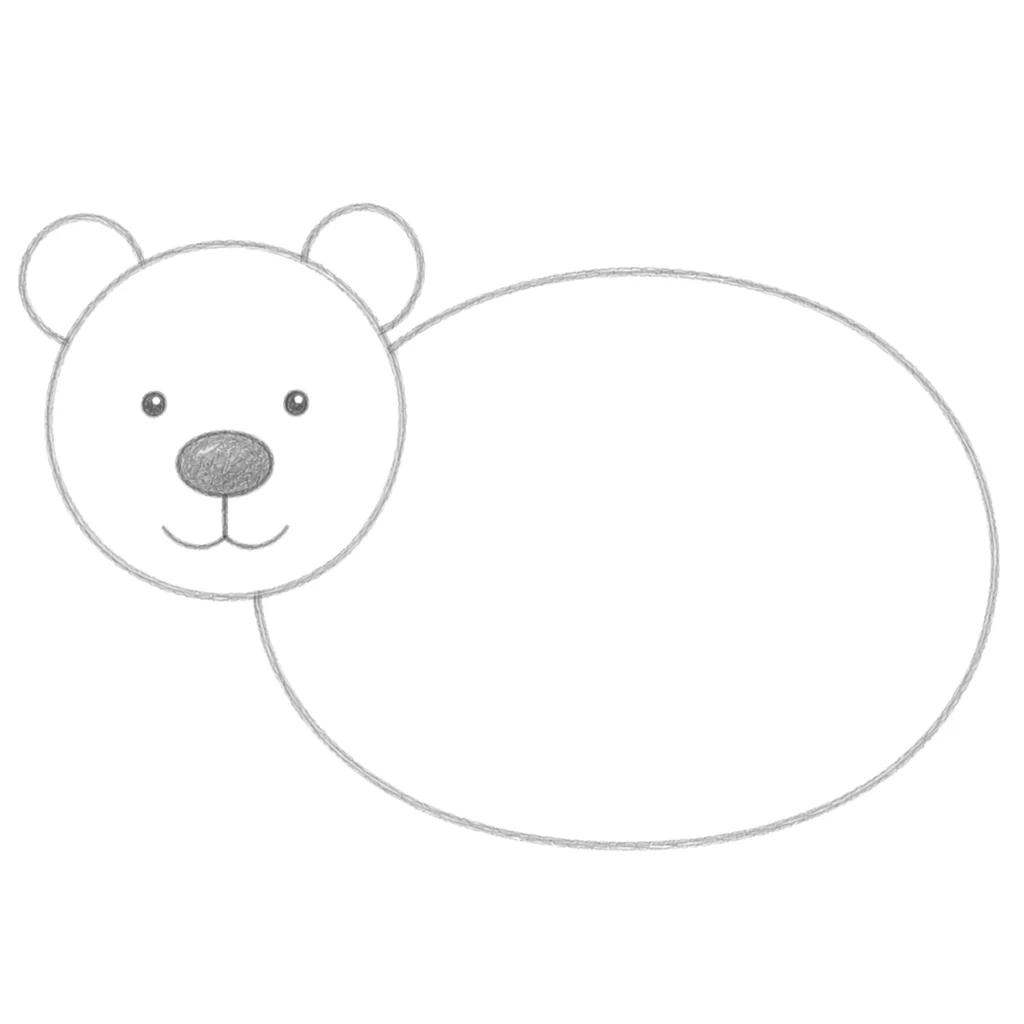
Inside the head, draw two small eyes. Then add a large oval nose in the center of the face. Below the nose, draw a curved line for the mouth. You can also add tiny curved lines around the mouth to make the face look more realistic.
Step 5: Draw the Front Legs
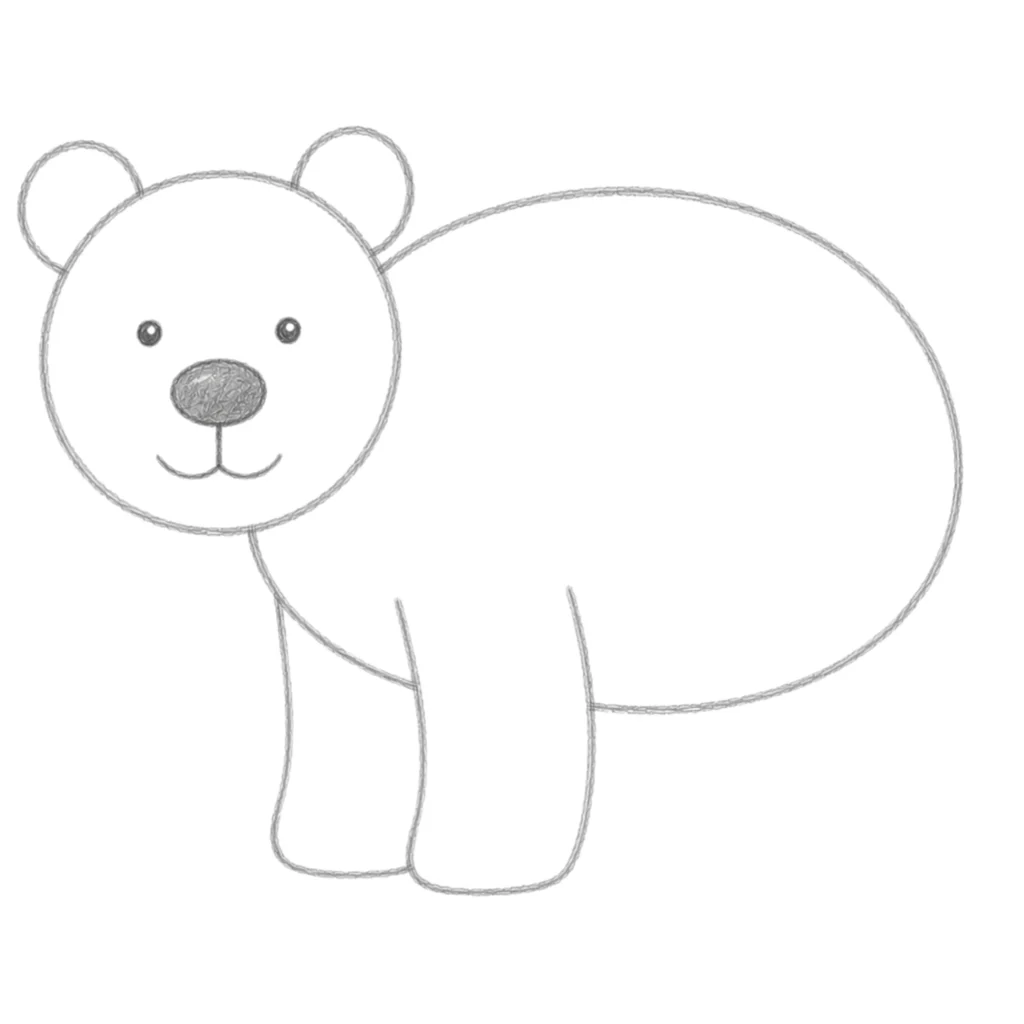
Under the front part of the body, draw two thick legs coming downward. Bears have strong legs, so make them wide instead of thin. Add gentle curves to make the legs look natural.
Step 6: Draw the Back Legs
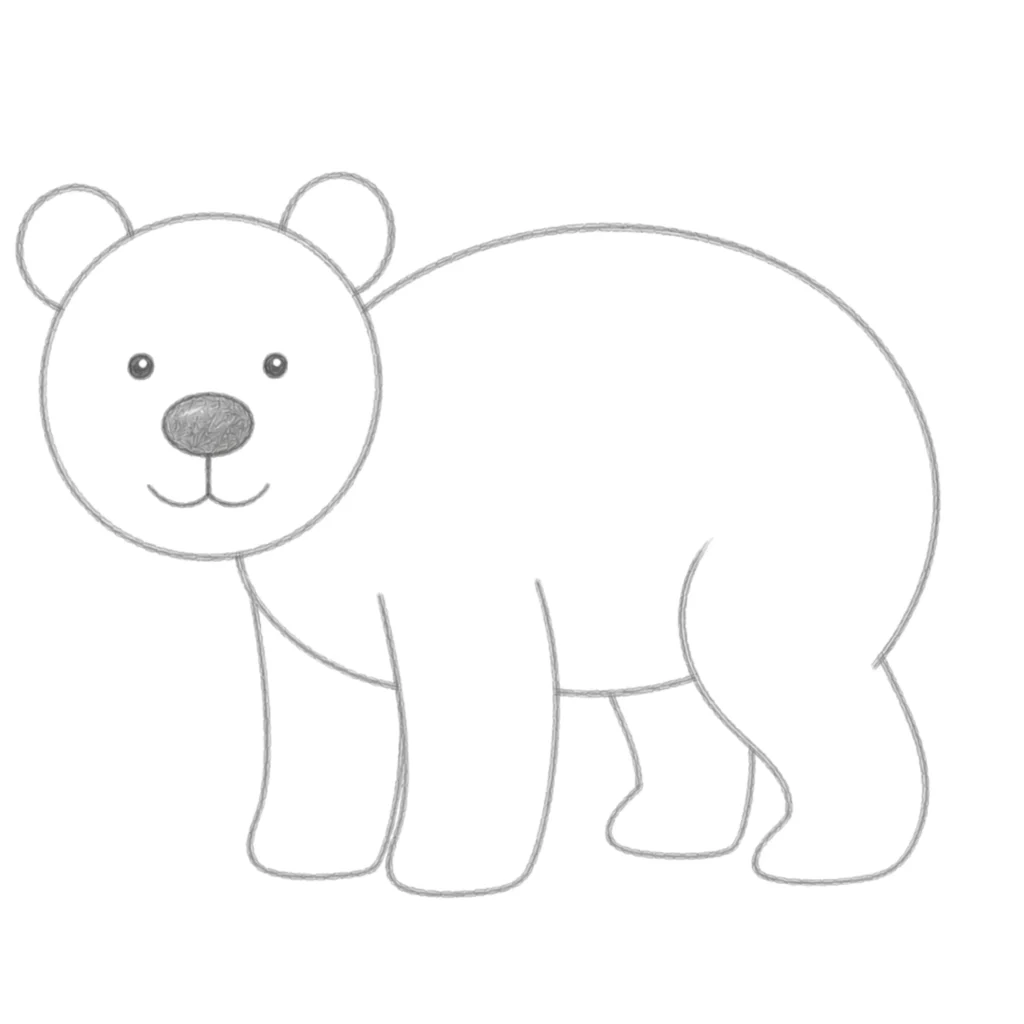
Now draw the back legs near the end of the body. The back legs should look slightly bent because bears stand with heavy weight on their legs.
Step 7: Add the Paws and Claws
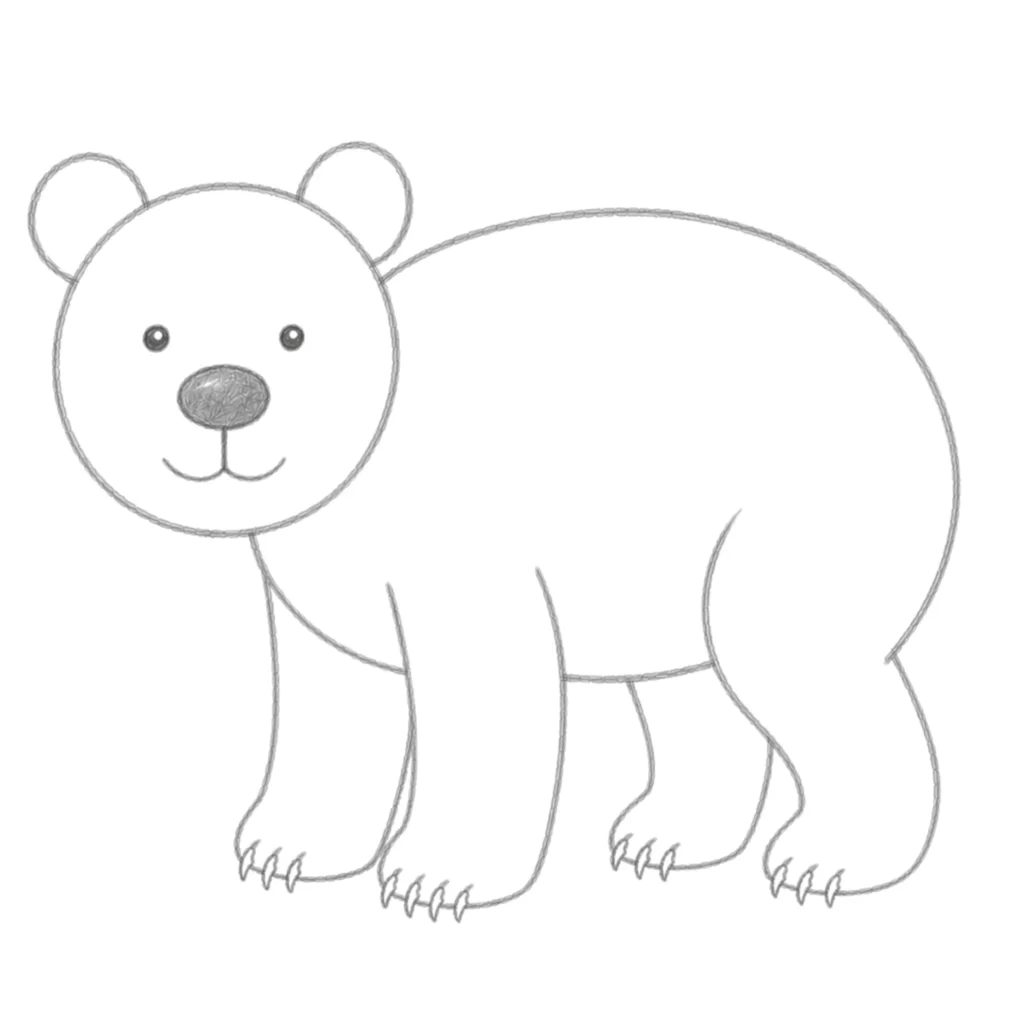
At the bottom of each leg, draw large paws. Then add small curved lines at the front of the paws to create sharp claws. Keep the claws short and simple.
Step 8: Draw the Bear’s Fur
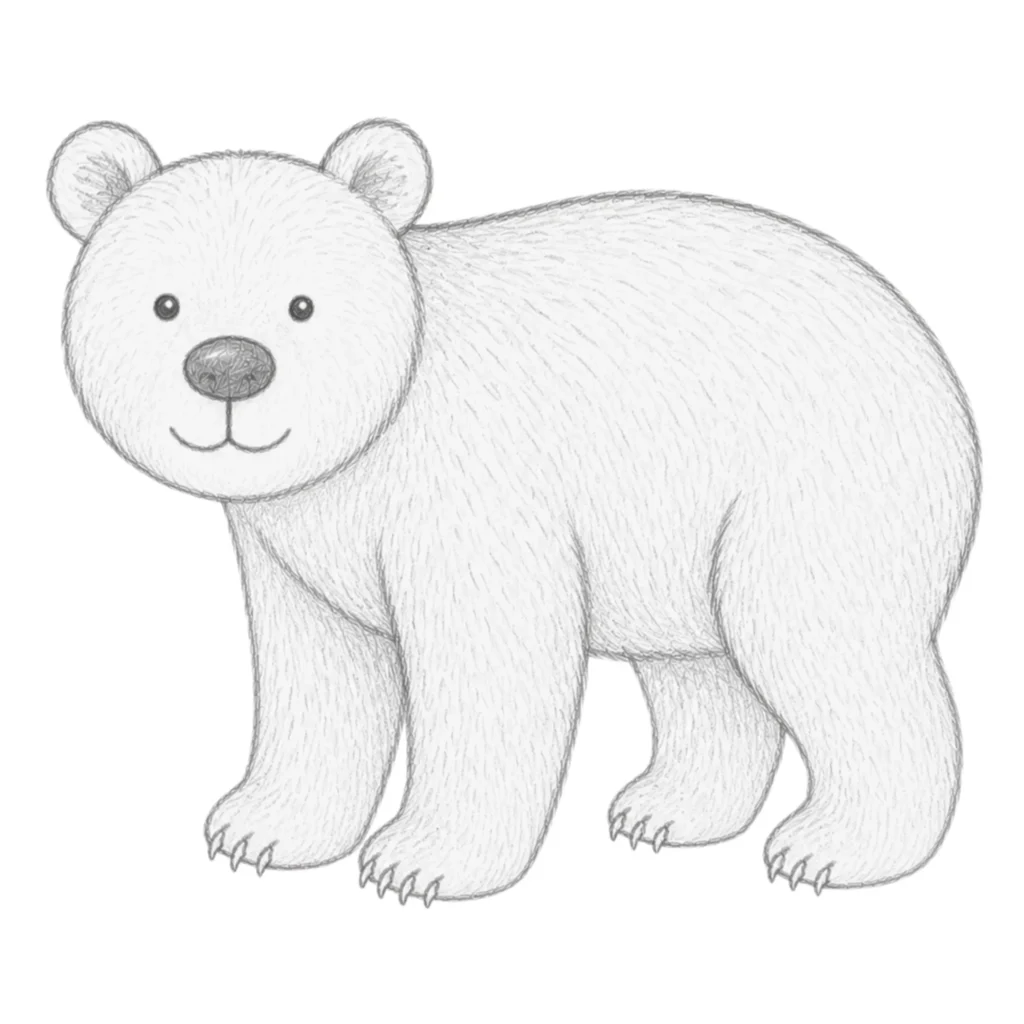
Use many short little lines around the head, body, legs, and neck to show furry details. These small strokes will make your bear look soft, wild, and realistic.
Step 9: Trace the Final Outline
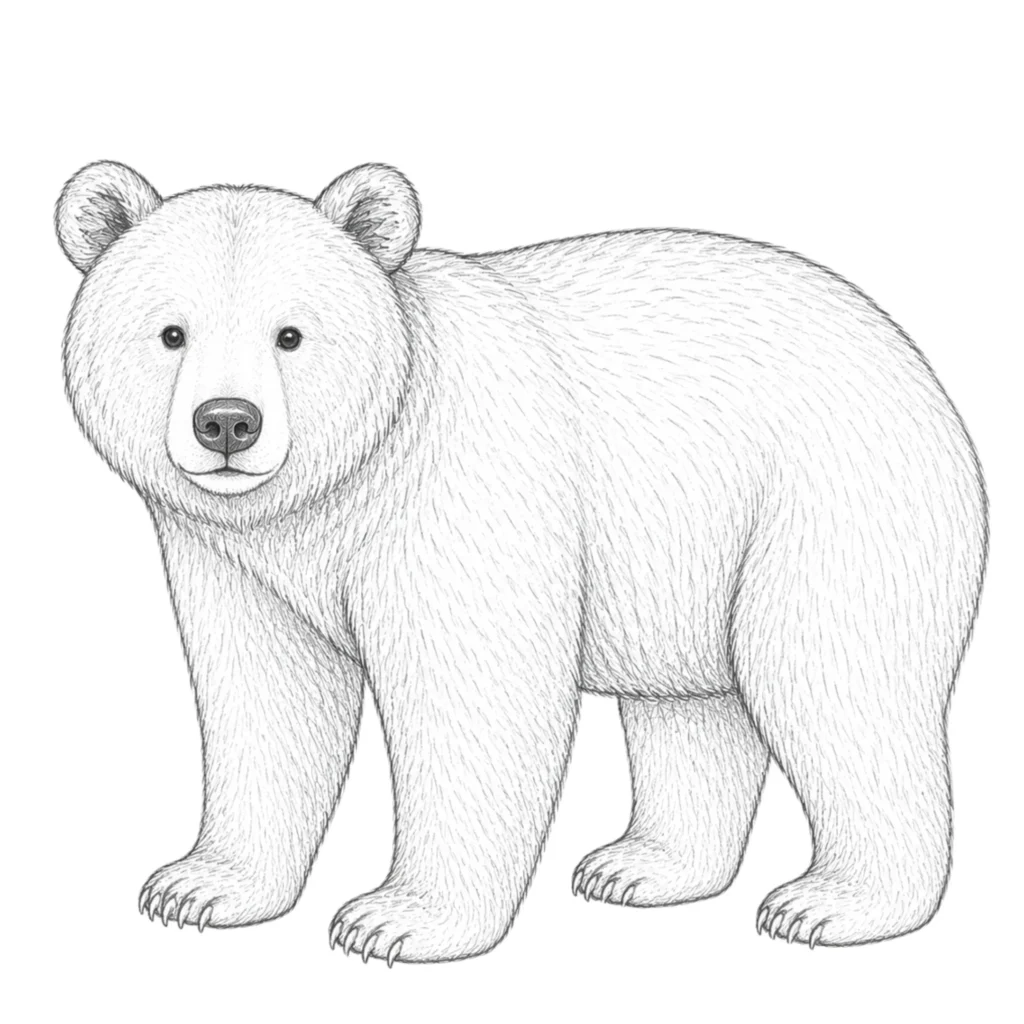
Carefully go over the best lines with a darker pencil, black pen, or marker. After tracing, erase all the extra sketch lines to make your drawing clean and neat.
Step 10: Color Your Bear and Background
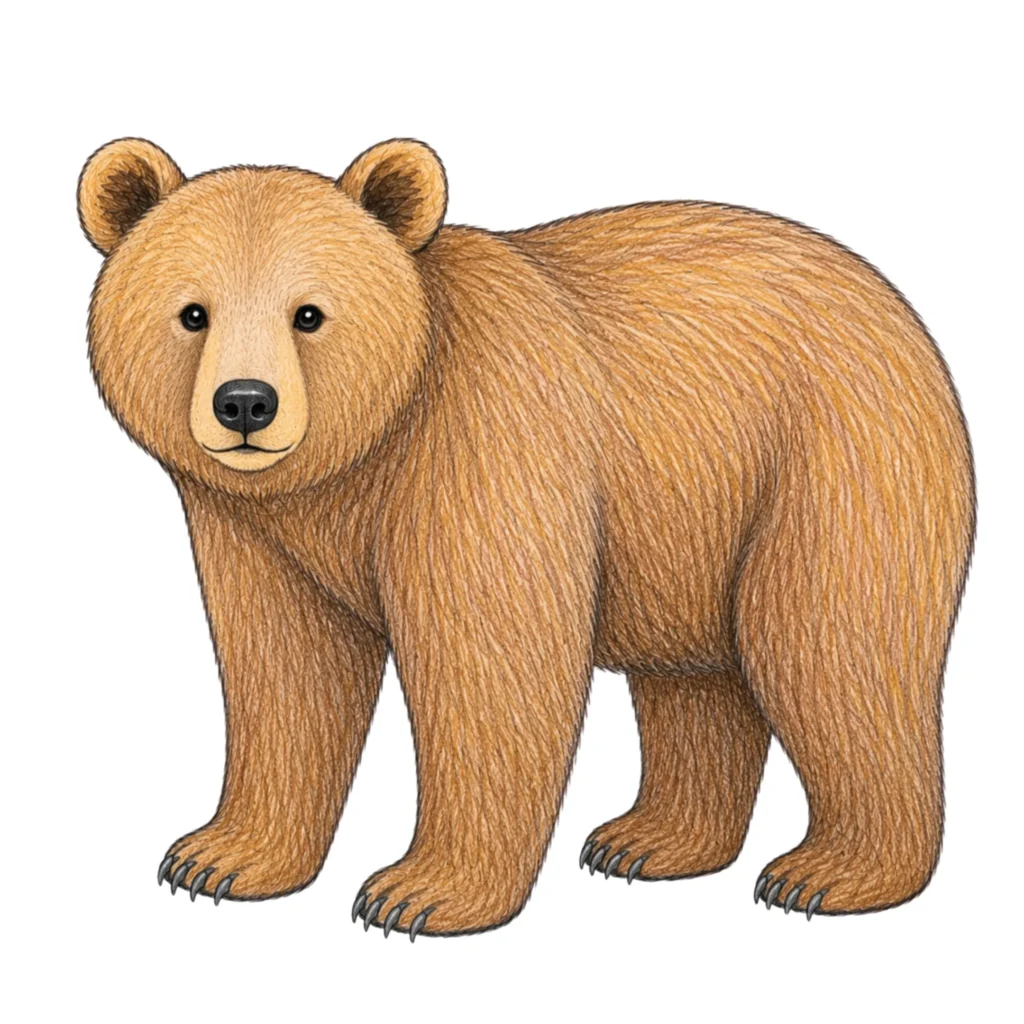
Color your bear using brown, dark brown, black, or gray shades. You can also draw trees, rocks, grass, or mountains in the background to make a beautiful forest scene for your bear.
🎨 Try These Fun Animal Drawing Tutorials:
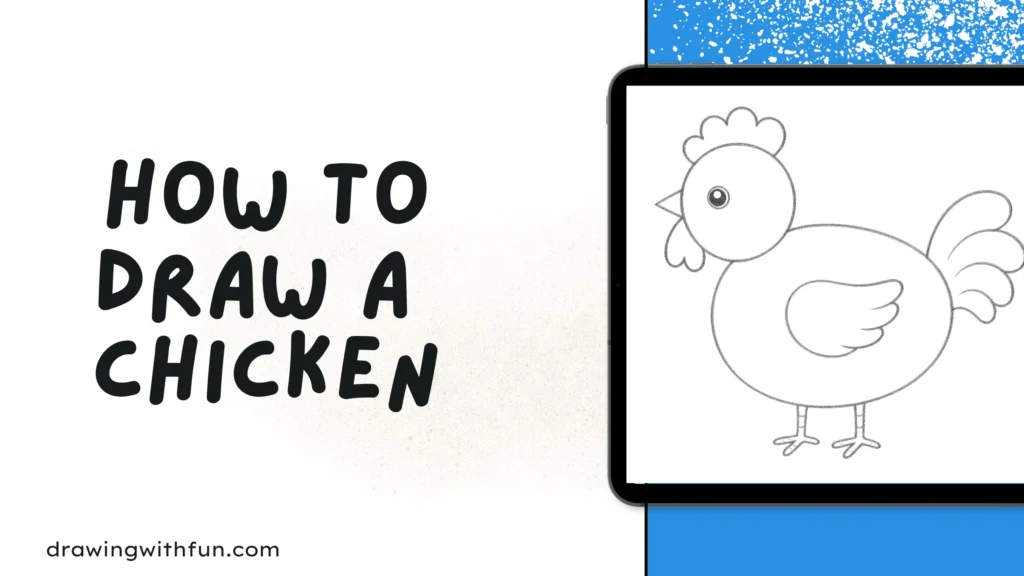
- Draw a cute farm bird with our Easy Chicken Drawing Guide.
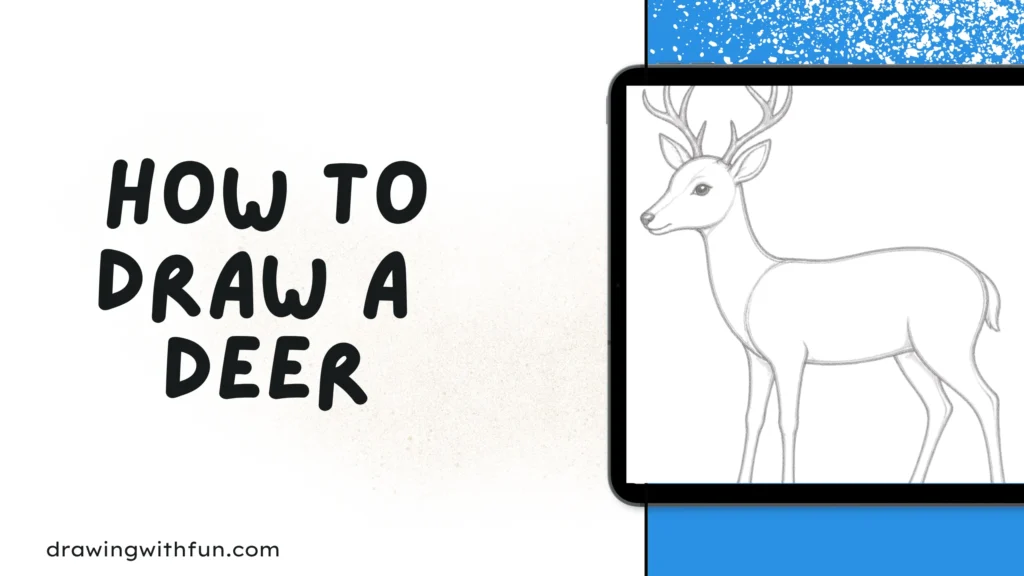
- Create a beautiful woodland animal using this Step-by-Step Deer Drawing Tutorial.
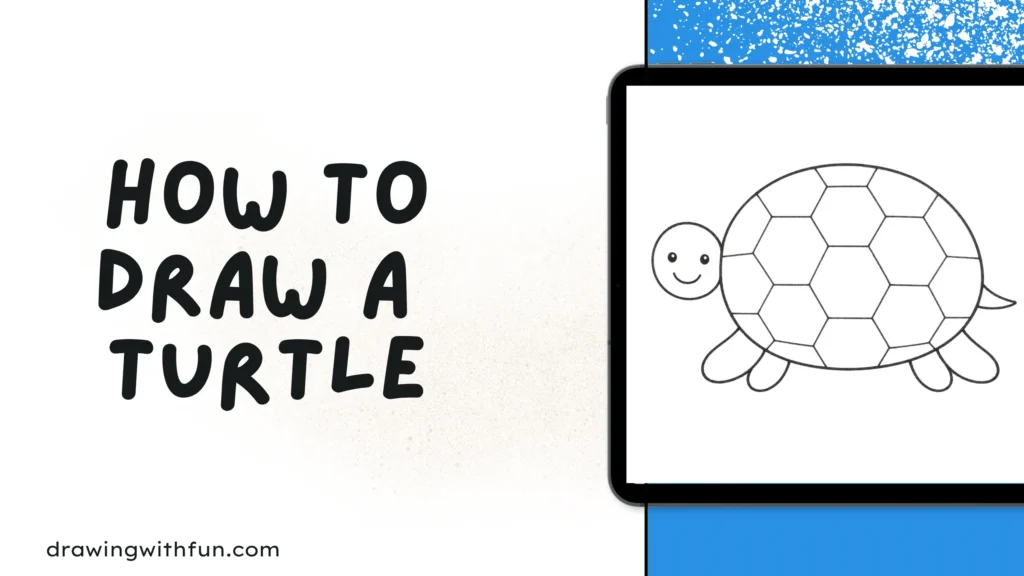
- Learn to sketch an adorable reptile with our Simple Turtle Drawing Lesson.
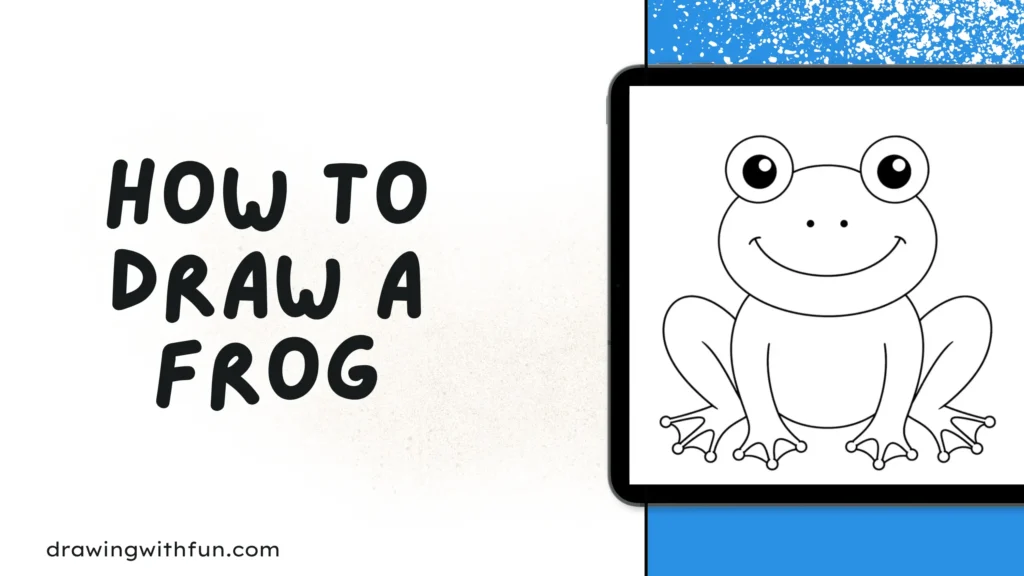
- Hop into your next art project with this Easy Frog Drawing Tutorial.
Conclusion
Well done! You have completed your how to draw a bear step-by-step drawing. Now you know how to turn simple shapes like circles, ovals, and lines into a real-looking bear. This is a great skill for beginners and kids because it shows that even big animals can be drawn in an easy way.
Keep practicing again and again to improve your lines, shapes, and details. Every drawing you make will get better than the last one. Don’t worry about mistakes—they are part of learning. Most importantly, enjoy the process and keep drawing with confidence and creativity!