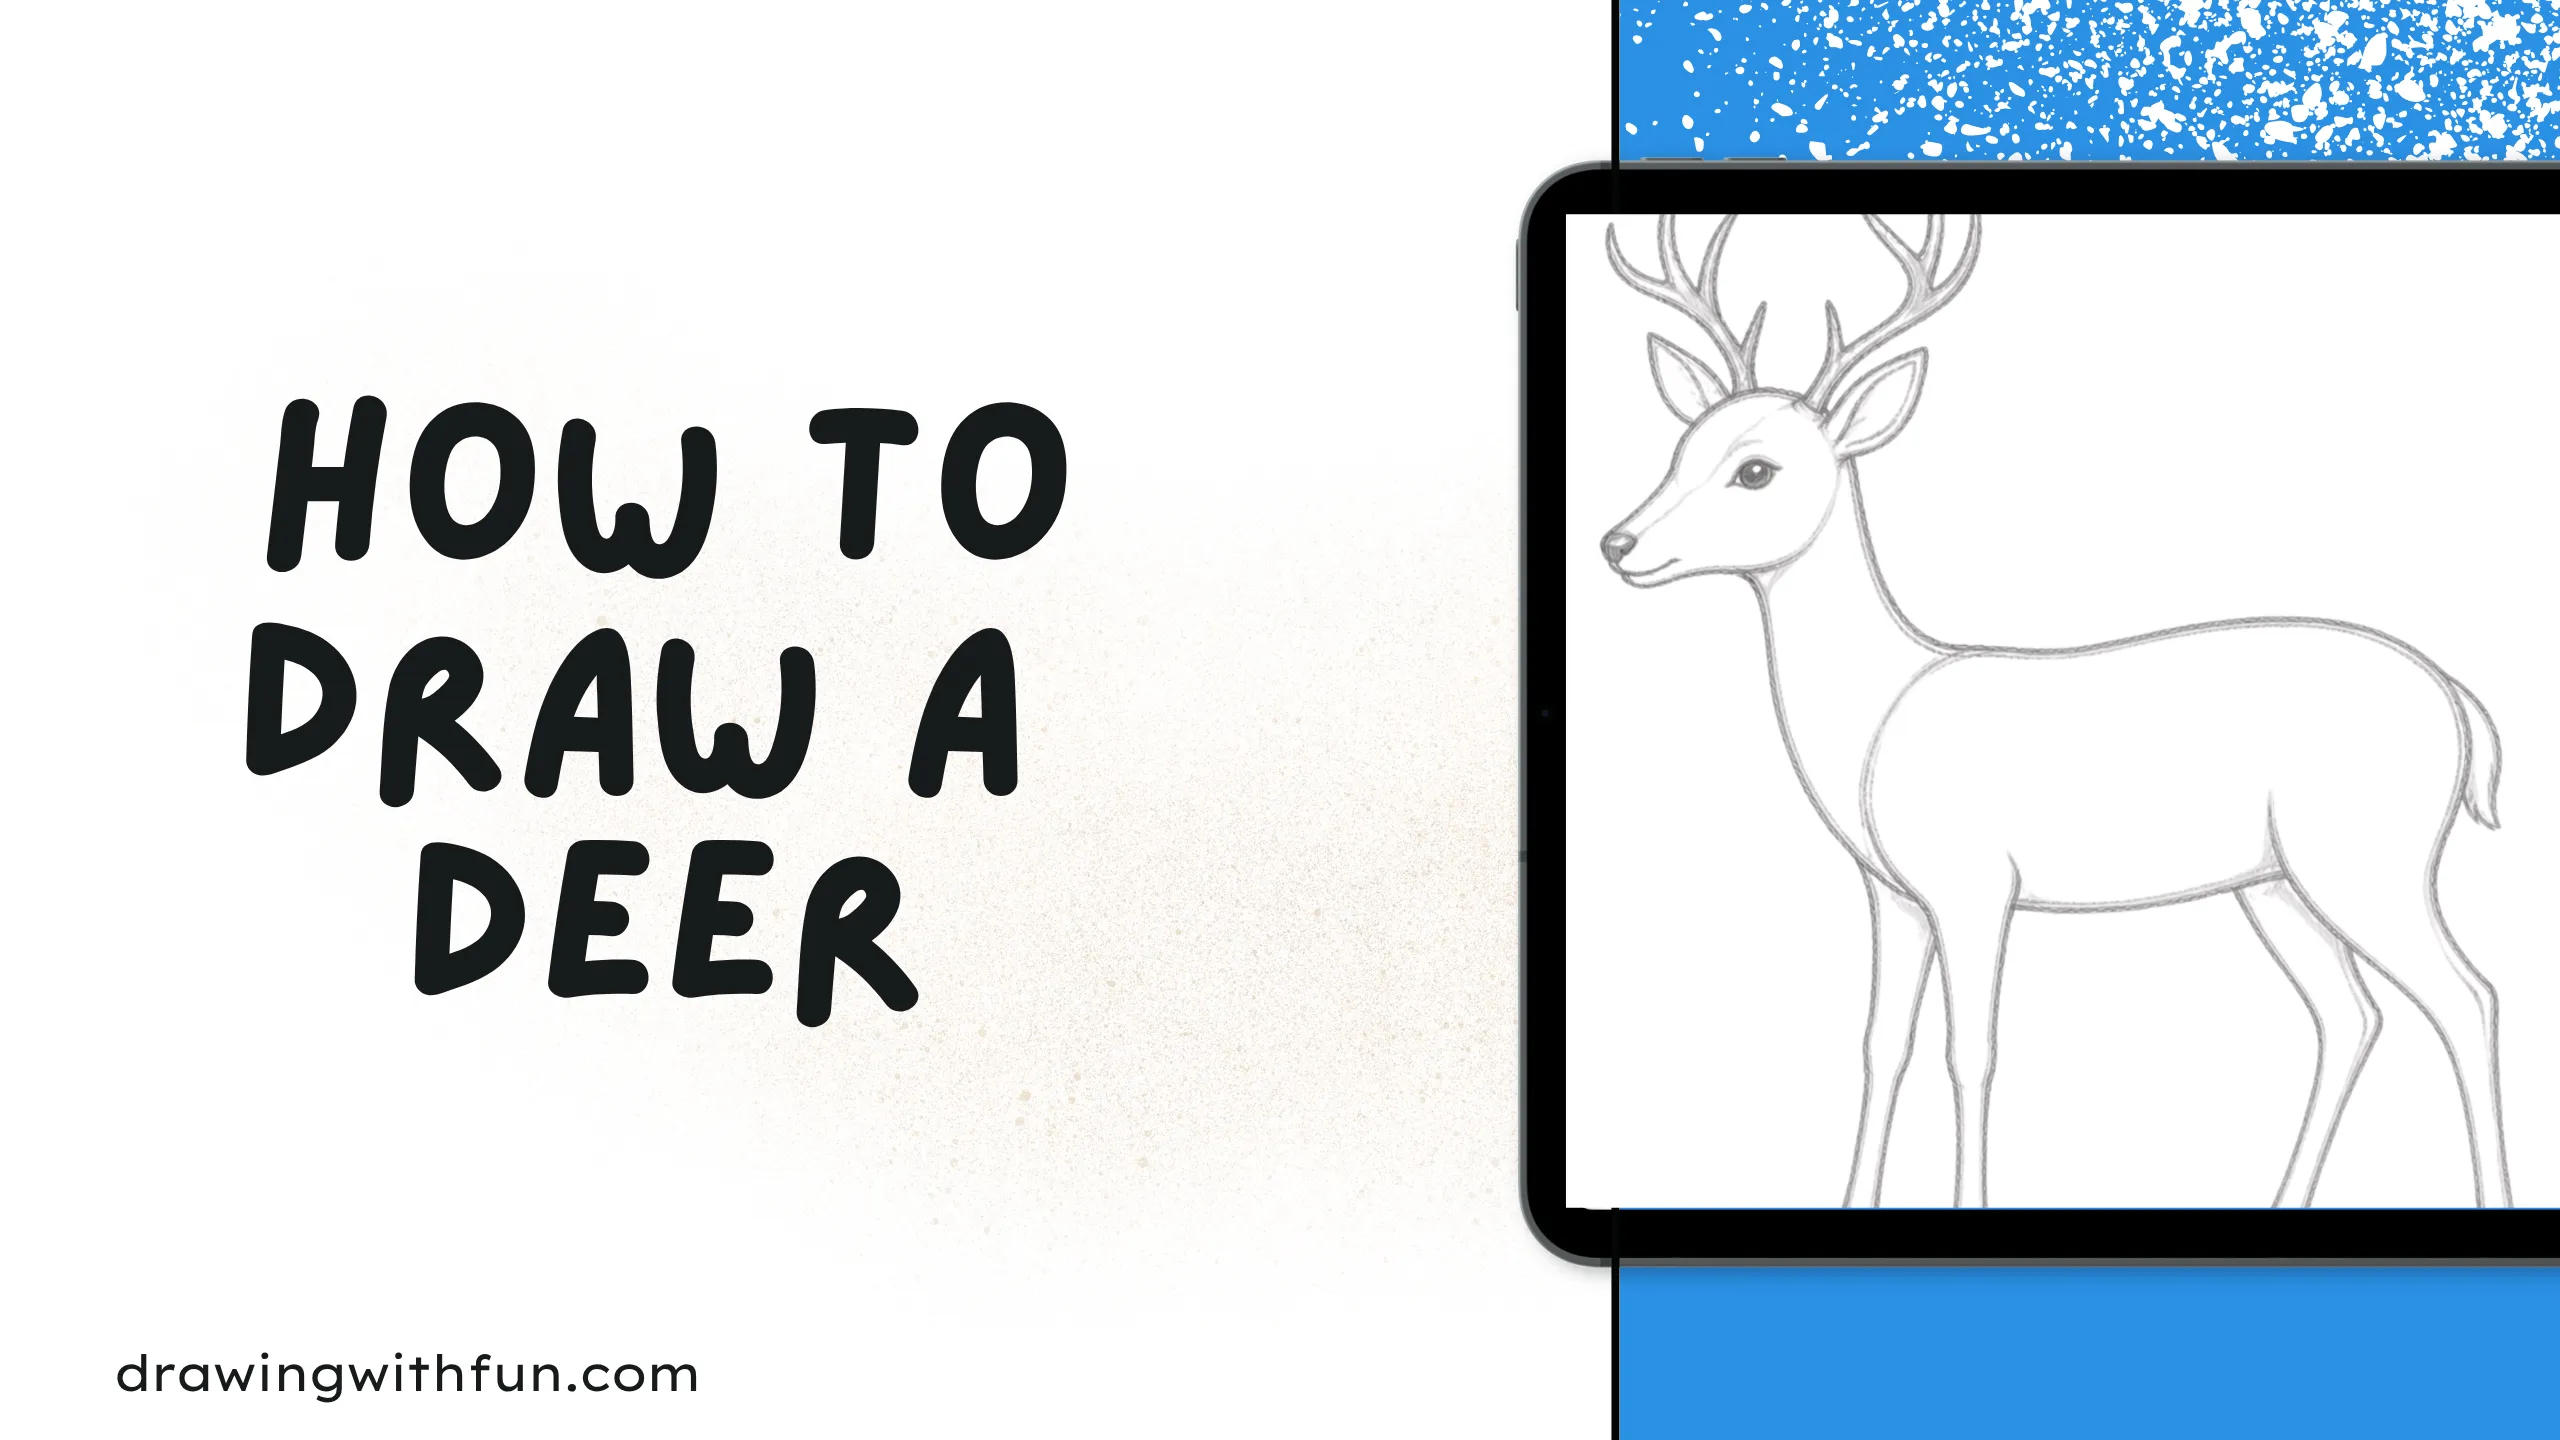
Drawing a deer is a fun and creative activity that helps kids learn how to draw a deer in a simple way. In this easy step-by-step guide, you will learn to draw a deer using basic shapes like circles, ovals, and lines. Don’t worry if you are new to drawing—this guide is made especially for beginners, so every step is clear and easy to follow.
Deer are gentle and beautiful animals with long legs, soft faces, and unique antlers. In this tutorial, we will slowly build the deer’s body, head, legs, and antlers, making it easy for you to understand each part. You can take your time, draw at your own pace, and even add your own creative touches.
By the end of this guide, you will have a cute and complete deer drawing that you can be proud of. So grab your pencil, keep your eraser ready, and let’s start drawing your very own deer step by step!
Learn How to Draw a Deer Step by Step
Ready to learn how to draw a deer without feeling stuck? This easy, beginner-friendly guide will walk you through each step—from sketching simple shapes to adding details like eyes, ears, and antlers.
You don’t need any special skills—just a pencil, paper, and a few minutes to follow along. By the end, you’ll have a neat and realistic deer drawing you can be proud of. So grab your supplies and start drawing your deer today!
Step 1: Draw a Big Oval for the Body
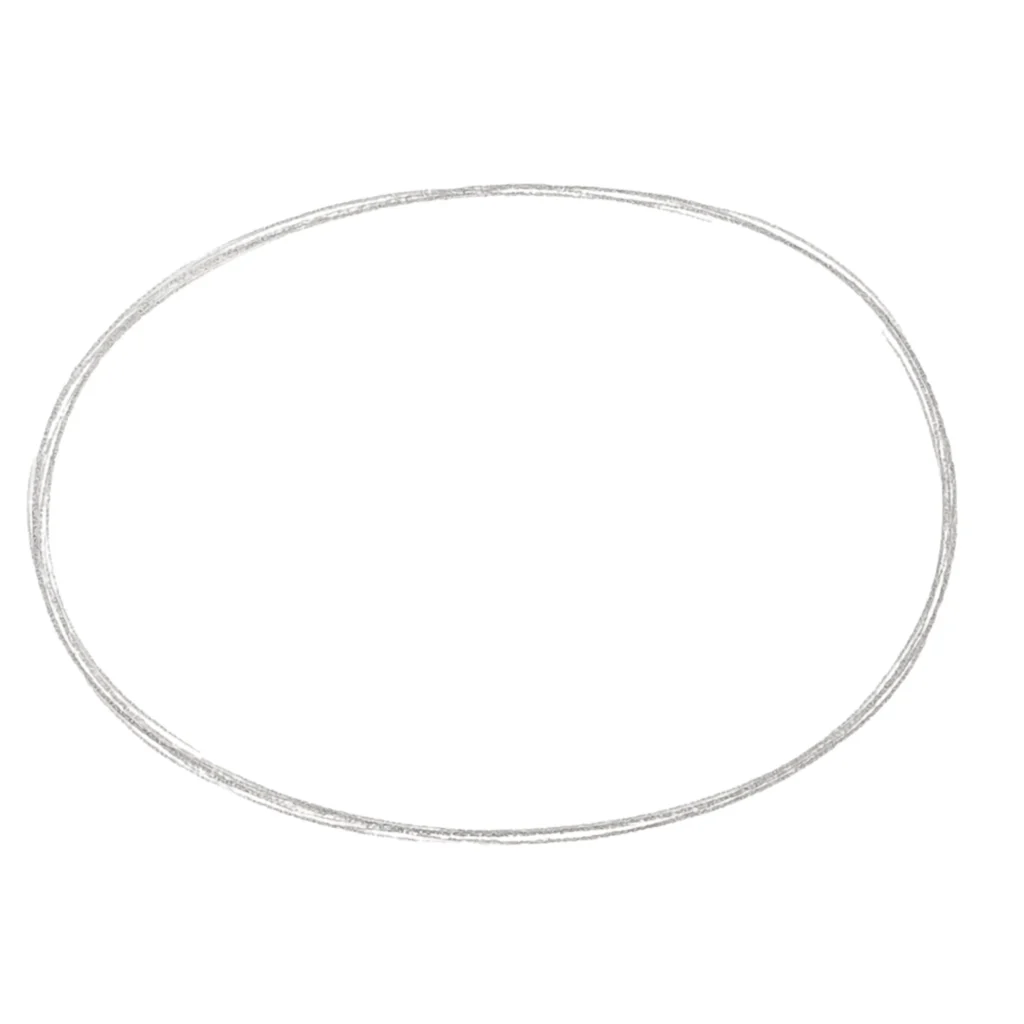
Start by drawing a big oval in the middle of your page. This will be the deer’s body. Don’t press too hard with your pencil—keep your lines light so you can fix them later.
Step 2: Add a Small Circle for the Head
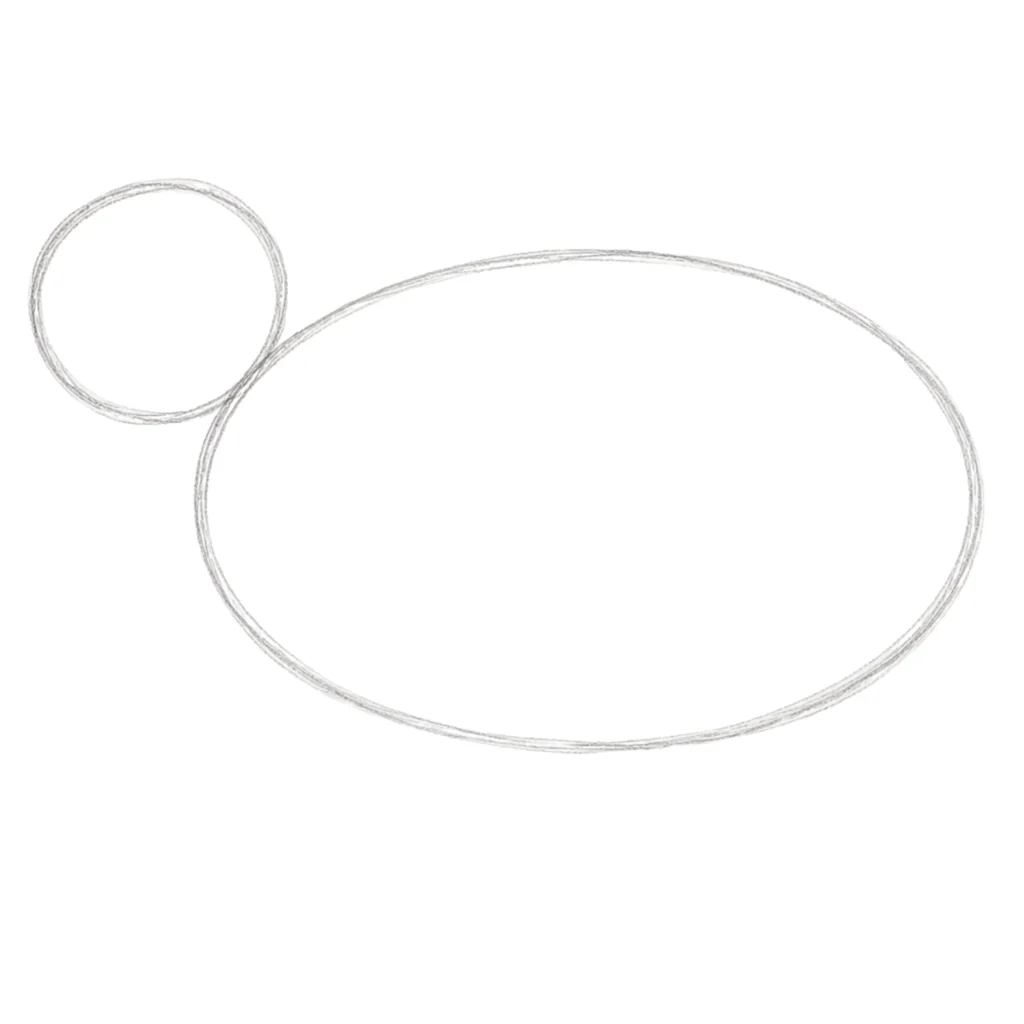
Now draw a smaller circle in front of the oval. This will be the deer’s head. Leave a little space between the head and body.
Step 3: Connect the Head and Body
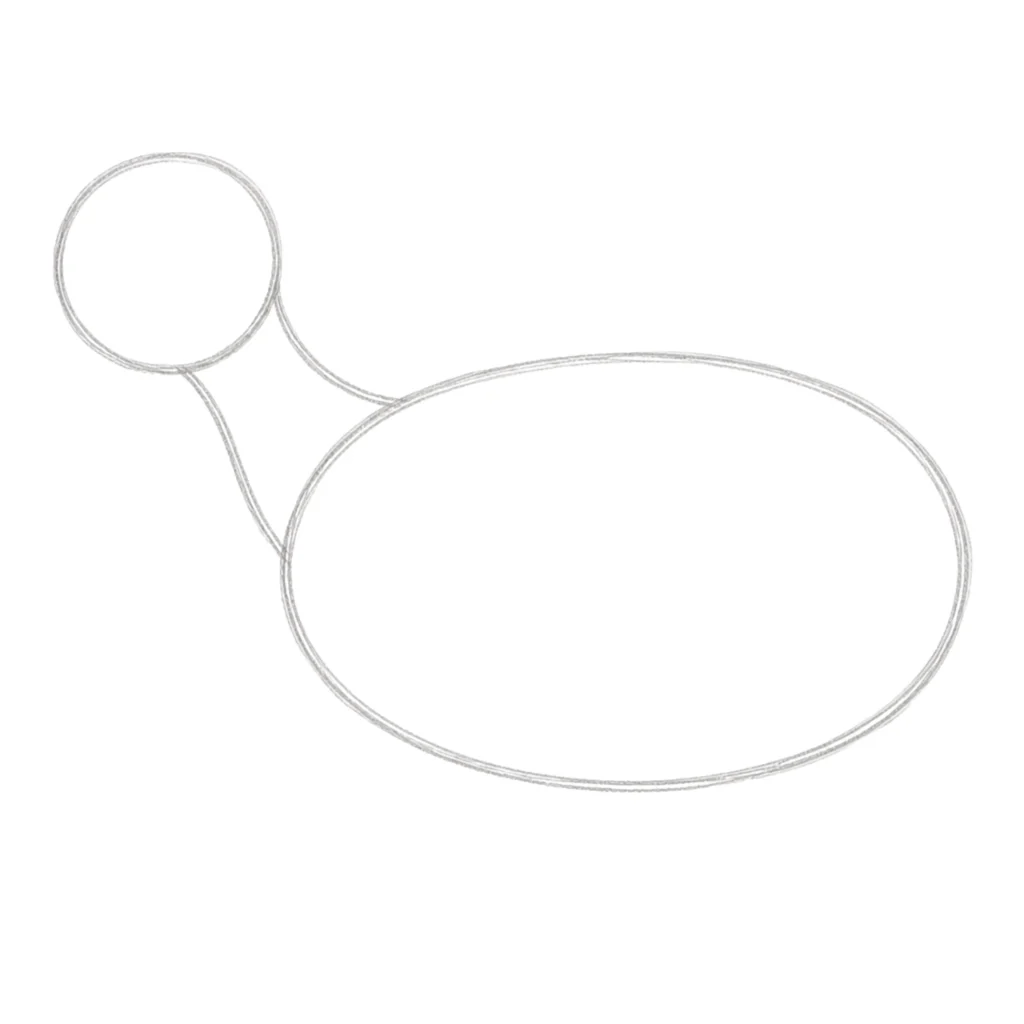
Draw two curved lines to connect the head and body. This makes the neck. Try to keep the neck long and smooth, just like a real deer.
Step 4: Make the Body Shape Better
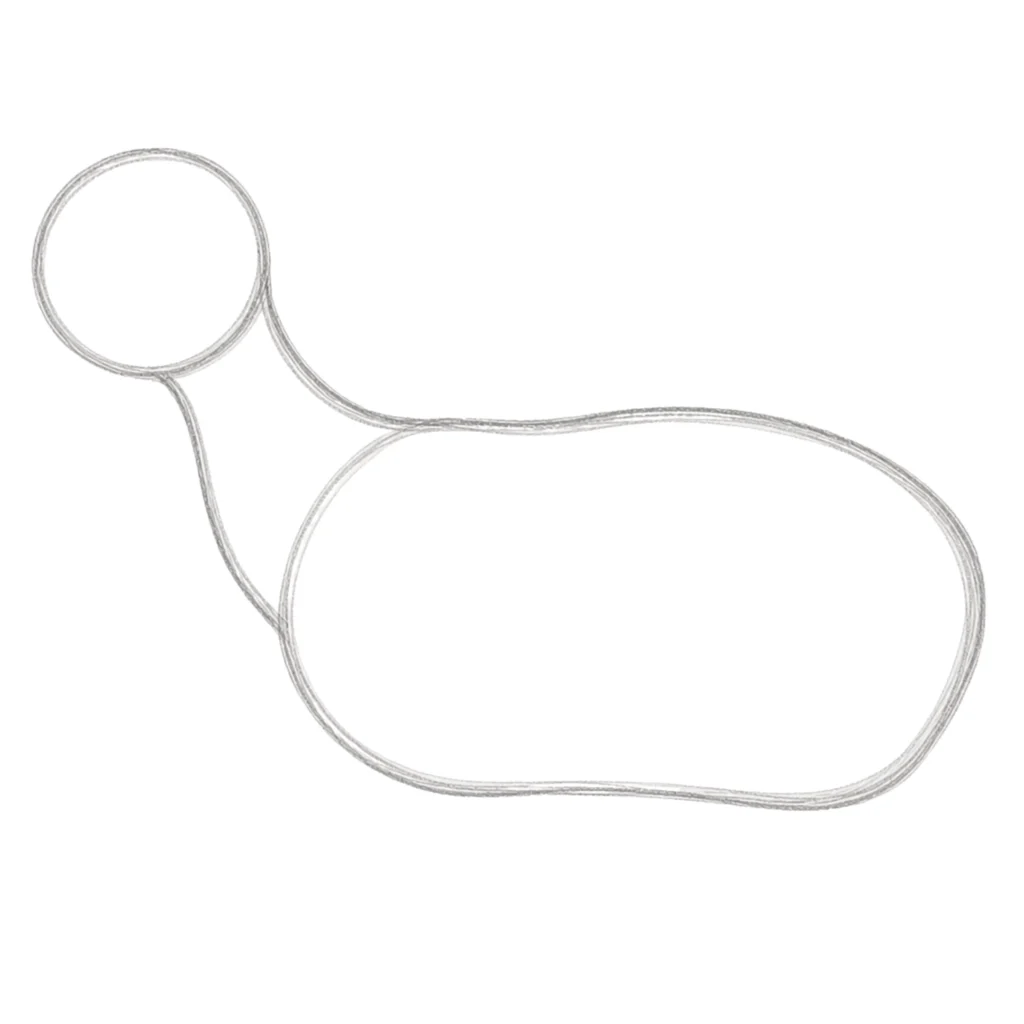
Look at your oval and gently adjust it. Make the back a little curved and the front (chest area) slightly bigger. This will make your deer look more real.
Step 5: Draw the Face Shape
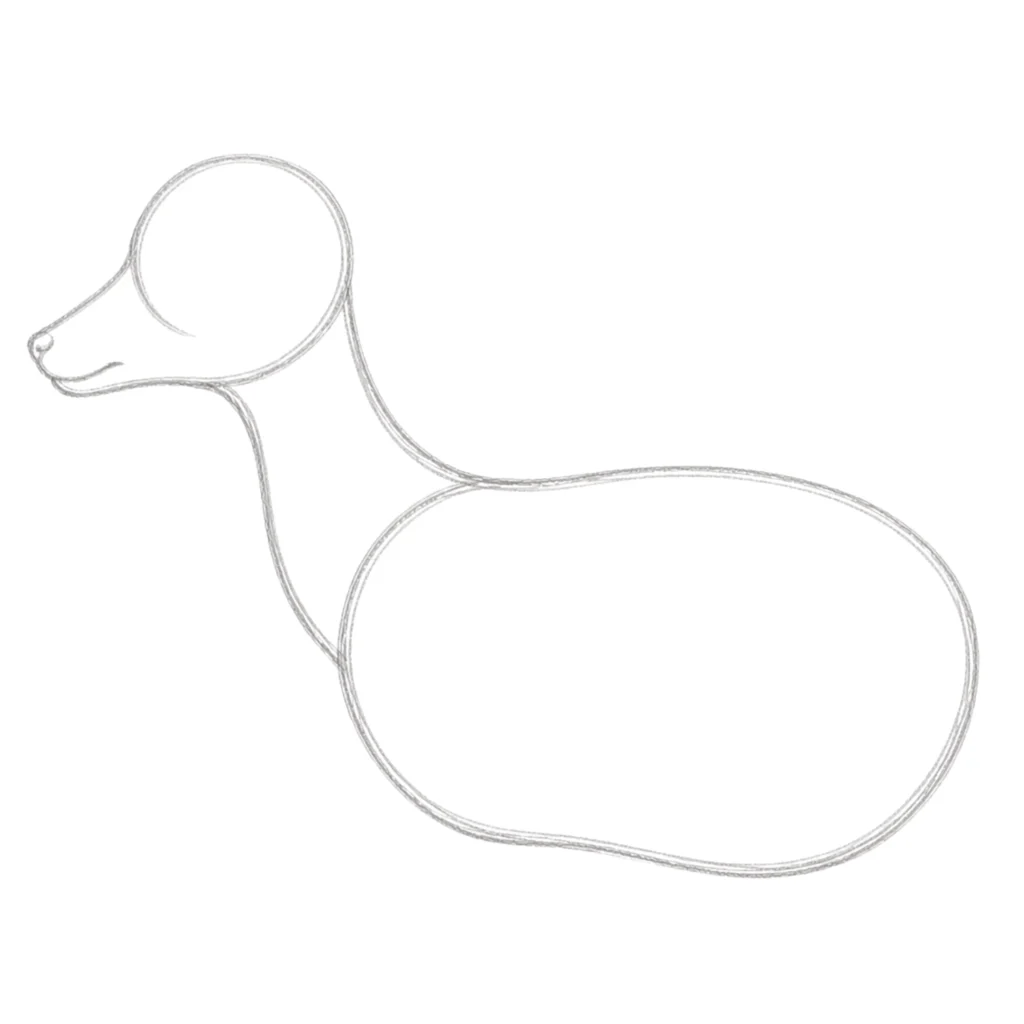
Stretch the front of the head circle to make a long, thin nose (snout). Then draw a soft line under it to make the mouth and jaw.
Step 6: Add the Ears
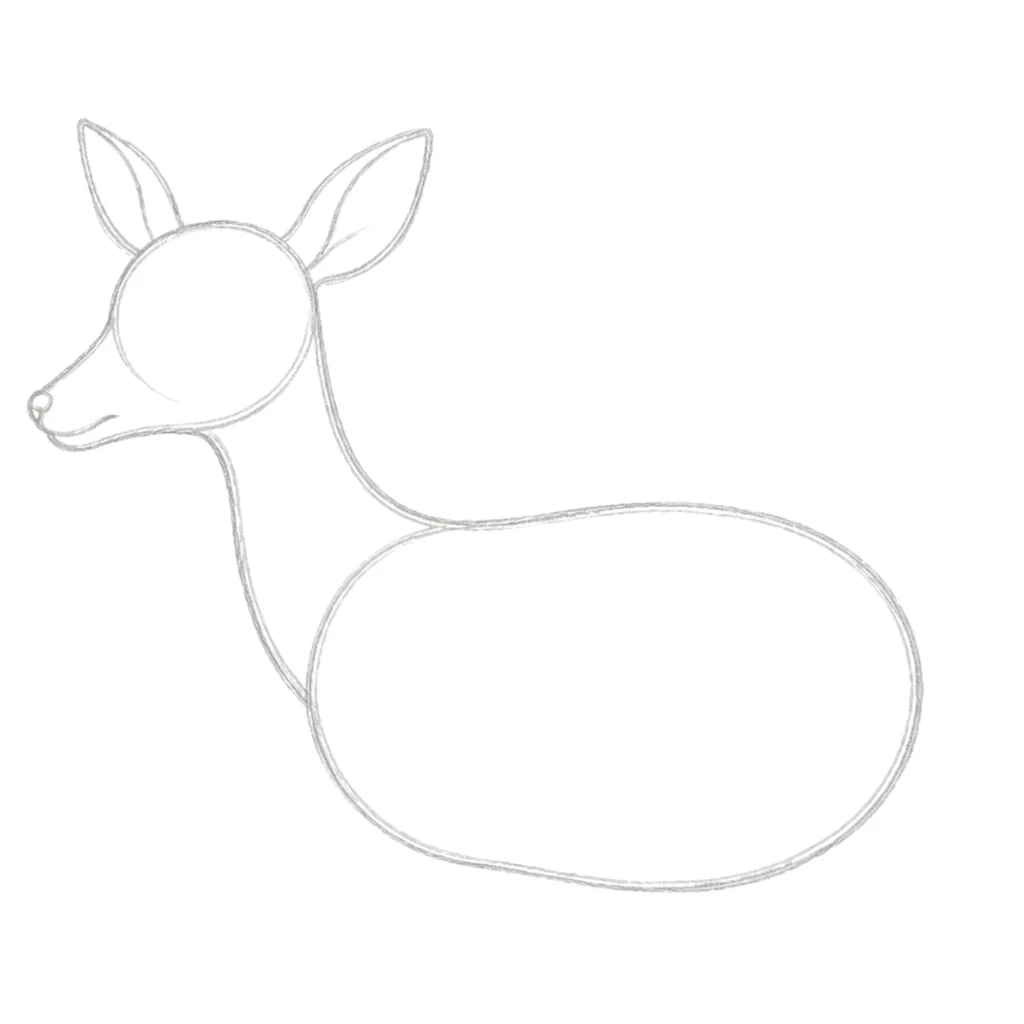
Draw two big, pointy ears on top of the head. You can tilt them a little to the sides so your deer looks cute and alert.
Step 7: Draw the Legs
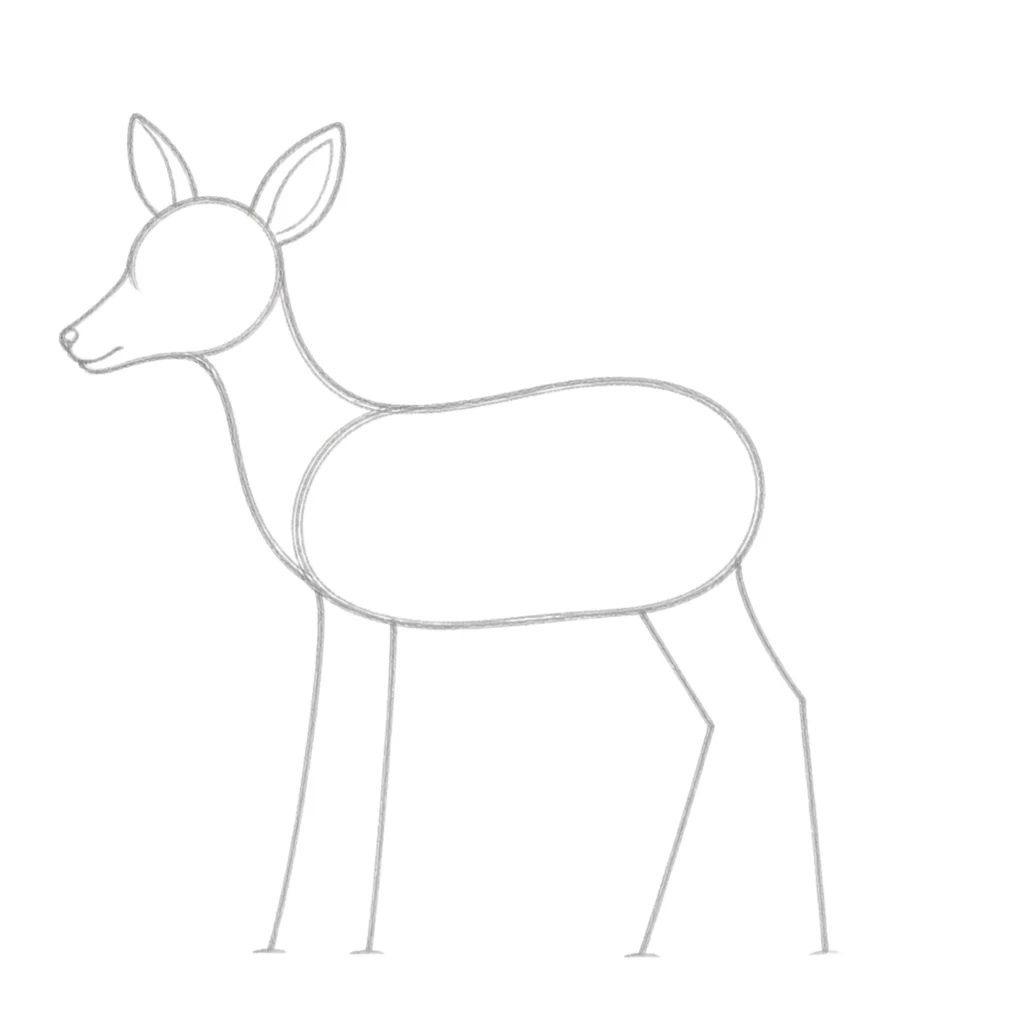
Now draw four long legs using straight lines. Deer have thin legs, so don’t make them too thick. Make the back legs a little bent to look more natural.
Step 8: Shape the Legs and Add Hooves
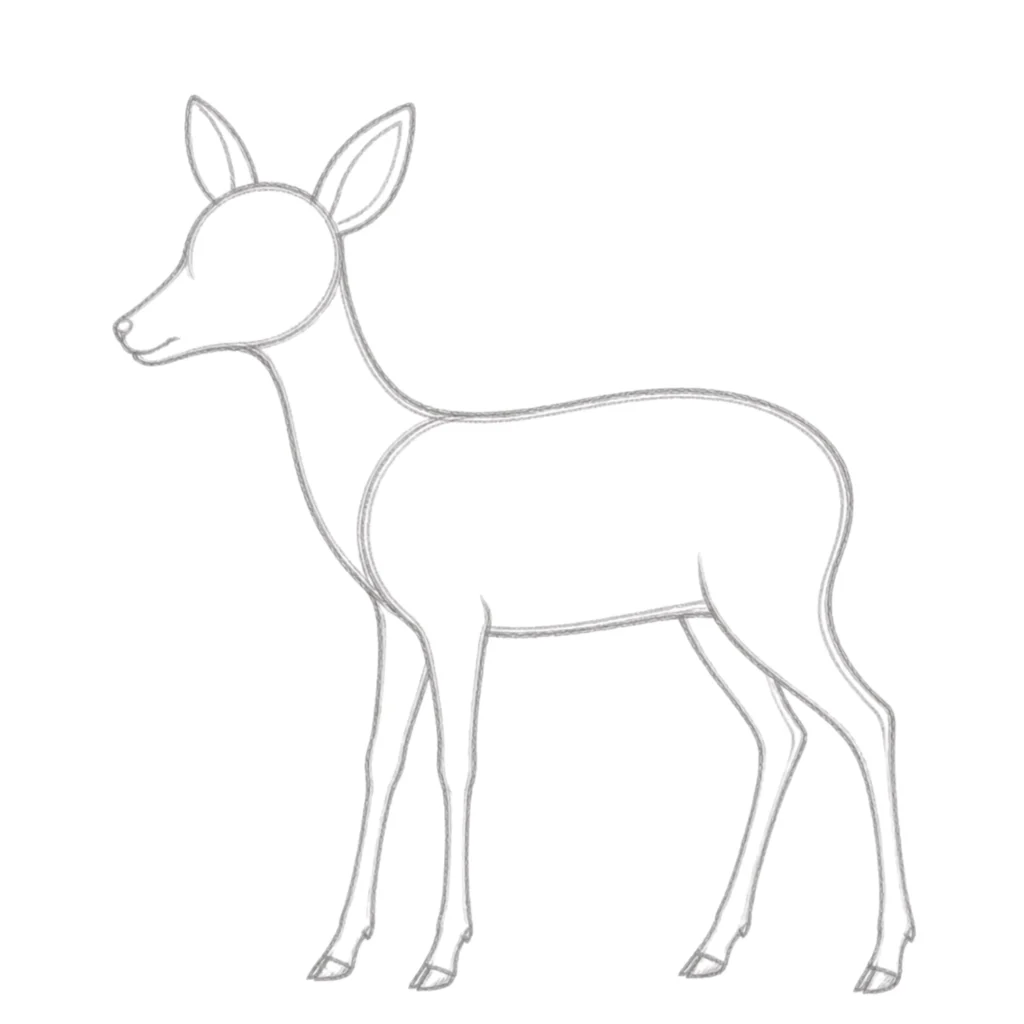
Go over the leg lines and give them shape. Add small bends for the knees. At the bottom, draw tiny hooves (little feet).
Step 9: Add the Face and Antlers (Optional)
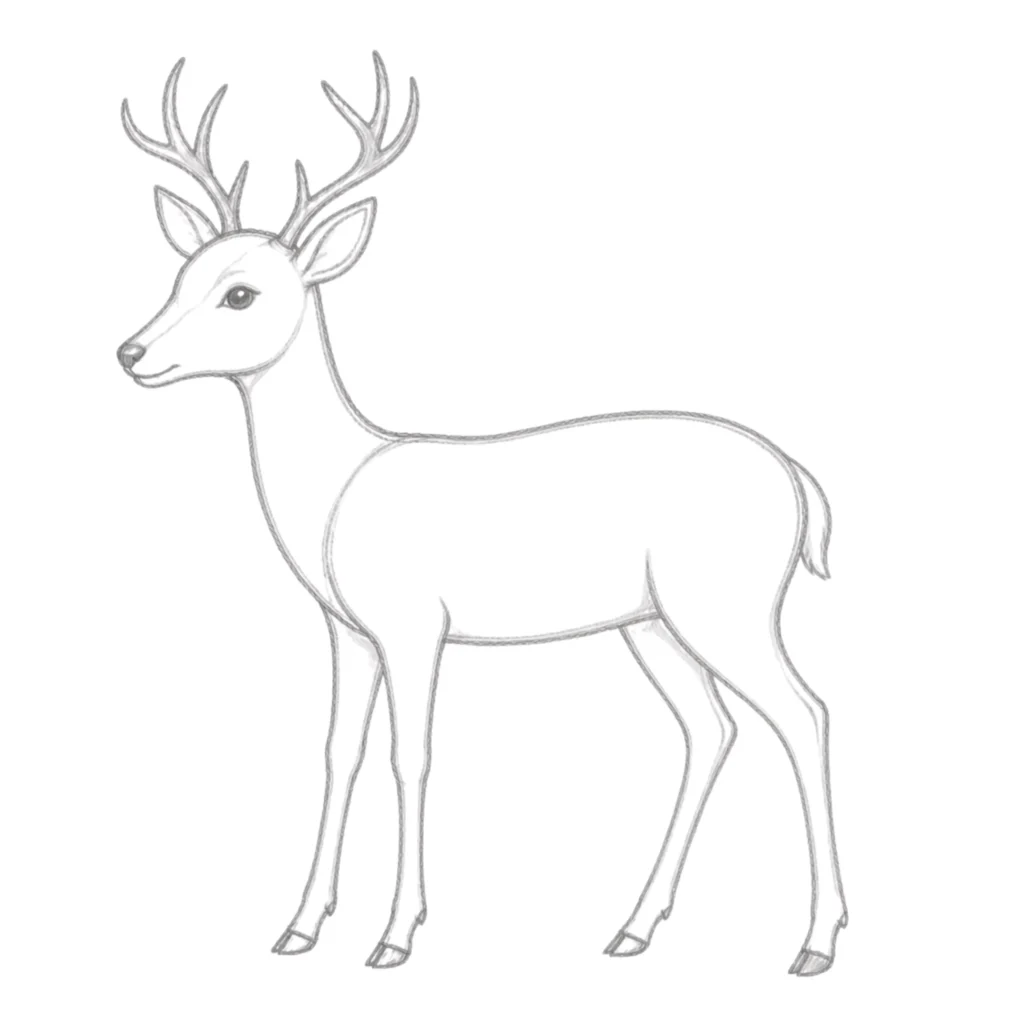
Draw a small eye, a tiny nose, and a gentle mouth. If you want a male deer, draw antlers on top of the head like tree branches.
Step 10: Clean Up and Add Final Touches
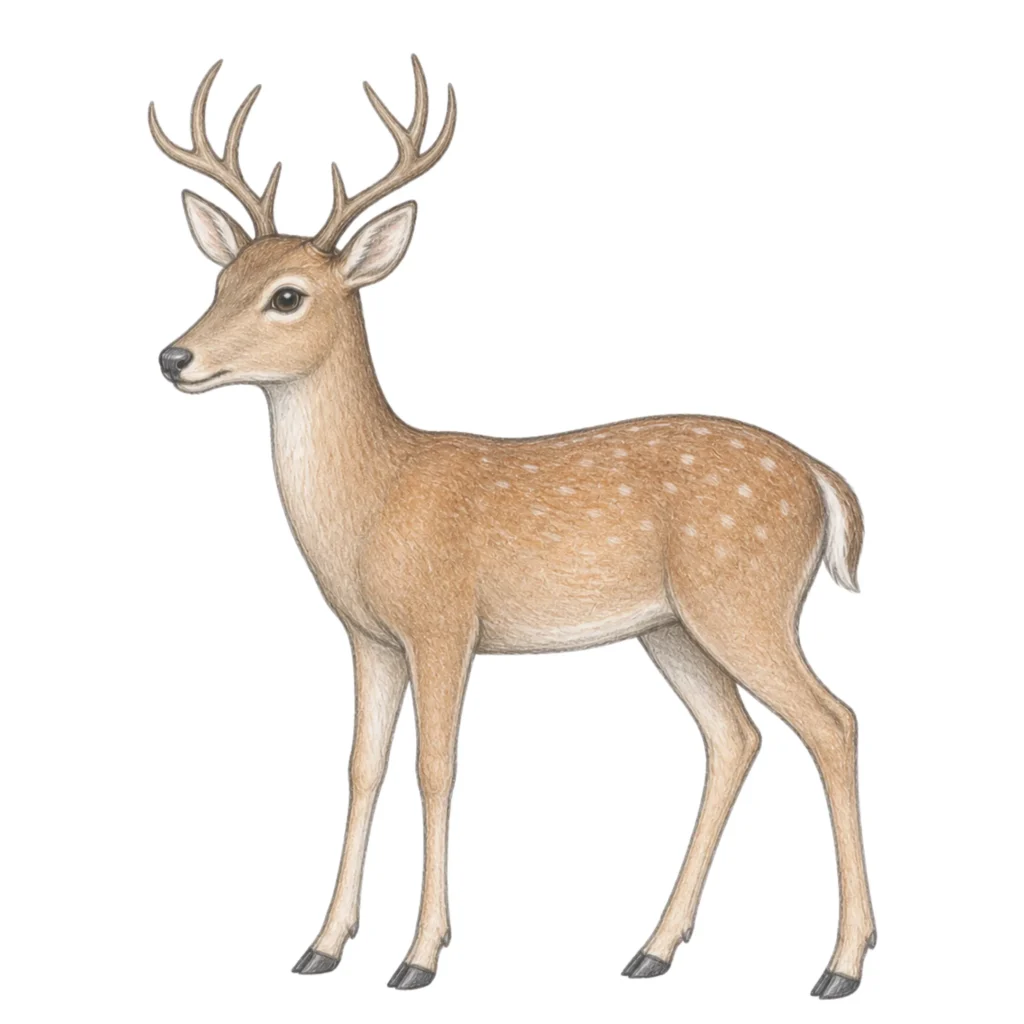
Erase the extra lines you don’t need. Draw a small tail and add short pencil strokes to show fur. You can also add a little shading to make your deer look more real.
🎨 Explore More Easy Drawing Tutorials:
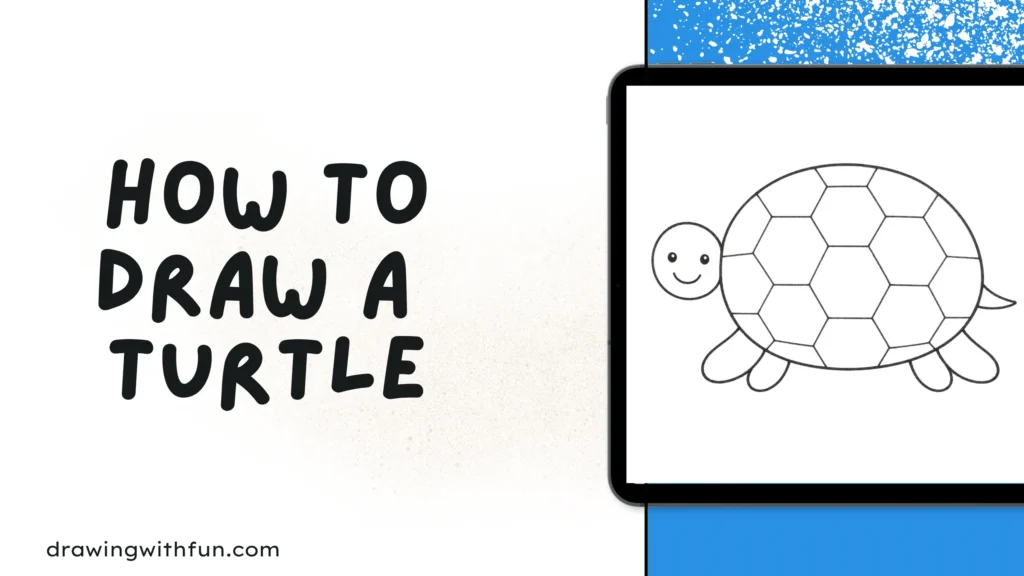
- Learn to sketch a cute reptile with our Step-by-Step Turtle Drawing Guide.
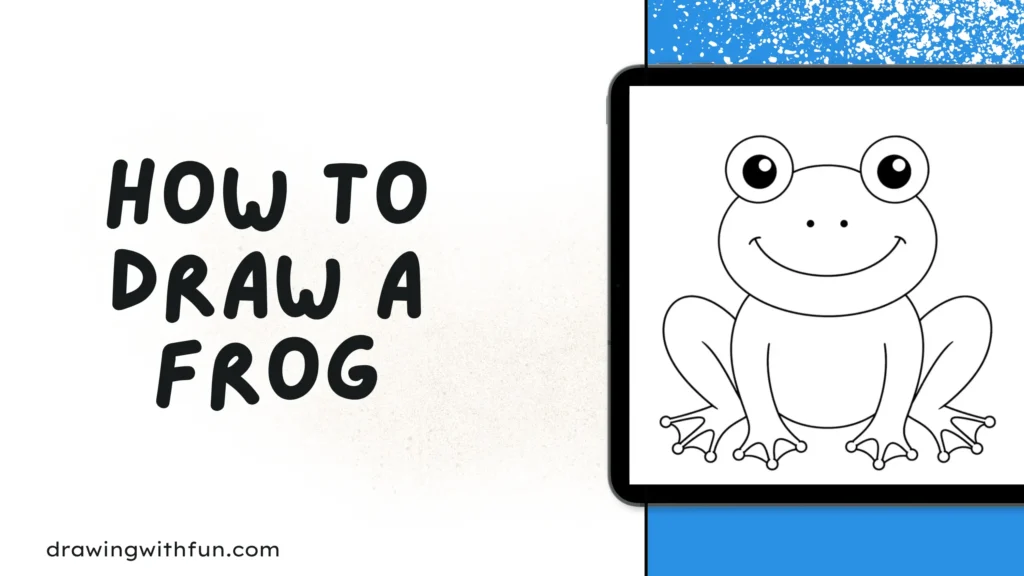
- Hop into your next art project with this Easy Frog Drawing Tutorial.
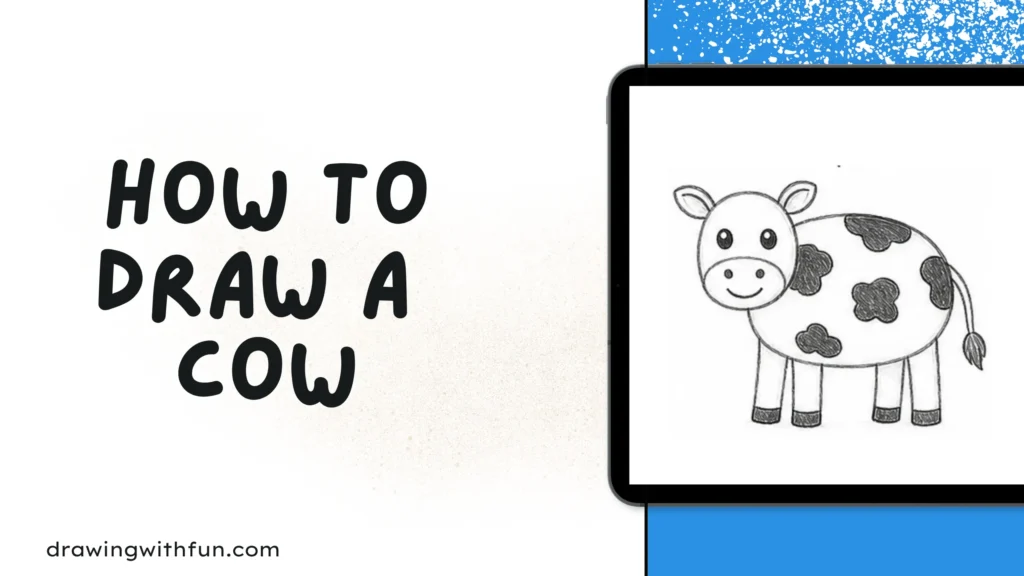
- Create an adorable farm animal using our Simple Cow Drawing Lesson.
- Practice drawing a forest favorite with our Easy Bear Drawing Guide.
Conclusion
Learning how to draw a deer step by step is a fun and simple way to improve your drawing skills. By starting with basic shapes and slowly adding details, you can turn an easy sketch into a beautiful pencil drawing. Each step helps you understand the deer’s body, shape, and features in a clear and manageable way.
Remember, your drawing does not have to be perfect. Practice is the key to getting better. The more you draw, the more confident and creative you will become. Keep trying, have fun with your sketches, and soon you will be able to draw a deer and even create your own unique designs.