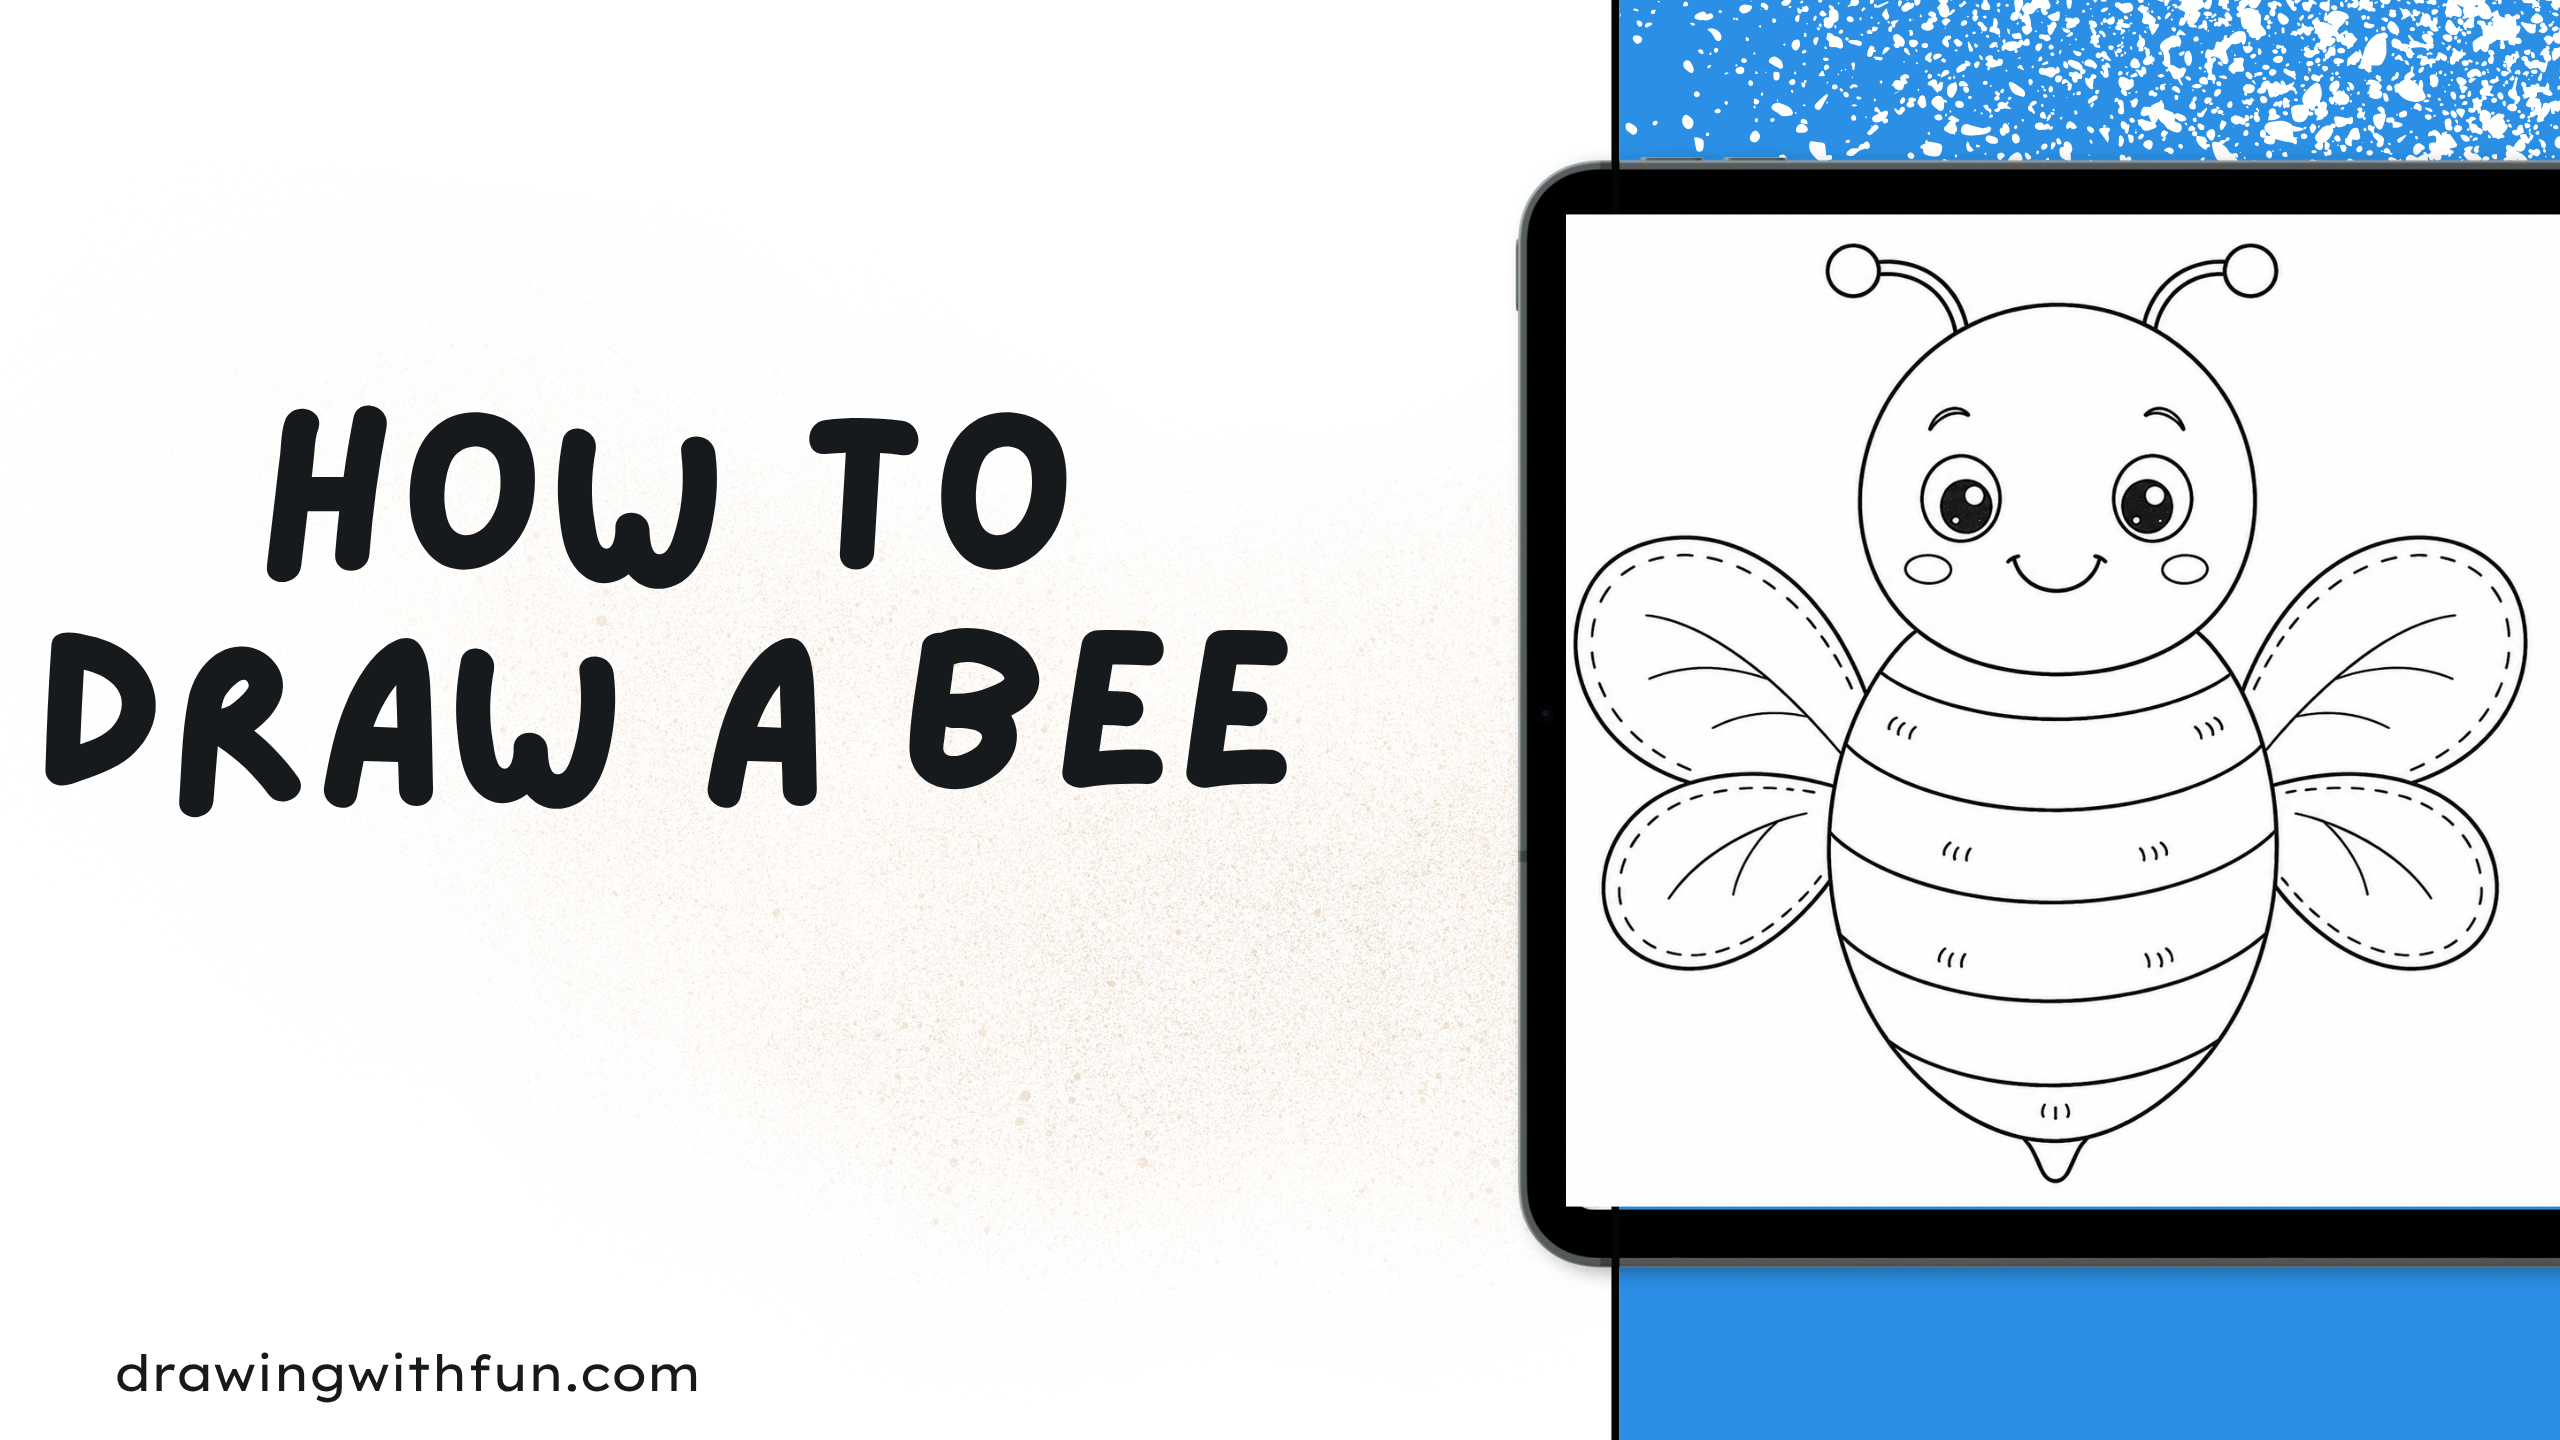
Learning how to draw a bee is a fun and creative way for kids to practice their drawing skills. Bees are small, friendly insects with round bodies, cute wings, and beautiful stripes that make them exciting to create on paper. With a few simple shapes and easy lines, anyone can draw a cute bee, even if they are just starting their drawing journey.
In this beginner-friendly step-by-step guide, you will discover how to make a bee drawing from simple outlines to the final details. Each step is explained in a simple way so kids can easily follow along, add their own ideas, and create a cheerful bee they will love. So grab your pencil, get your paper ready, and let’s learn how to draw a cute bee step by step!
How to Draw a Bee Step by Step – Let’s Create a Fun and Adorable Bee Drawing Together!
Are you ready to draw a cute little bee? Follow these simple step-by-step instructions and learn how to create a happy bee using easy shapes and lines. From drawing the bee’s round body to adding tiny wings, stripes, and a sweet smile, each step will help you make your bee drawing fun and easy.
Grab your pencil and paper, and let’s start creating your adorable bee! Follow along, enjoy the process, and add your own creative touches to make your buzzing bee unique and special.
Step 1: Draw the Bee’s Head and Body Shape
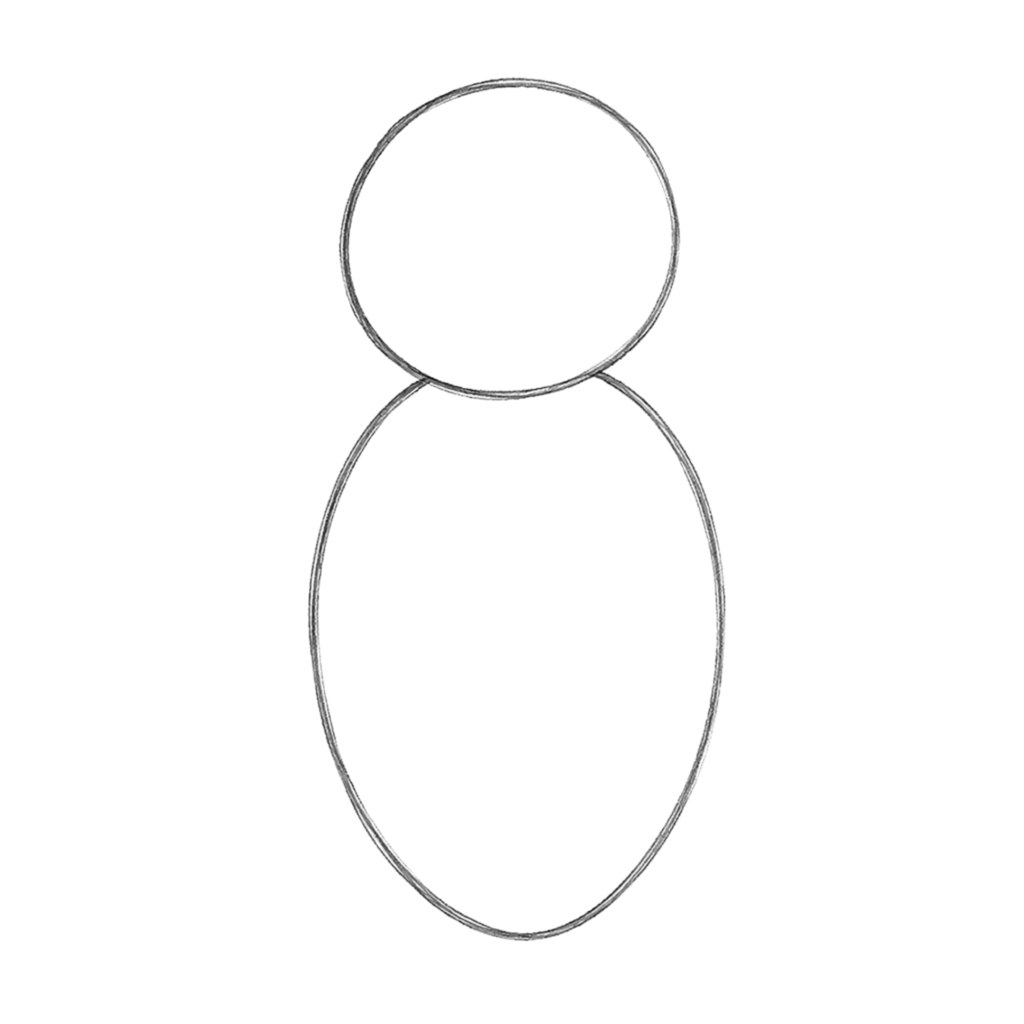
Start by drawing a small round shape for the bee’s head. Below the head, add a bigger oval shape for the bee’s body. Keep the shapes light and simple so you can easily fix any mistakes. These basic shapes will help you create the perfect outline for your cute little bee.
Step 2: Add the Bee’s Stripes and Body Details
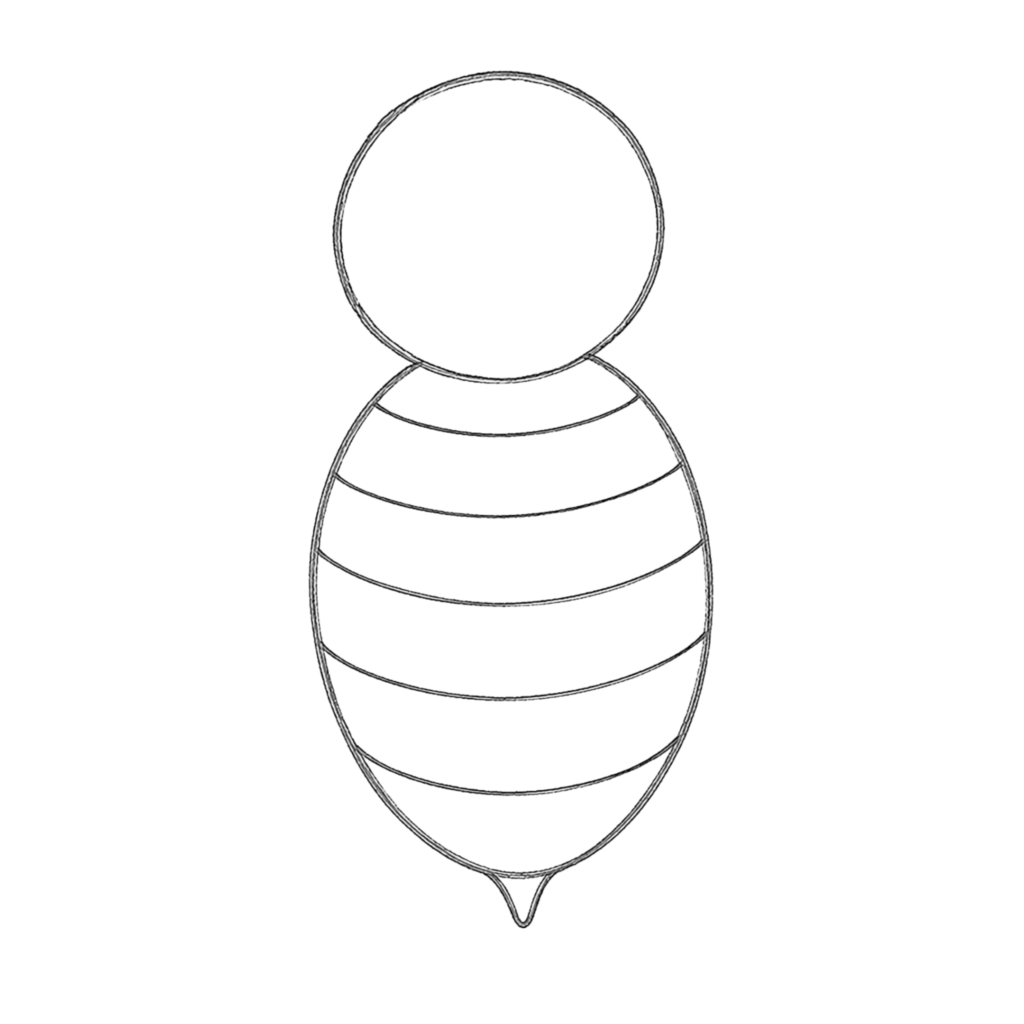
Now, add a few curved lines across the bee’s body to create its famous black and yellow stripes. Make sure the stripes follow the round shape of the body to make your bee look more natural. You can also add small details like a little curve to separate the head and body.
Step 3: Draw the Cute Bee’s Wings
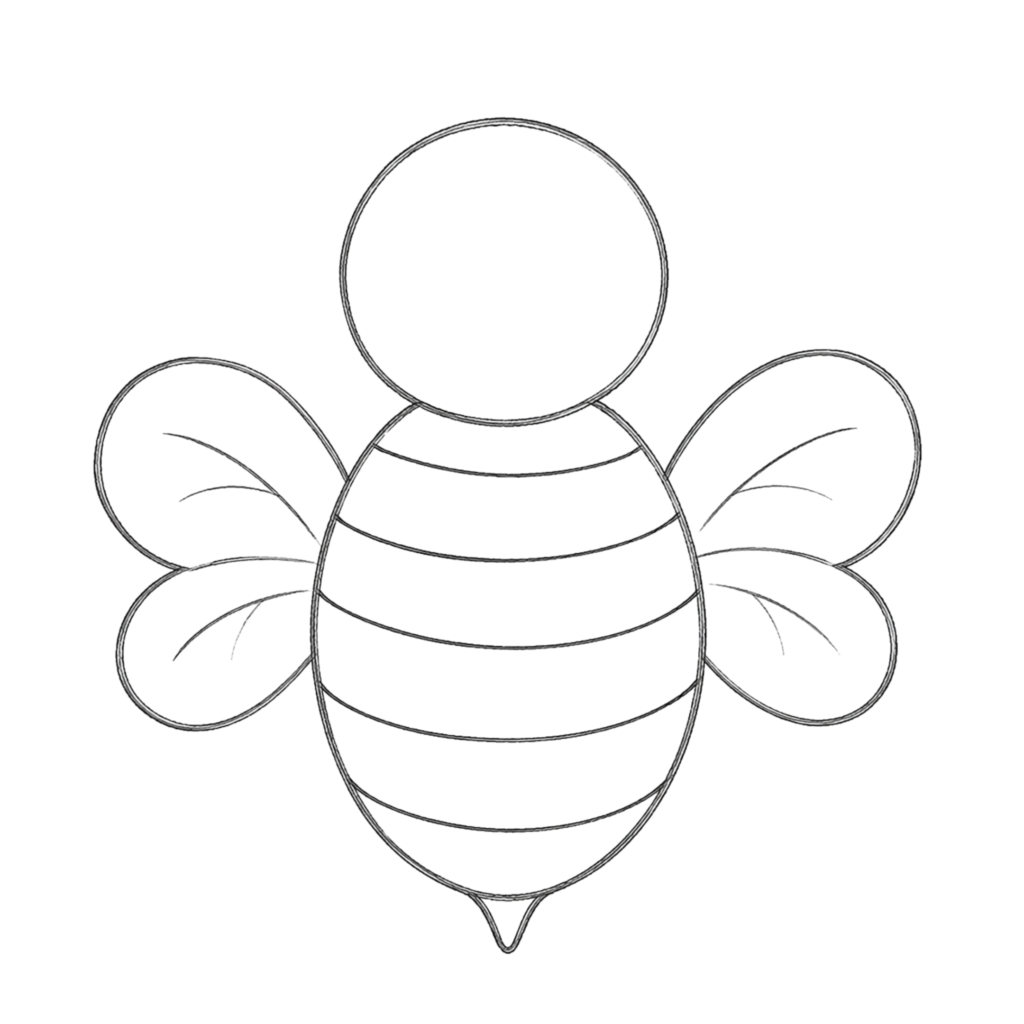
Next, draw two small wings on both sides of the bee’s body. You can make the wings look like soft oval shapes or slightly curved leaves. Add light lines inside the wings to give them a simple and pretty design. Keep the wings small and balanced so your bee looks cute and friendly.
Step 4: Add the Bee’s Eyes, Smile, and Facial Features
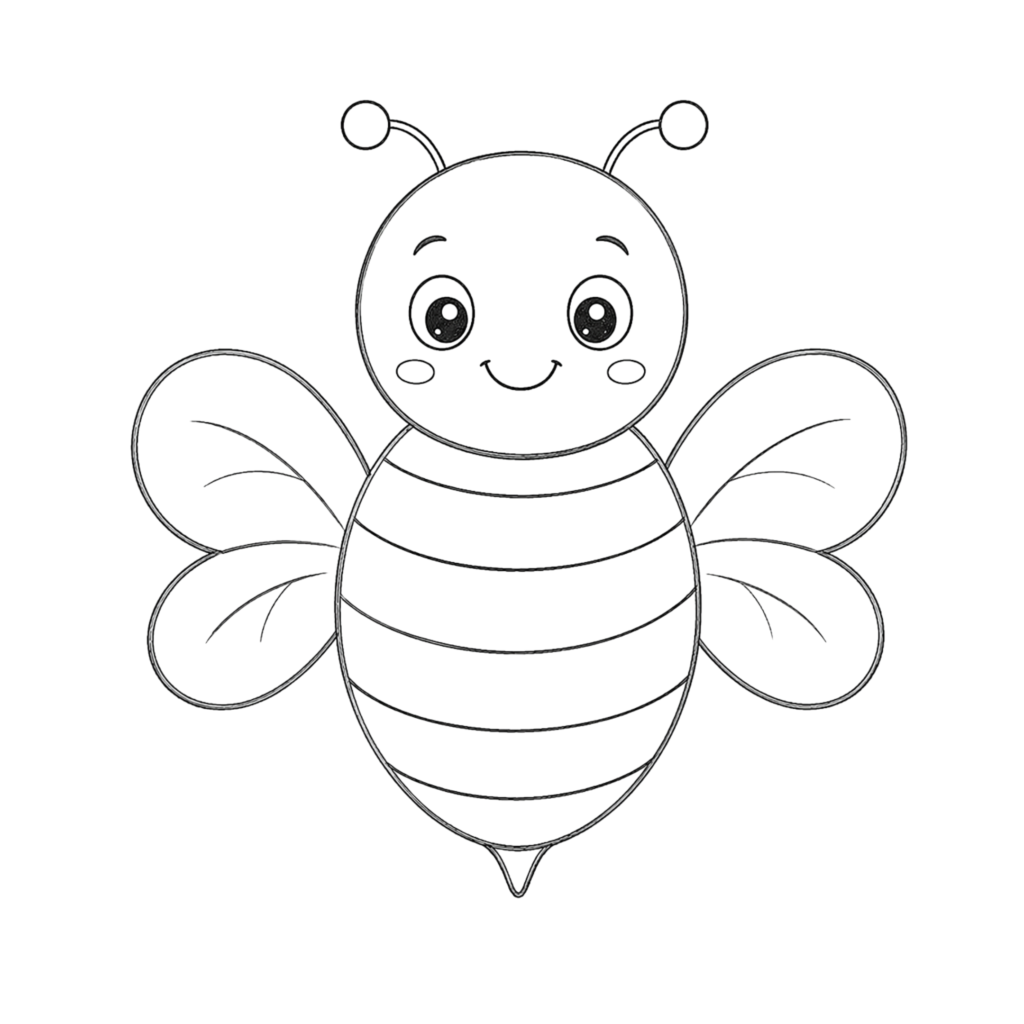
It’s time to give your bee a cute face! Draw two small round eyes on the head and add tiny circles inside them for a cheerful look. Then, draw a small curved smile to make your bee look happy. You can also add little cheeks or extra details to make your bee even more adorable.
Step 5: Draw the Bee’s Antennae and Small Details
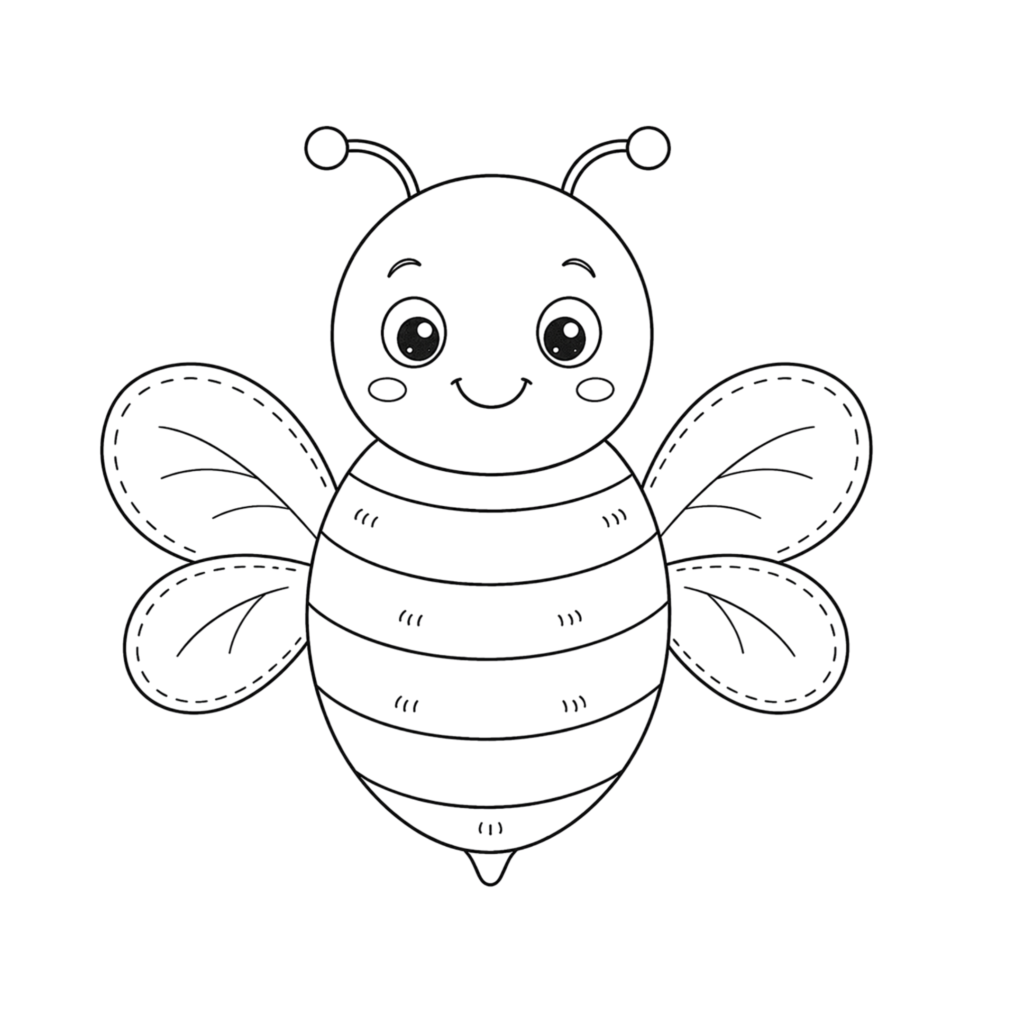
Draw two thin curved lines on top of the bee’s head for the antennae. Add small circles at the tips to make them look fun and cartoon-like. You can also add tiny lines on the wings or body to give your bee drawing more personality.
Step 6: Add Final Touches and Color Your Bee Drawing
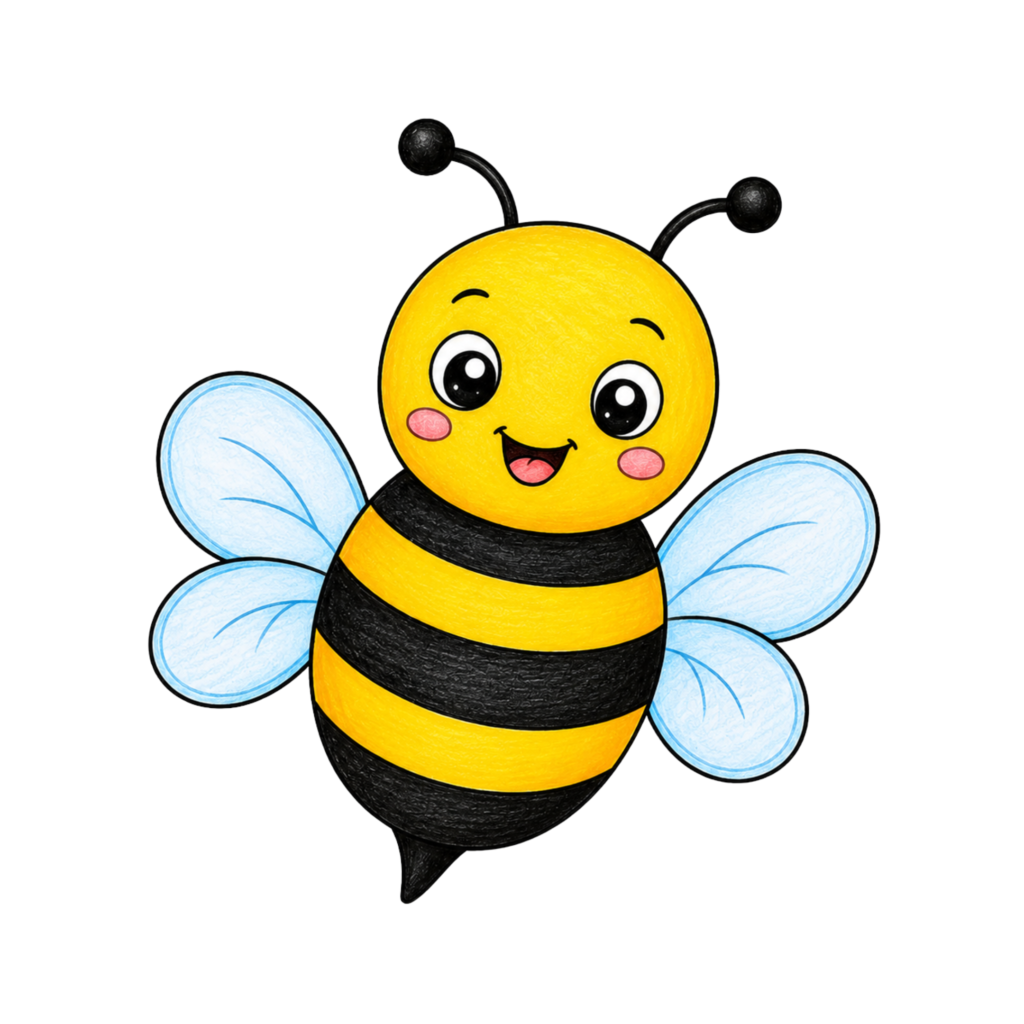
Look at your bee drawing and clean up any extra pencil lines. Add any final details you like, such as flowers, clouds, or a little background. Once your drawing is complete, color your bee with bright yellow and black shades to bring it to life. Enjoy your cute and creative bee artwork.
✏️ Continue Your Drawing Adventure:
- Unleash your imagination with our How to Draw a Dragon step-by-step guide.
- Create an adorable bunny using our How to Draw a Rabbit tutorial for beginners.
- Practice fun amphibian art with our How to Draw a Frog guide.
- Learn to sketch a cute reptile with our How to Draw a Turtle tutorial.
Conclusion
Drawing a bee is a fun and simple activity that helps kids improve their creativity and drawing skills. By following these easy steps, you can create a cute bee with a round body, tiny wings, and a happy face.
Keep practicing, add your own creative ideas, and enjoy making more fun drawings. So grab your pencil and keep exploring the exciting world of art!