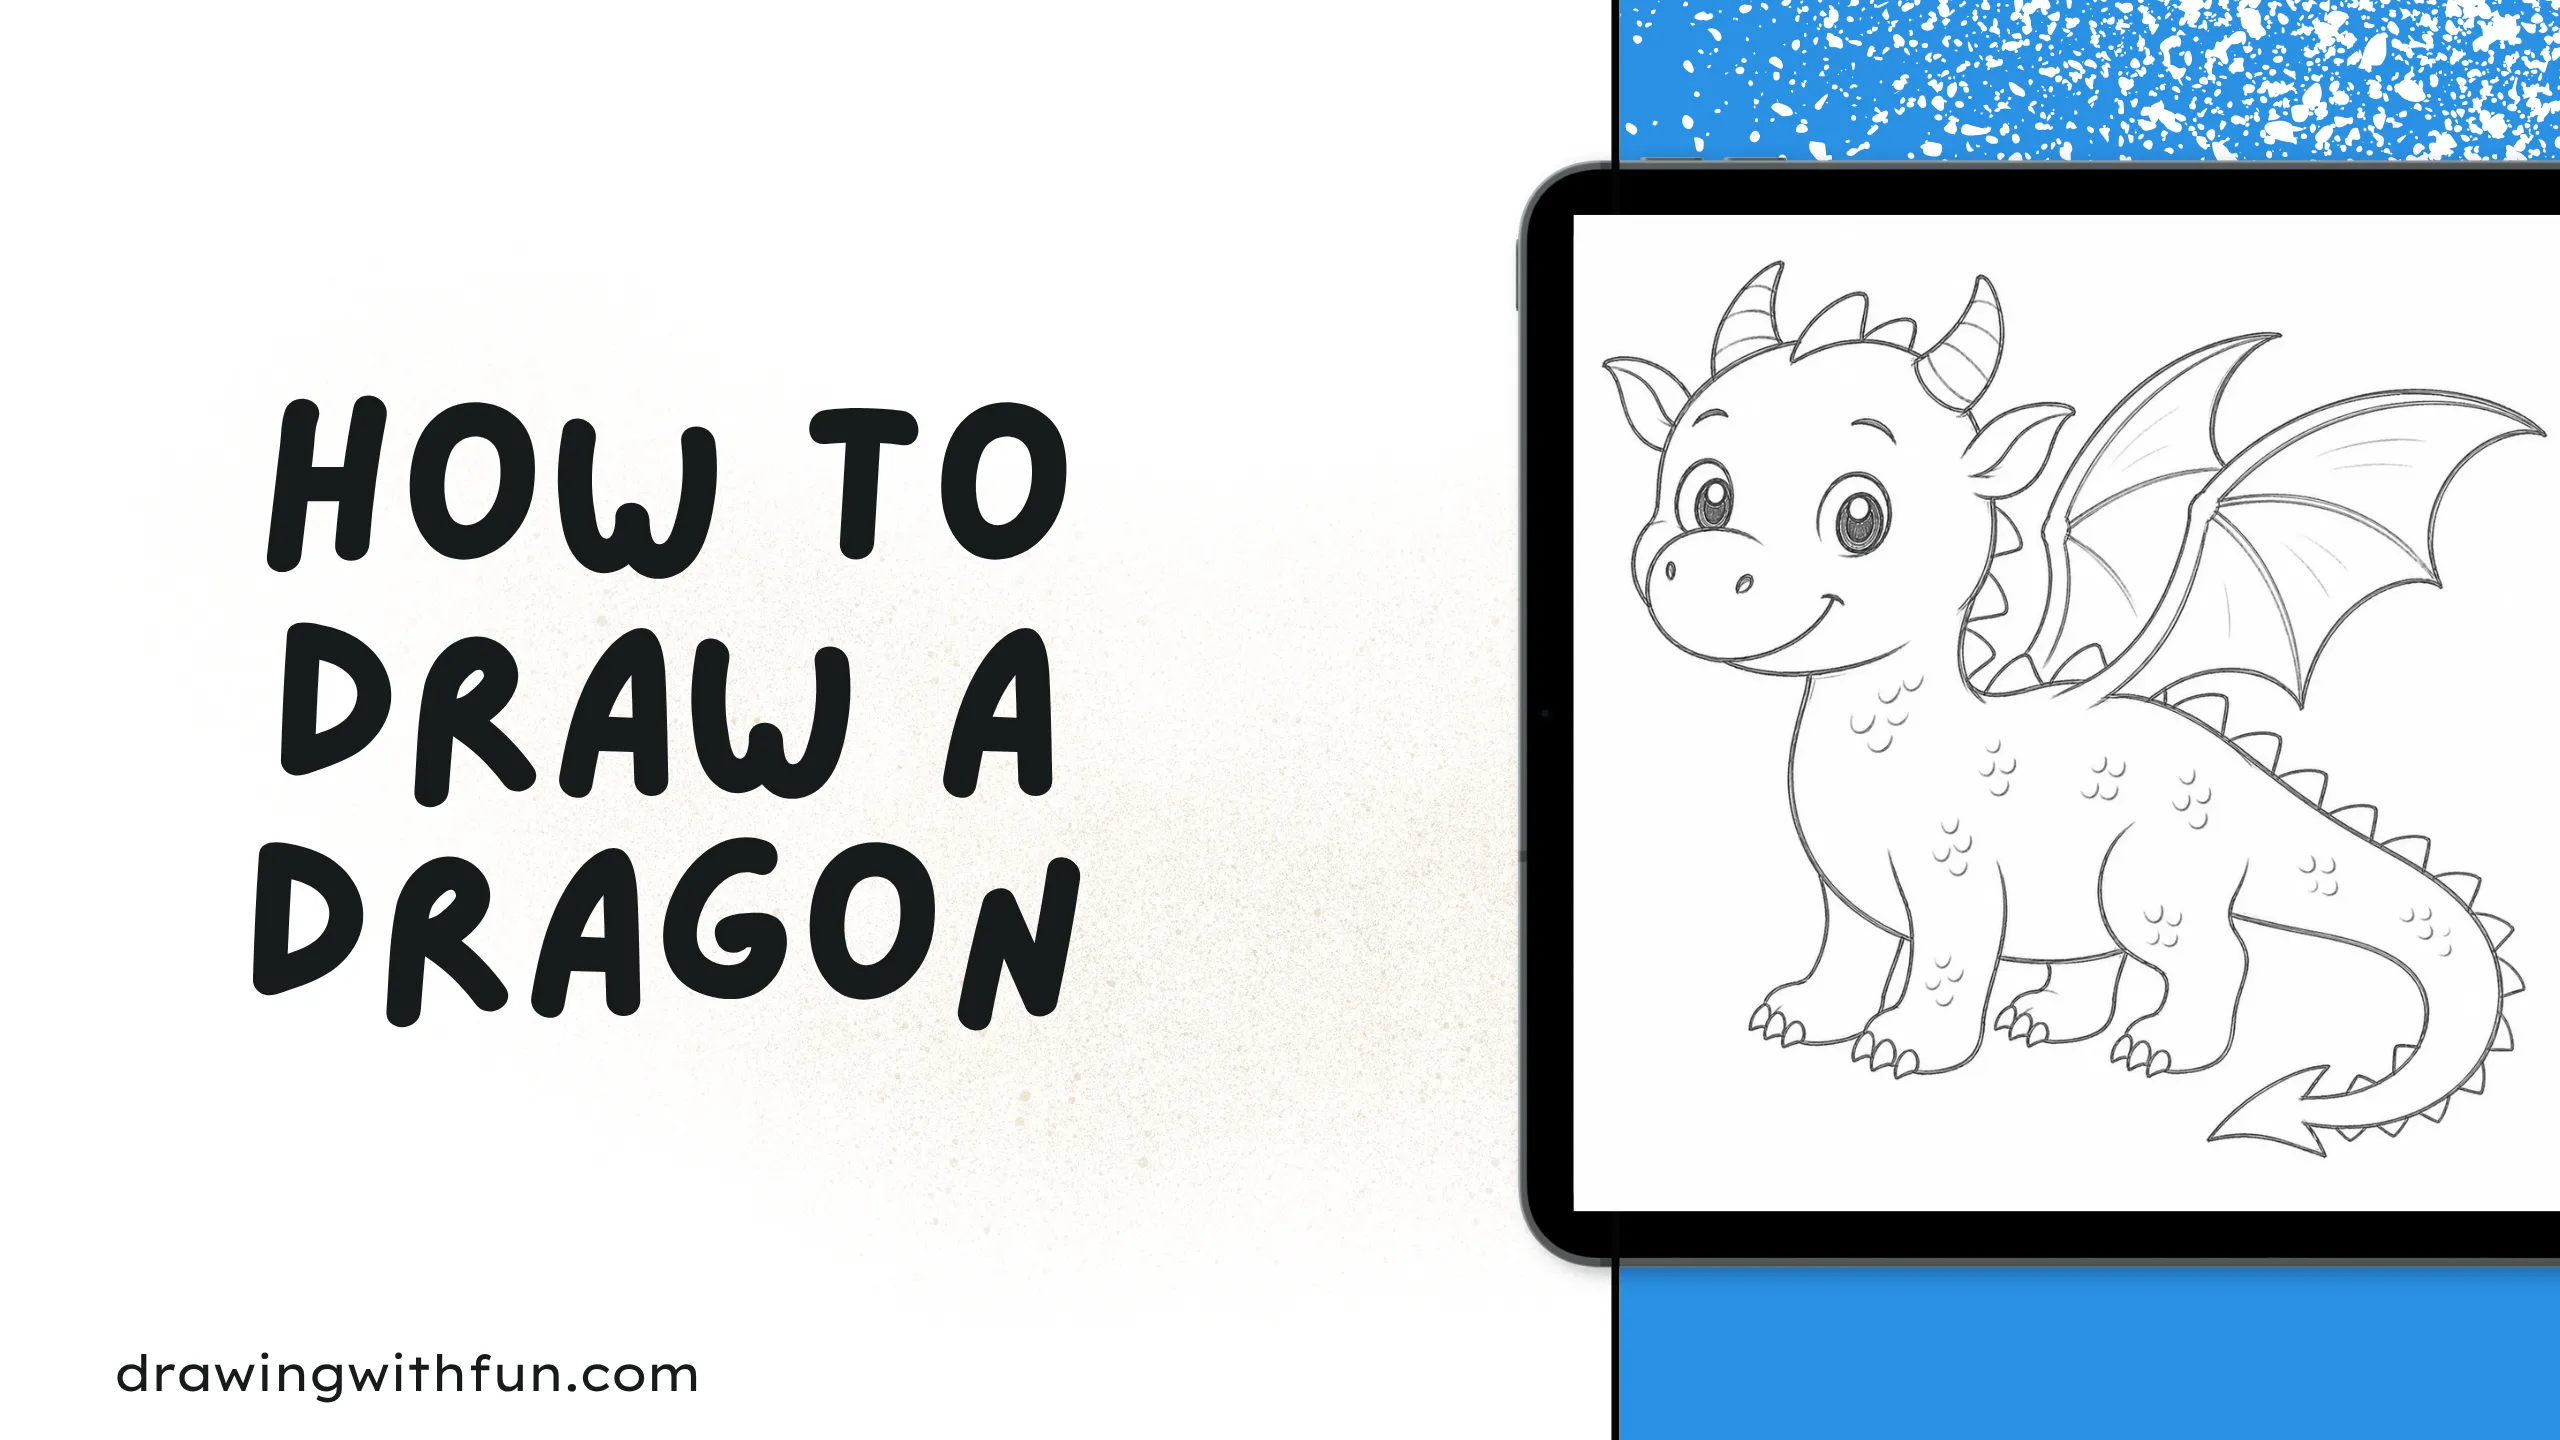
Dragons are magical creatures that come in many shapes and sizes. Some dragons are cute and friendly, while others are big, powerful, and can breathe fire. In this easy guide, you will learn how to draw a dragon step by step using simple shapes and easy lines.
This dragon drawing tutorial is perfect for kids and beginners. Each step is easy to follow and will help you draw the dragon’s head, body, wings, tail, legs, and other fun details. Take your time, enjoy the process, and remember that practice makes every drawing better.
Grab your pencil, eraser, and a sheet of paper, and get ready to create your own amazing dragon. You can even add your own creative touches, like different wings, scales, or colors, to make your dragon truly one of a kind. Let’s start drawing!
How to Draw a Dragon Step by Step Guide
Drawing a dragon is easier than you think! Follow these simple step-by-step instructions to create an amazing dragon from basic shapes and easy lines.
Take your time, have fun, and don’t worry about making mistakes—every step brings your dragon to life. Grab your pencil and let’s start drawing your very own magical dragon!
Step 1: Draw the Dragon’s Head
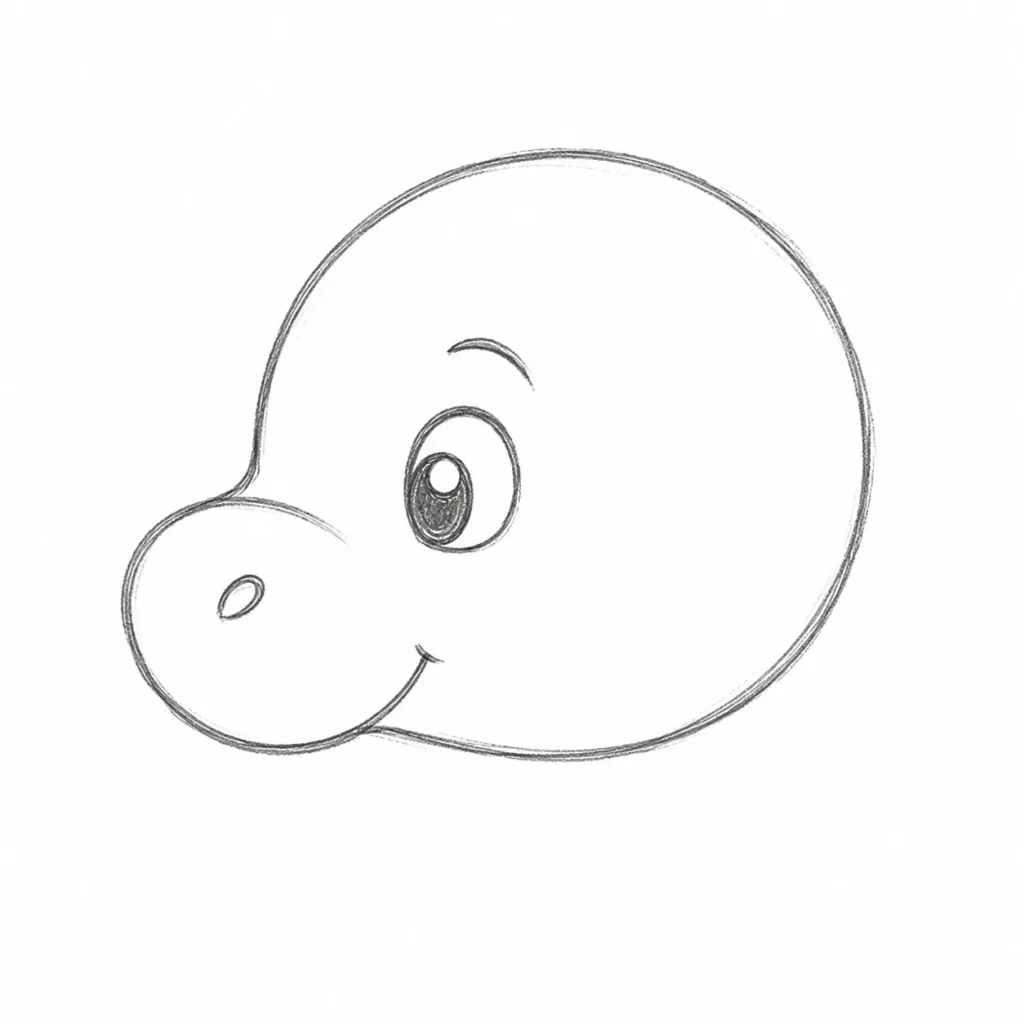
Start by drawing a big circle near the top of your paper. This will be the dragon’s head. Next, draw a small oval on the front of the circle to make the nose. Keep your pencil lines light so you can erase them if you need to.
Step 2: Draw the Dragon’s Body
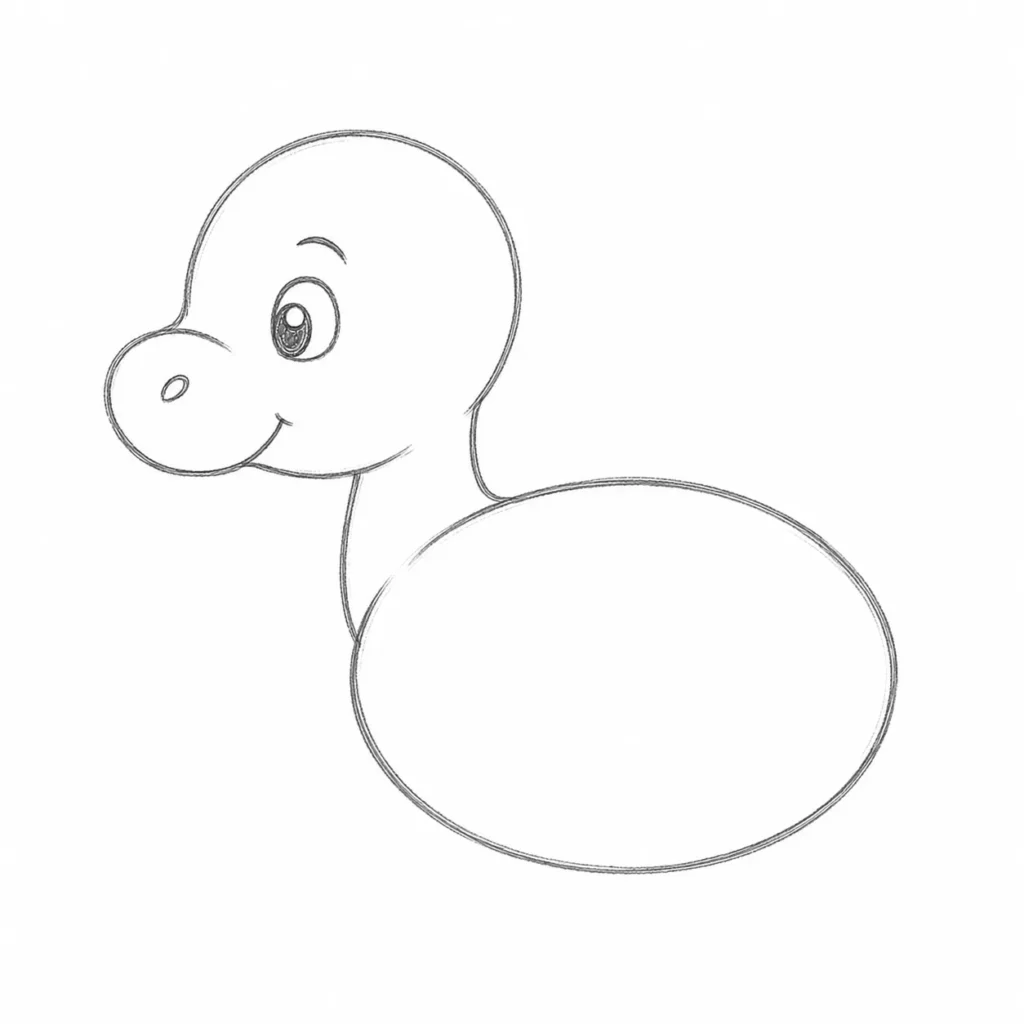
Draw a big oval under the head for the body. Leave a small space between the head and body. Then, draw two short curved lines to connect them and make the neck.
Step 3: Draw the Dragon’s Wings
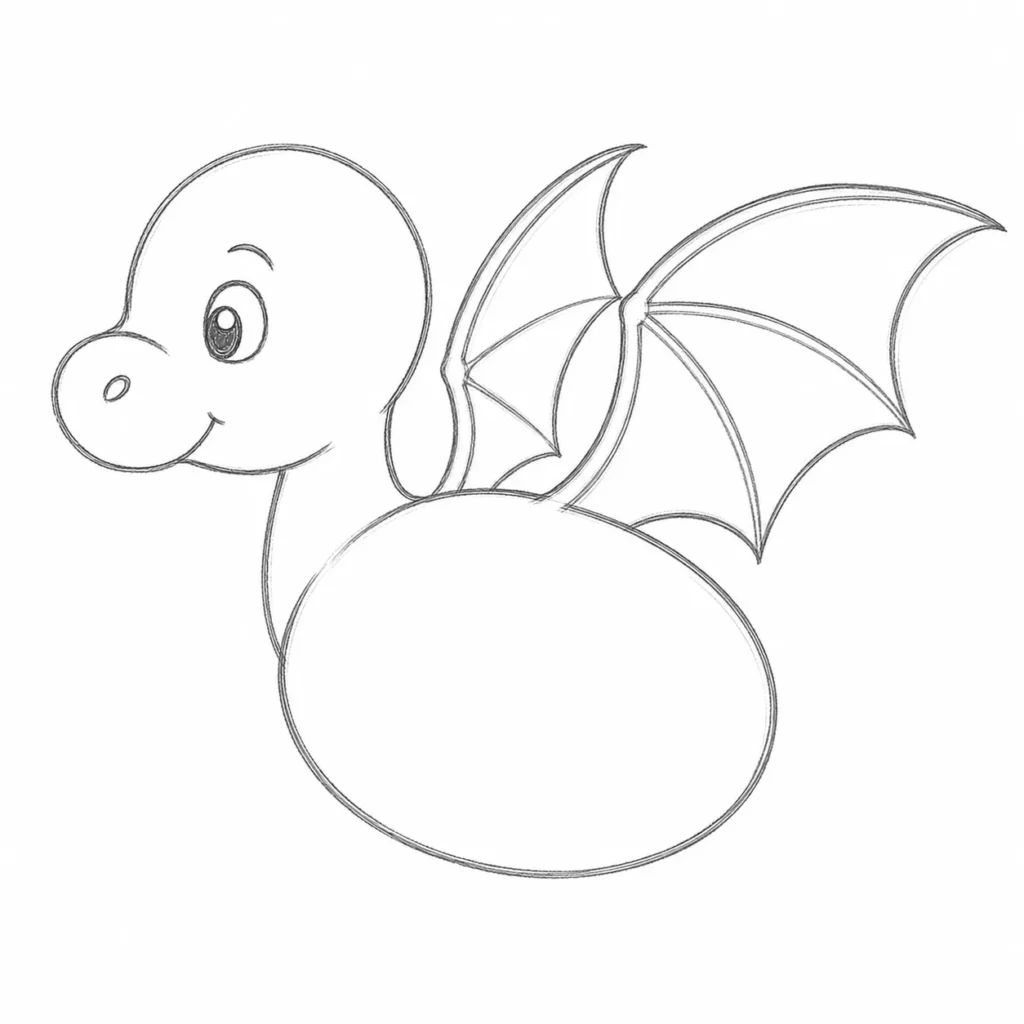
Draw two big wings on the dragon’s back. Start with a long curved line for each wing. Then, add a few more curved lines to finish the wings. Your dragon is ready to fly!
Step 4: Draw the Legs and Feet
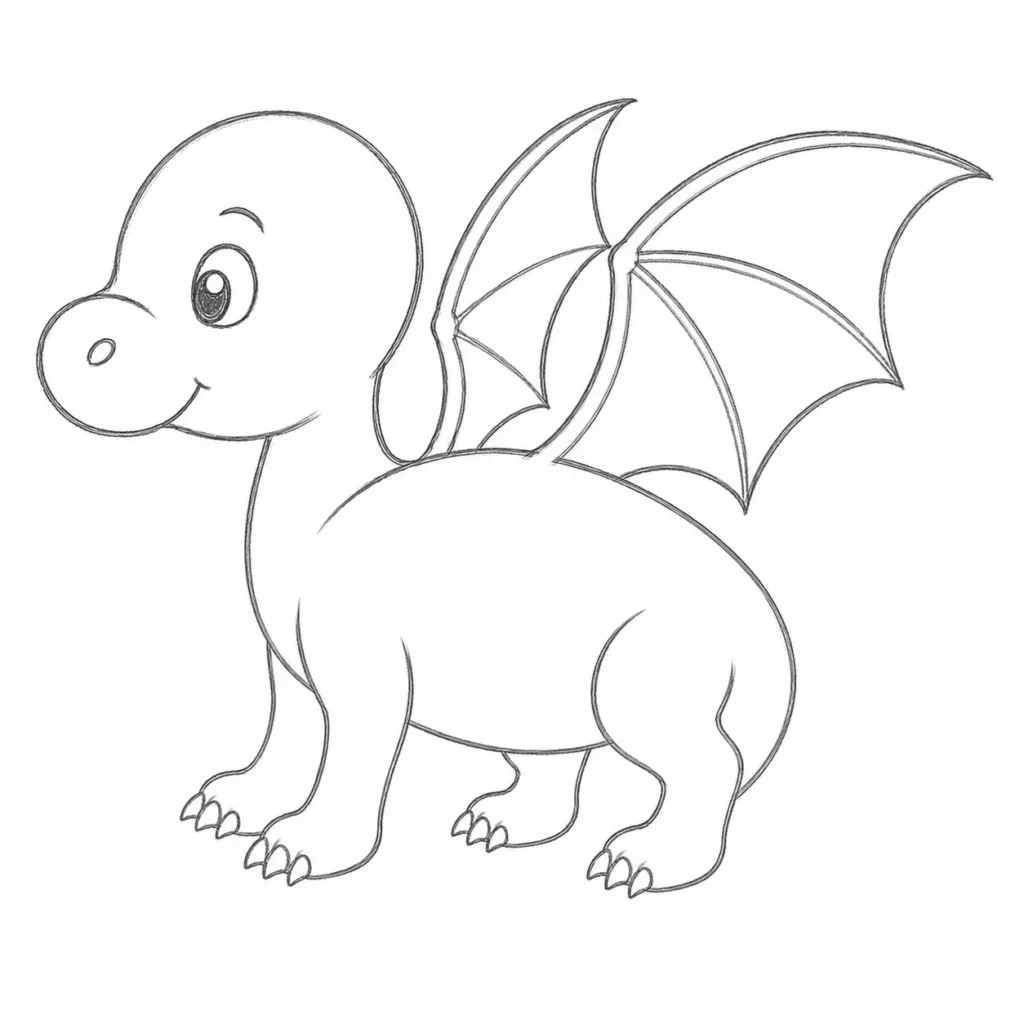
Draw two front legs and two back legs. Use simple curved lines to make each leg. At the bottom of each leg, draw small feet with three tiny claws.
Step 5: Draw the Tail
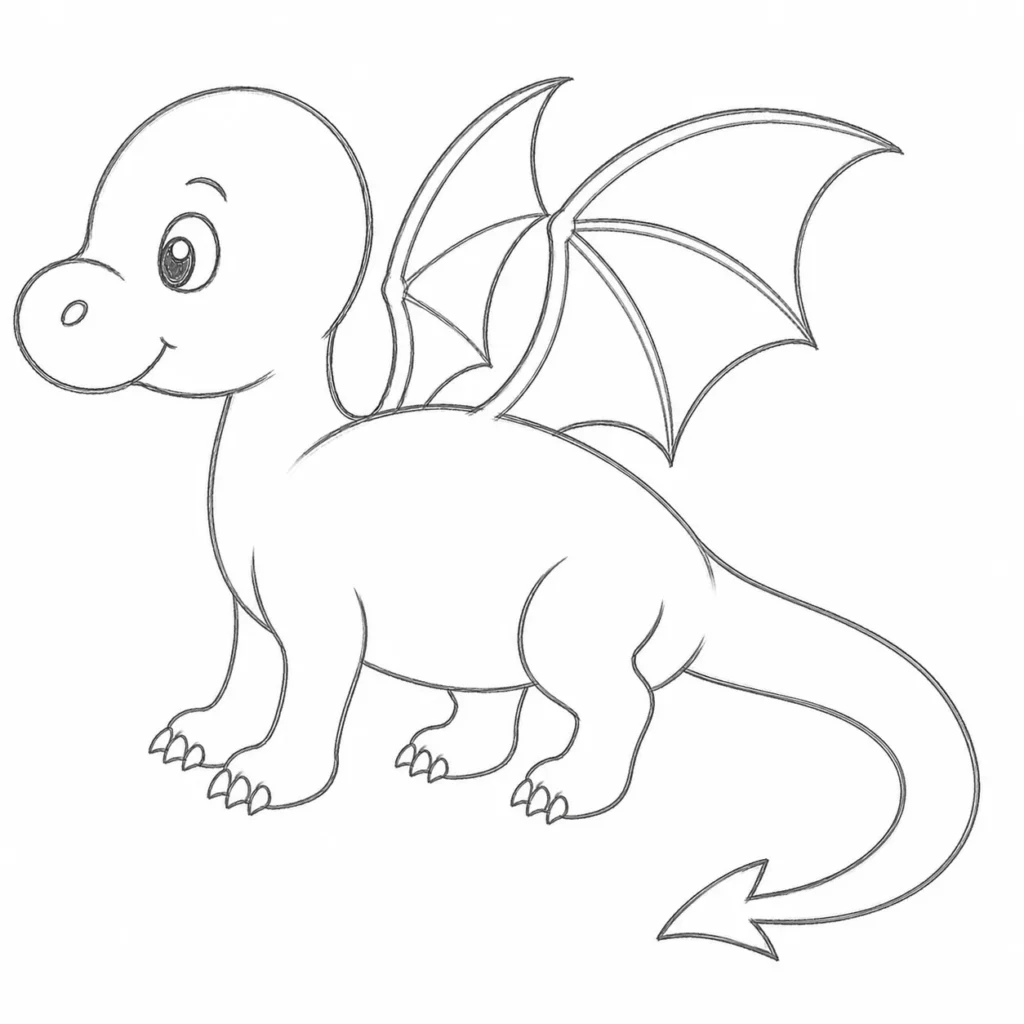
Draw a long, curved tail coming from the back of the body. You can make the tail curl a little or keep it straight. Add a pointy tip to finish the tail.
Step 6: Draw the Face
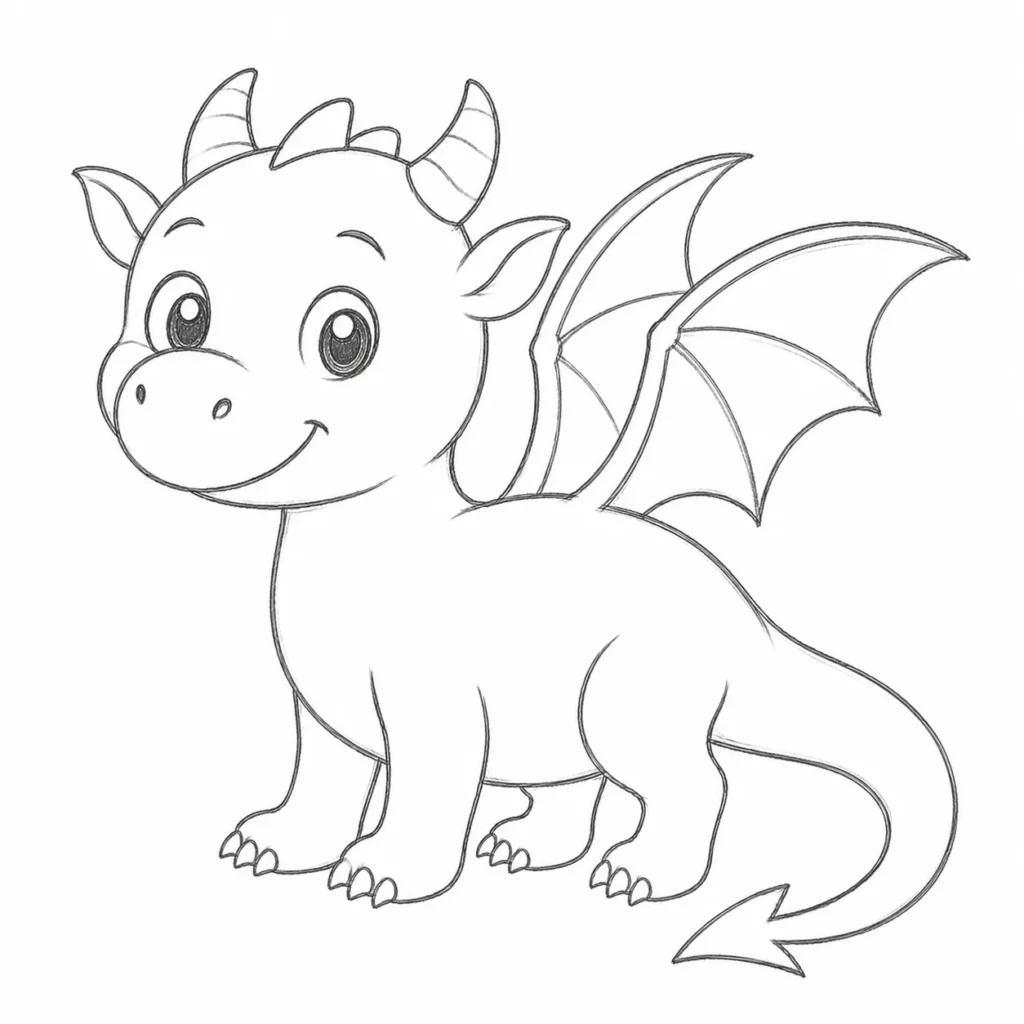
Draw two round eyes, a small nose, and a happy smile. Then, add two little horns on top of the head. You can also draw small ears if you like.
Step 7: Add Fun Details
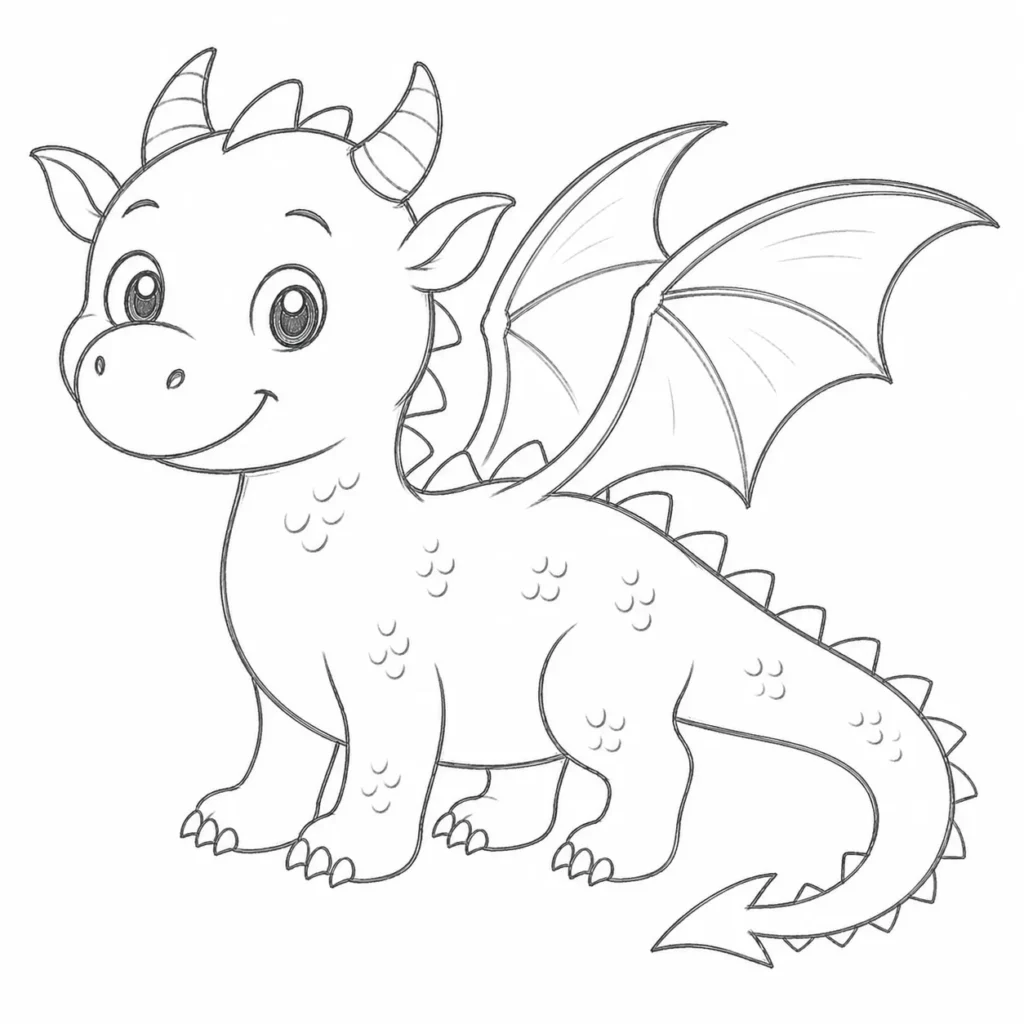
Now make your dragon look even cooler! Draw a few small spikes on its back and tail. Add some simple lines inside the wings and a few scales on the body. These little details will make your dragon look amazing.
Step 8: Finish and Color Your Dragon
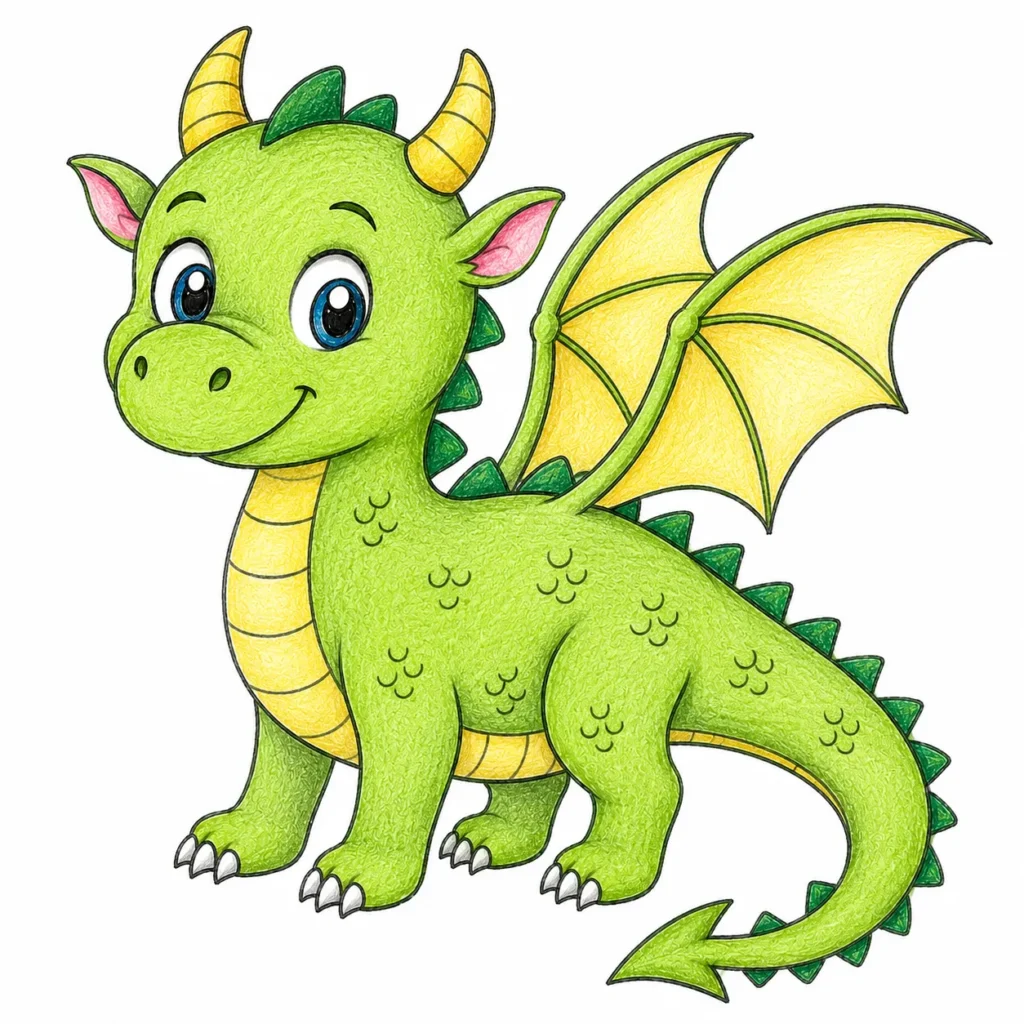
Trace over your drawing with a darker pencil or marker. Erase the extra lines, then color your dragon with your favorite colors. Great job! You have drawn your very own dragon!
🎨 Explore More Easy Drawing Tutorials:
- Draw your favorite farm animal with our Easy Step-by-Step Cow Drawing Guide.
- Create an adorable woodland friend by following How to Draw a Cute Bear.
- Learn How to Draw a Turtle Step by Step with simple beginner-friendly instructions.
- Complete your forest collection with How to Draw a Beautiful Deer.
Conclusion
Congratulations! You have learned how to draw a dragon step by step. By following these easy steps, you turned simple shapes into an amazing dragon. The more you practice, the better your dragon drawings will become.
Keep drawing and try creating dragons with different wings, tails, horns, and fun expressions. Every dragon you draw is unique, so let your imagination shine. Grab your pencil again, practice often, and have fun creating even more magical dragon drawings!